Free written scope consultation - allowances, timeline, and change-order rules on paper before a single trade is scheduled
Styles & brands we work with
- Kitchen remodeling
- Bathroom remodeling
- Home additions & ADU
- Roofing
- Windows & doors
- Driveway & pavers
- Fence
See the difference
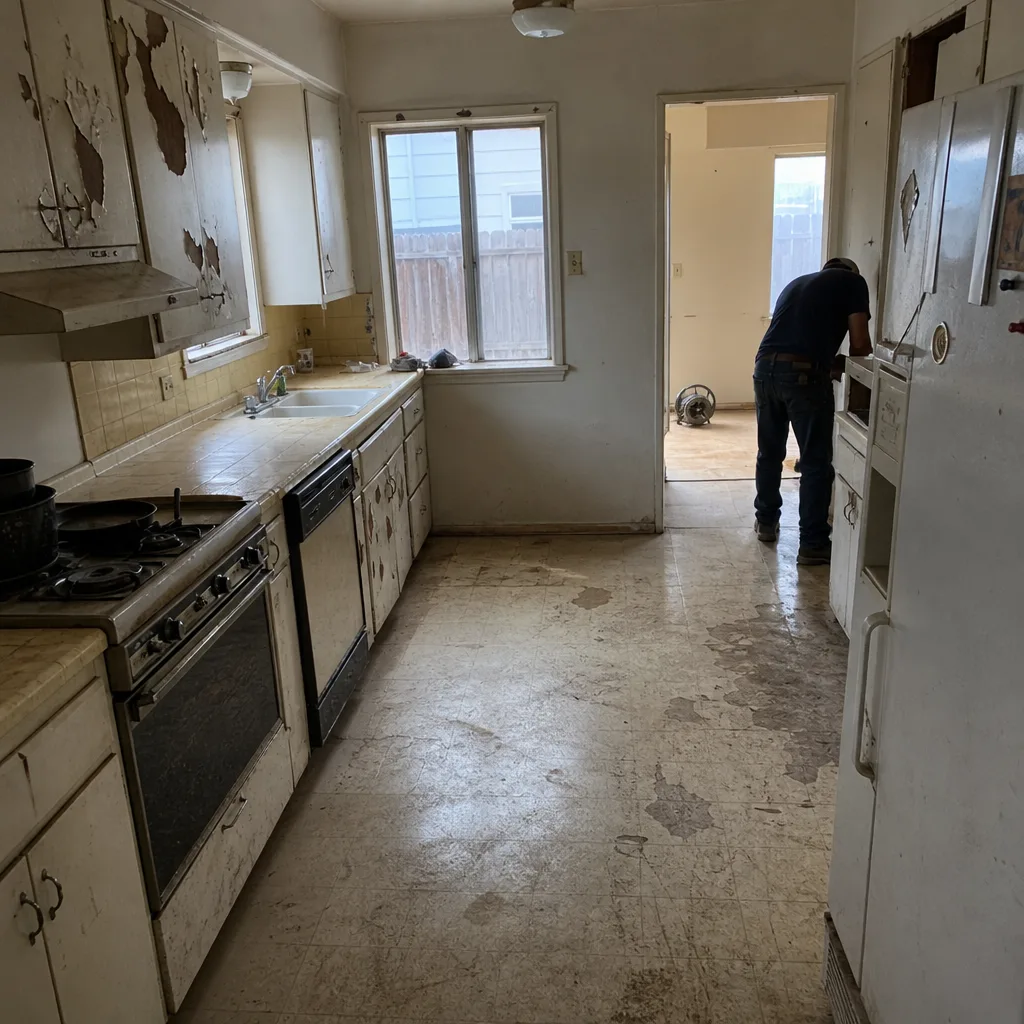 Before
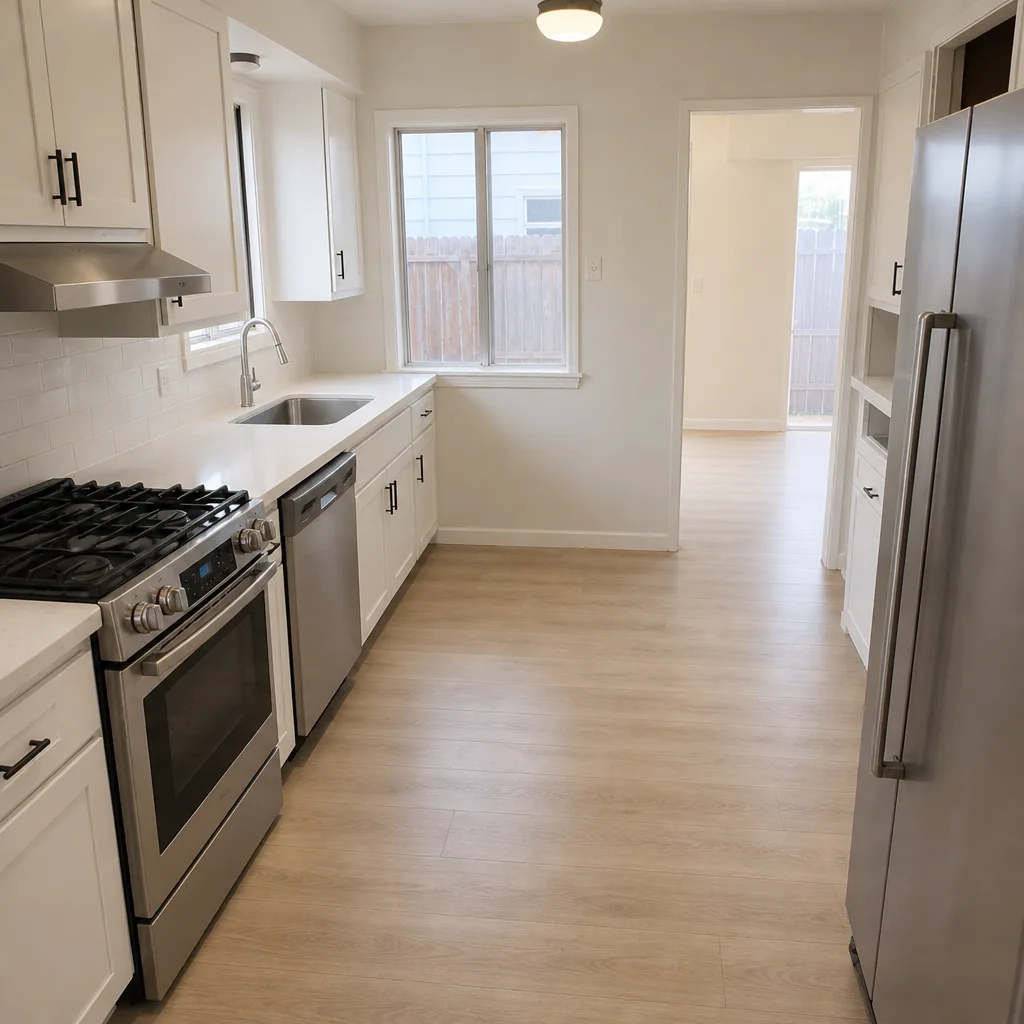 After
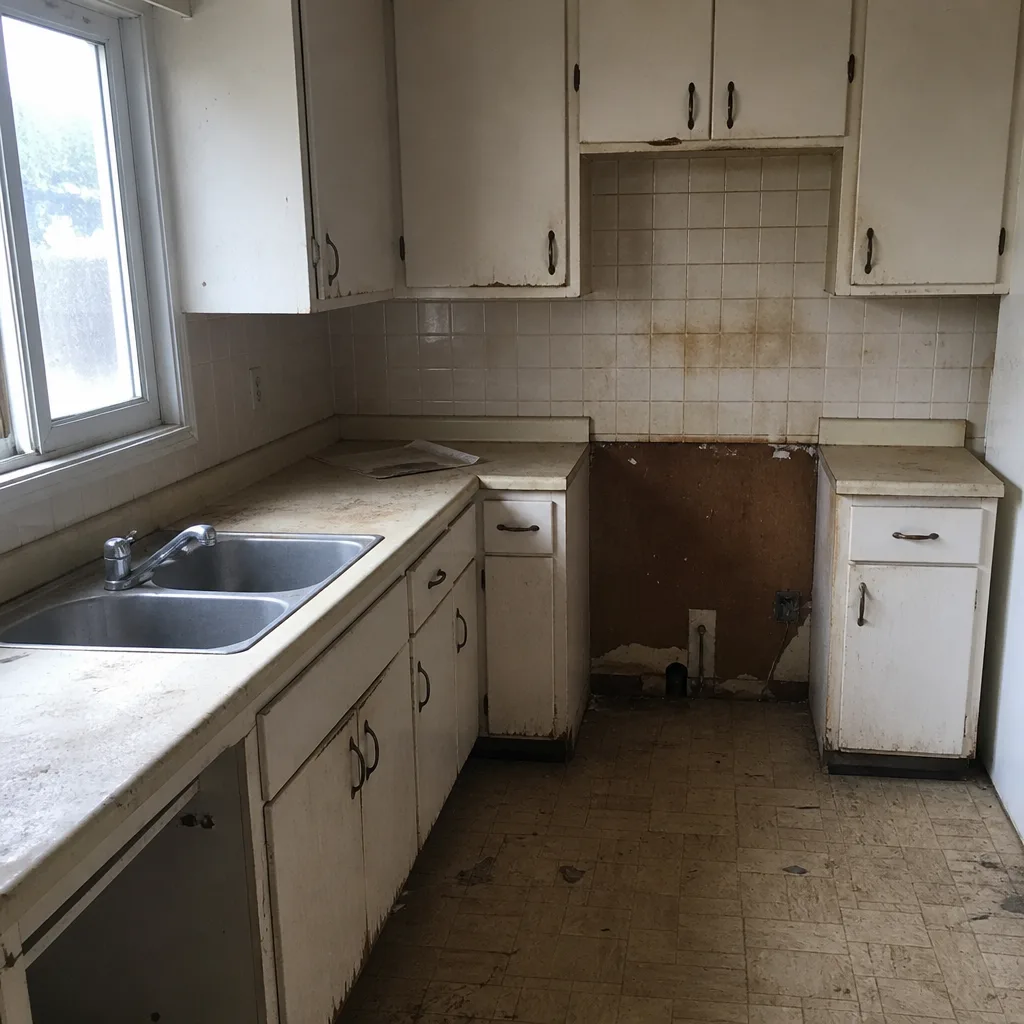 Before
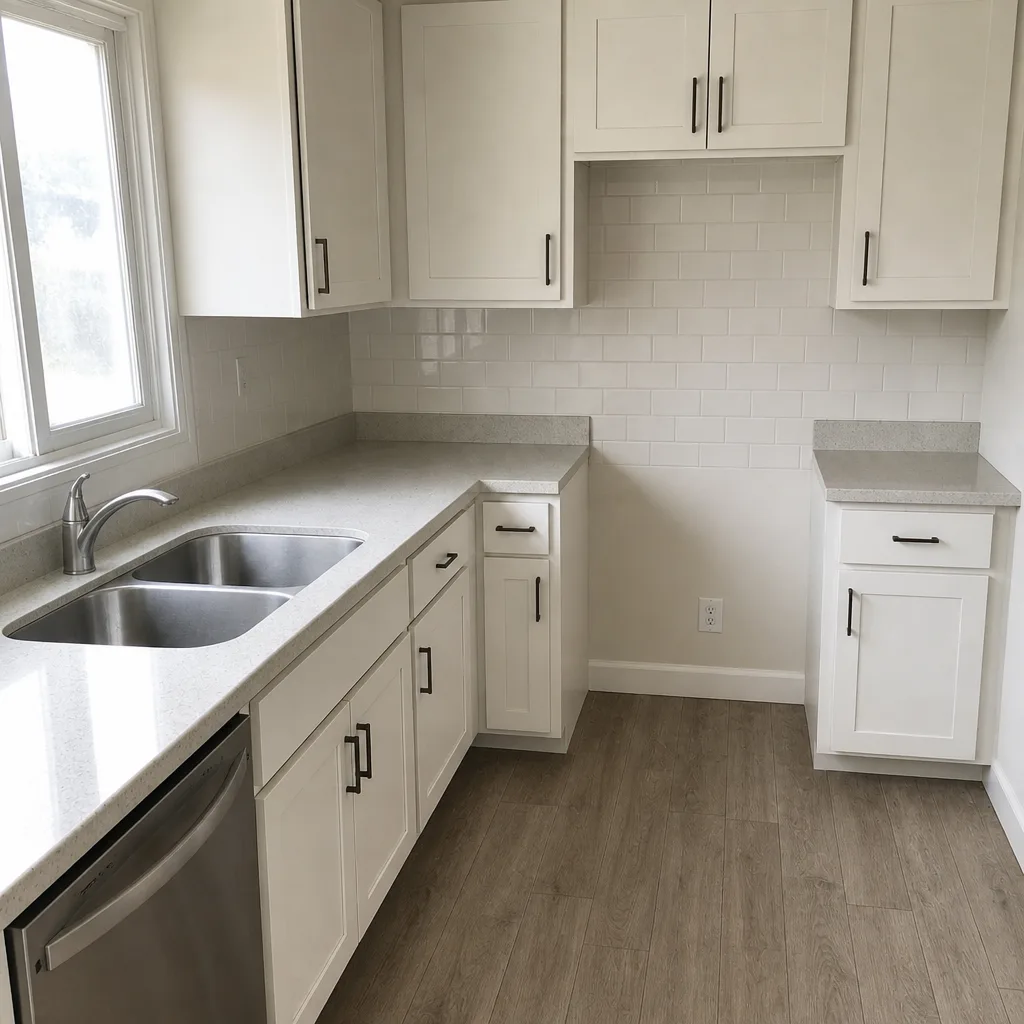 After
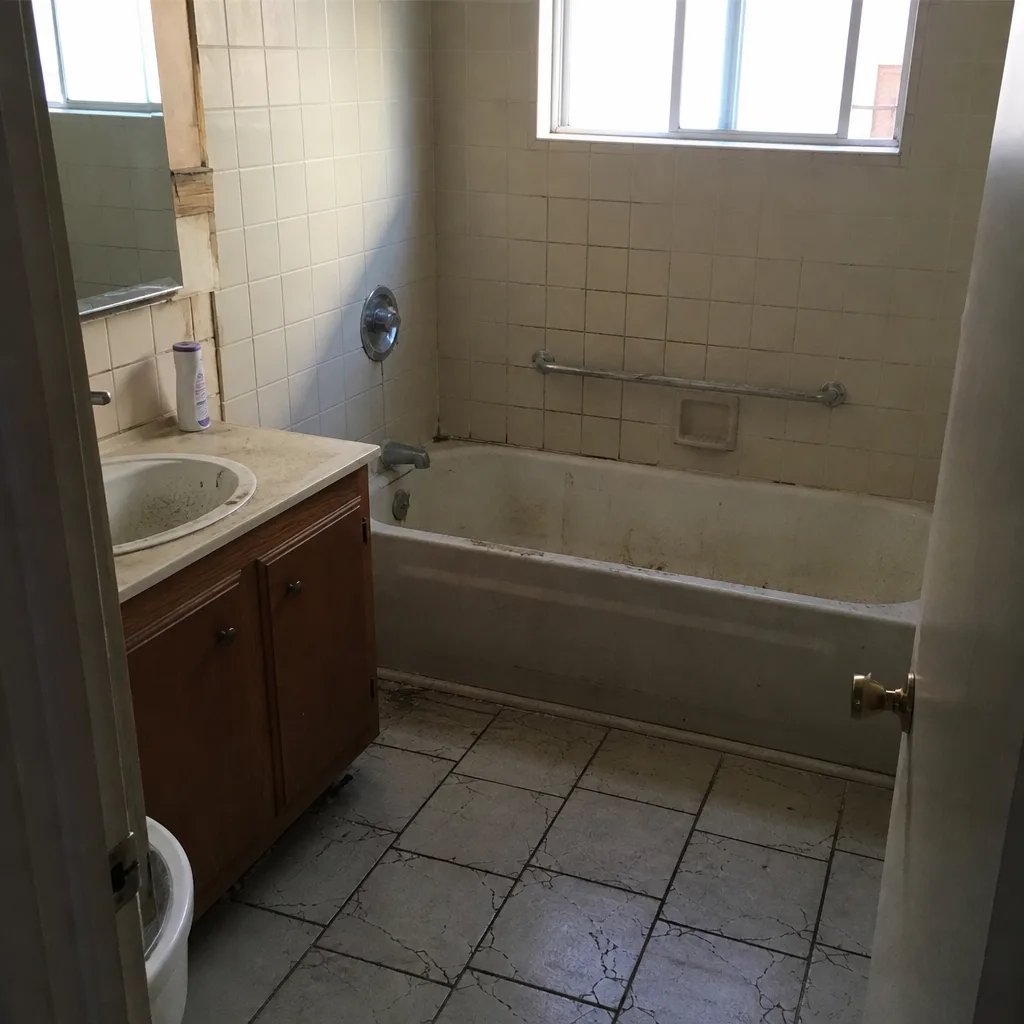 Before
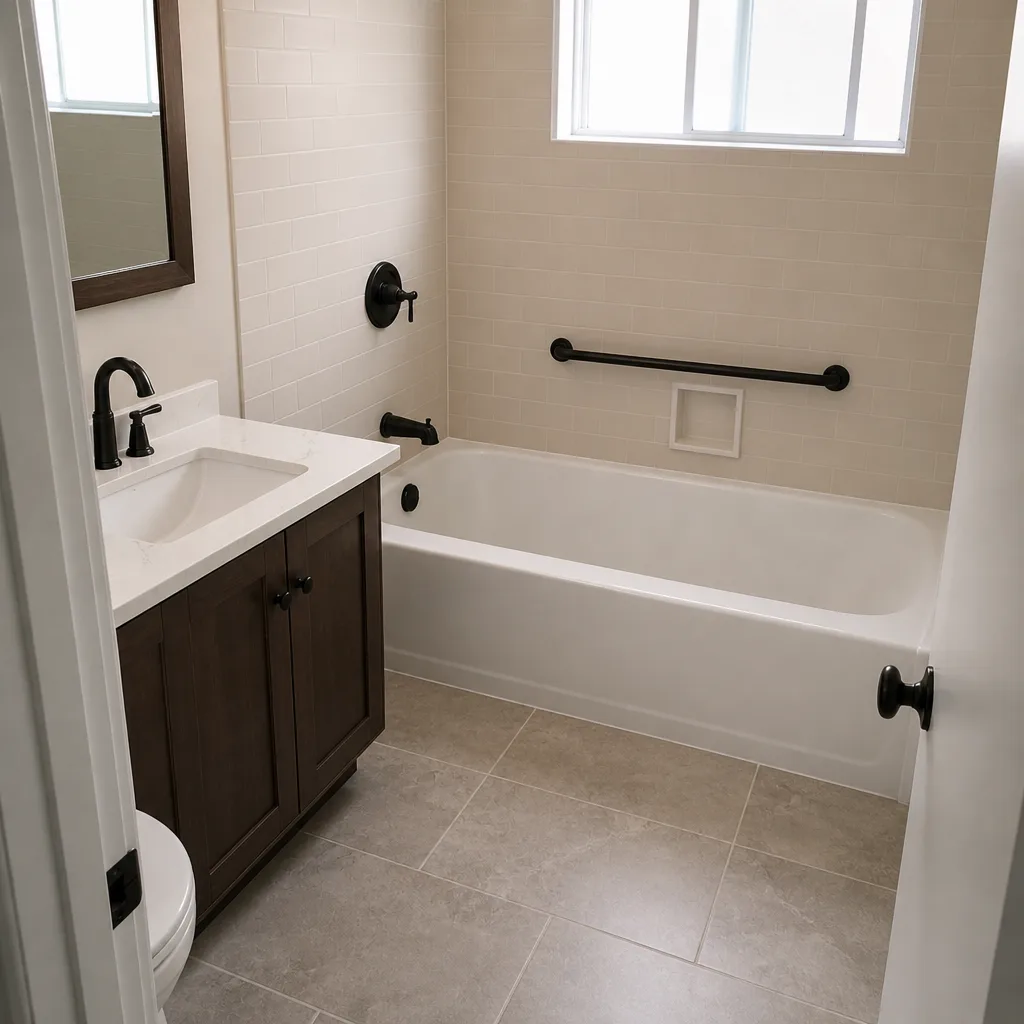 After
How to Measure a Window for Replacement in Richmond, CA
Measure the width at the top, middle, and bottom of the opening and the height at the left, center, and right, then use the smallest number from each set. That’s the standard method, and on a newer house it works. In Richmond’s older flatlands, though, it’s only half the job: you also have to check whether the opening itself is square, because a racked rough opening will reject a standard replacement unit even when your three-point measurements are perfect. If the diagonals differ by more than 3/8 inch, the opening has to be squared before anything gets ordered. Call (833) 700-4611 and we’ll walk you through it or come take a look.
Key Takeaways
- Take three width readings and three height readings, then use the smallest of each.
- Measure the rough opening, not the plaster-to-plaster or drywall-to-drywall dimension.
- Cross-check the diagonals; more than 3/8 inch of difference means the opening is out of square.
- Richmond bungalows built between 1910 and 1940 often have non-standard framing depth that affects how a new unit shims and seats.
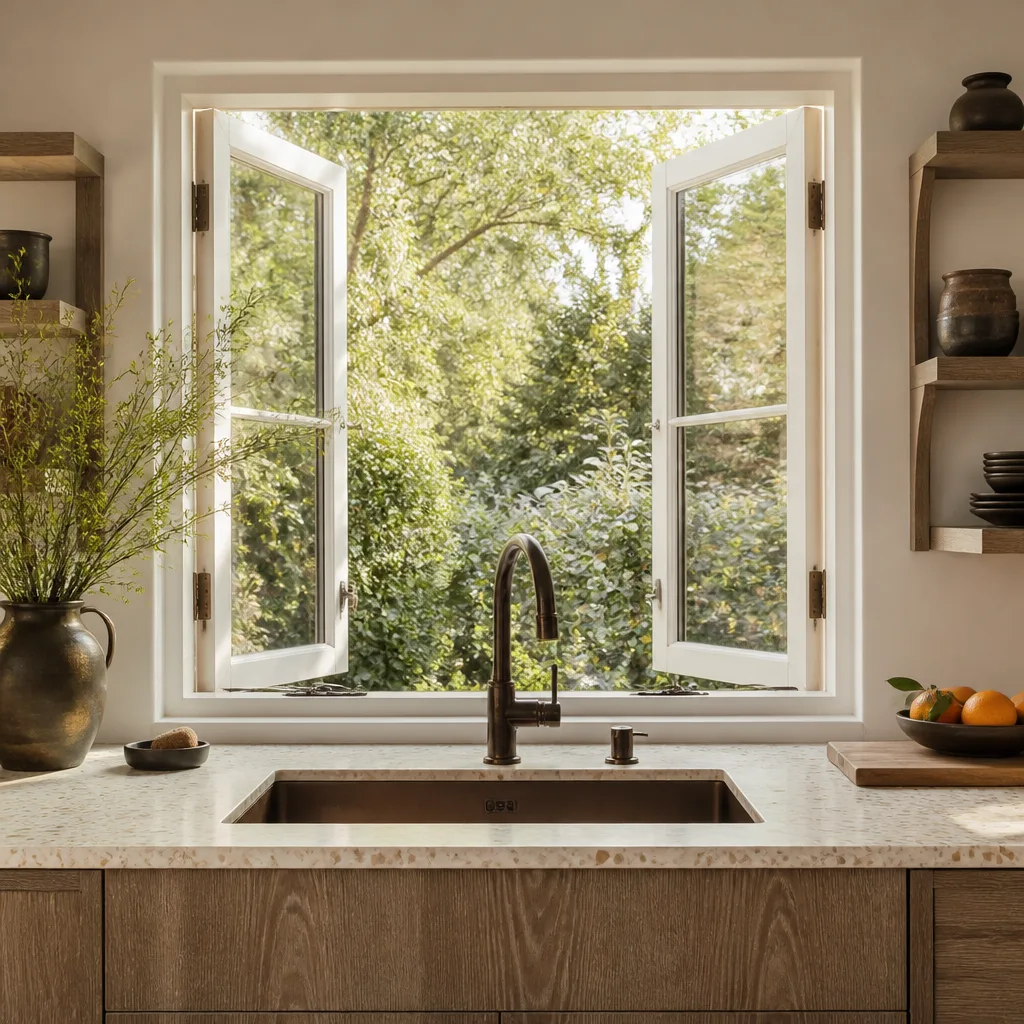
Why Richmond’s Older Bungalows Don’t Measure Like Newer Houses
Measure a window opening in a 1930s Iron Triangle bungalow and you’ll likely find it’s wider at the top than at the bottom, or not plumb by half an inch. That isn’t a measuring mistake. That’s the house moving.
Richmond’s housing stock tells the story. The flatlands hold 1910s-1940s shipyard-worker bungalows and craftsmans in South Richmond and the Iron Triangle, and most of those frames went up before shear walls were standard practice. Add decades of foundation settling on bay-adjacent fill soils and the occasional unpermitted 1940s addition, and you get openings that are neither square nor plumb. We see it constantly: a homeowner measures carefully, orders a unit to the smallest dimension, and it still won’t seat because one corner of the opening sits a half inch proud of the other three.
The stucco-clad tract homes in Parkview and Verde, built in the 1950s and 60s, bring their own wrinkle. The interior plaster dimension and the exterior stucco dimension are both misleading; what actually matters is the rough opening behind them, which you can only read once the interior trim and exterior cladding are accounted for.
The Three-Point Method, Then the Square Check
Start with the standard approach, because it’s still the foundation of a correct order.
- Width: measure between the jambs at the top, middle, and bottom. Write down all three.
- Height: measure from sill to head at the left, center, and right. Write down all three.
- Depth: measure the wall thickness from interior face to exterior face, since the replacement unit’s frame has to sit within it.
- Use the smallest number from the width set and the smallest from the height set. Never average.
Then run the check that the generic guides skip. Measure corner to corner across the opening, both directions. If the two diagonal readings differ by 3/8 inch or less, you’re working with a square opening and a standard replacement unit will fit with normal shimming. If they differ by more than 3/8 inch, the opening is out of square, and ordering to the smallest dimension will produce a unit that binds, leaks air, or won’t close cleanly. That opening needs to be squared first, which usually means sistering framing or adjusting the rough opening framing rather than forcing the window.
Older Richmond homes add one more layer. In houses still carrying knob-and-tube-era construction, the rough opening framing may use true-dimensional lumber (an actual 2×4 that measures 2 inches by 4 inches, not the modern 1-1/2 by 3-1/2). That changes the depth your new unit’s nail fin has to sit against and how much shimming the install requires. Get it wrong and the window sits proud of the interior wall or recessed behind the exterior cladding.
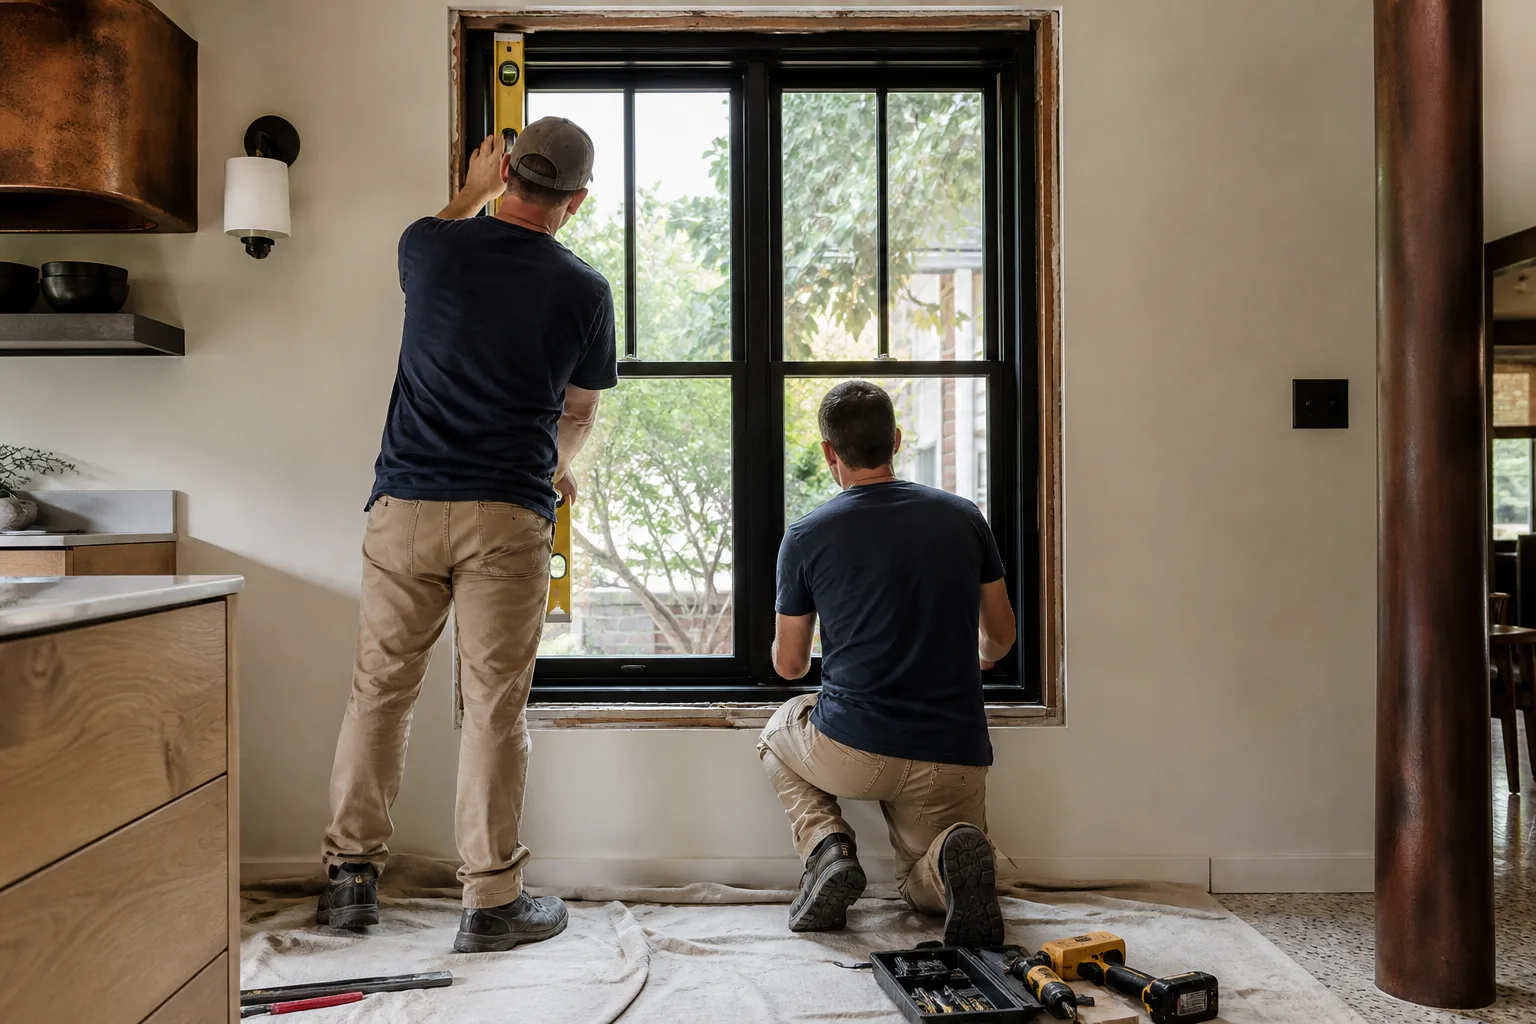
What to Look For Before You Order a Unit
Here’s how we frame the decision on a site visit. Every item on this list is a reason to pause before ordering rather than a reason to guess.
- Diagonal spread over 3/8 inch: the opening is racked and needs squaring, not a custom order.
- Sill out of level: common on the older flatlands, and it points to settling worth understanding before you spend on windows.
- Plaster or stucco thickness beyond standard: the rough opening is narrower than the interior dimension suggests.
- True-dimensional framing: affects nail fin depth and shim stack.
- Visible rot at the sill or head: fog-belt moisture drives decay on south- and west-facing wood, and a soft sill means the opening has to be repaired before a new unit goes in.
One Richmond-specific note that surprises homeowners: the “bonus room” or converted garage on a 1940s South Richmond bungalow is often an unpermitted shipyard-era conversion. If a window replacement touches that wall, the opening geometry can be anything, and a plan-check may come into play. That’s worth knowing before you measure, not after.
How Groundwork Handles the Measure Before We Order
Before any Andersen or Marvin unit is ordered for a Richmond home, a Groundwork technician takes a full opening assessment on site. We check the three-point width and height, the diagonals, the wall depth, the framing lumber sizing, and the condition of the sill and head. That step matters because a mis-ordered unit on a racked Richmond bungalow opening delays the job by weeks and costs real money, and neither of those is recoverable once the order is placed. Our technicians have up to 12 years of experience reading exactly these conditions, and every project is covered by our 730-Day Done Right Promise. You can see the full scope of what we install on our Windows & Doors page, and our Richmond service area page covers the neighborhoods we work in.
We’re the team behind Groundwork Construction Co., and windows are one of seven trades we handle, alongside kitchen and bathroom remodels that commonly pair with a window swap. If your project includes new fixtures while the wall is open, we install bathroom fixtures from Delta and American Standard as part of the same scope.
What Window Replacement Costs in Richmond
Window replacement in Richmond typically runs $4,500 to $15,000 for a whole-home project, depending on unit count, size, and material. Impact-rated units run higher, from $8,000 to $25,000. Here’s how the line items break down:
| Scope | Typical Richmond Range |
|---|---|
| Window replacement (whole home) | $4,500 - $15,000 |
| Impact window installation | $8,000 - $25,000 |
| Rough opening squaring (when needed) | Quoted after site measure |
Upfront pricing means the number you see is the number you pay. We also offer 0% financing for 18 months and $1,000 off projects over $10,000, which softens the jump when a racked opening pushes a job into a larger scope.
FAQs
You measure the three-point width and height first, then check the diagonals; if they differ by more than 3/8 inch, the opening has to be squared before a standard unit will fit. That means framing adjustments, not a custom order. A technician can confirm which situation you’re in during a site visit. Call (833) 700-4611 for a free estimate.
You measure the rough opening, not the plaster-to-plaster or drywall-to-drywall dimension you see from inside the room. The rough opening is the framed gap the new unit actually sits in, and it’s the number that determines the order. Measuring the visible interior dimension is the most common Richmond mistake, especially on stucco homes where the wall assembly is thicker than it looks. Call us for an exact measurement.
They’re out of plumb because most pre-WWII Richmond bungalows were framed before shear walls were standard, and decades of settling on bay-adjacent fill soils have moved the frame. Unpermitted additions common in the older flatlands add to it. The movement is gradual and harmless in most cases, but it does mean the opening has to be checked before ordering. Call us for a free estimate.
Yes, and we recommend it on any Richmond home built before about 1960. A full opening assessment before ordering prevents a mis-ordered unit that delays the job by weeks. Our calls are answered by a live person 24/7, so you can reach us whenever it’s convenient. Call (833) 700-4611 to schedule.
Want the Measurement Done Right the First Time?
If you’d rather have it looked at, Groundwork Construction Co. of Richmond offers a no-pressure assessment in Richmond. We’ll check the square, the diagonals, and the framing depth before anything gets ordered, and quote the full job with upfront pricing. Call (833) 700-4611 today, or reach out for a free project estimate and design consult.
Written by the team at Groundwork Construction Co. of Richmond, serving Richmond, CA.