Last updated November 18, 2026
Free written scope consultation - allowances, timeline, and change-order rules on paper before a single trade is scheduled
DIY vs Professional Driveway & Pavers: What’s Safe to Do Yourself
Laying pavers is learnable in a weekend. Correctly grading and compacting a base that won’t fail in Richmond’s clay soil takes equipment most homeowners don’t own and experience that can’t be YouTubed. That’s the whole conversation in two sentences, and it’s why most “should I DIY my driveway” advice misses the point. The hard part was never setting the pavers. The hard part is everything that happens before the first paver touches the ground, and everything that decides whether the surface is still flat and level three winters from now. In this guide we’ll draw an honest line between the driveway work that genuinely saves you money and the work that quietly sets up an expensive repair. We’ll cover equipment costs the calculators leave out, how DIY affects your material warranty, and the square-footage break-even point where hiring a crew in Richmond becomes the smarter financial call.
Quick Answer
You can safely handle paver layout planning, joint sand refill, and sealing on an existing driveway. You should not attempt the base preparation yourself unless you own or can rent proper compaction equipment and understand soil grading. Base prep is where driveways fail, and Richmond’s clay-heavy soil and winter rains punish shortcuts faster than most places in the Bay Area. For anything above roughly 400 to 600 square feet, professional installation usually costs less over a ten-year horizon than a DIY job that has to be redone.
Styles & brands we work with
- Kitchen remodeling
- Bathroom remodeling
- Home additions & ADU
- Roofing
- Windows & doors
- Driveway & pavers
- Fence
Table of Contents
- Why Base Preparation Is Non-Negotiable Professional Territory
- What a Handy Homeowner Genuinely Can Do
- The Real Equipment Cost of a DIY Base Job
- How DIY Installation Affects Material Warranties
- The Honest Break-Even Math: When Professional Wins
- Richmond’s Soil, Rain, and Why Local Knowledge Matters
- How Long Each Route Actually Takes
- Common Mistakes to Avoid
Why Base Preparation Is Non-Negotiable Professional Territory
The layer you never see is the layer that decides everything. Under a properly built paver driveway sits 6 to 12 inches of compacted aggregate base, layered in lifts of 2 to 4 inches and compacted after each one. Below that, on Richmond’s expansive clay, you may also need geotextile fabric and possibly excavation and replacement of the top 12 inches of unstable subgrade. Skip any of this and the pavers don’t fail immediately. They fail slowly, over one or two wet seasons, as the clay shifts and the surface starts to dish, heave, and develop ruts where your tires track.
Compaction is the specific skill most DIY attempts get wrong. It’s not about hitting the base with a hand tamper for an afternoon. Real compaction requires a plate compactor or vibratory roller, moisture conditioning (the aggregate needs the right water content to compact properly), and density testing to confirm you’ve hit the target. If you’re compacting in lifts that are too thick, the top compacts nicely while the bottom stays loose and settles later. There is no visual way to tell. The failure shows up months after you’ve already paid for the pavers.
What “wrong base” looks like six months in
In Richmond we regularly see spring failures from driveways installed the previous fall over inadequately compacted base. The symptoms: water pooling in low spots after rain, individual pavers rocking underfoot, sand washing out of joints into the base, and eventually a rutted surface that has to be torn out to fix. By the time you see any of it, the fix is not a repair, it’s a rebuild. Tear-out, re-excavation, new base, new bedding sand, and reinstallation of the same pavers. You pay twice for the same square footage.
The other professional-territory piece is grading for drainage. A paver driveway needs a slope away from the house and garage slab of roughly 1 to 2 percent, and it needs to move water to a specific place. Richmond properties often have tight lot lines, existing drainage swales, and garage slabs that sit close to grade. Get the slope wrong and you’re not just looking at standing water. You’re pushing water toward the foundation and paying for it in the form of a wet crawl space or a cracked slab. That cost dwarfs any savings from doing the base yourself.
If your project includes drainage improvements, retaining walls, or grading that ties into a larger yard build-out, it’s worth reading our overview of Driveway & Pavers in Richmond to see the scope that normally goes along with it. And if you’re also considering boundary work at the same time, our Fence Installation in Richmond page covers how fencing and paving projects interact when they’re done together.
What a Handy Homeowner Genuinely Can Do
Here’s the good news. Not everything about a paver driveway requires a crew, and a few of these tasks are genuinely worth taking on. We tell homeowners the same thing in person: if you want to keep costs down and stay hands-on, these are the jobs that save real money without putting the whole project at risk.
- Pattern and layout planning. Choose your paver style, pattern (herringbone, running bond, basketweave), and border. You can draw the layout, order materials, and mark out the design on the ground with stakes and string. This is design work, not installation risk. Take your time here. The pattern is permanent.
- Material selection and ordering. You know what you want. Silestone and Caesarstone don’t make pavers, but the same instinct applies: pick a brand and color you’ll be happy with for twenty years, and order 5 to 10 percent extra for cuts, breakage, and future repairs. Never order exactly the square footage, because matching a dye lot two years later is nearly impossible.
- Joint sand refill. Over a season, polymeric or regular joint sand settles and washes out, especially after heavy winter rain. Refilling joints with fresh sand and sweeping it in is straightforward maintenance you can do with a push broom and a few bags of sand from any hardware store.
- Sealing. Once your pavers have cured and the sand has settled (usually 60 to 90 days after installation), applying a penetrating sealer with a pump sprayer and roller is a reasonable weekend job. It protects against stains, locks in joint sand, and helps with UV fade. Follow the manufacturer’s instructions on temperature and dry time.
- Cleaning and inspection. Pressure washing (at low pressure, held away from joints), weeding joints, and walking the driveway after rain to spot low points or rocking pavers. This is the best early-warning system you have.
Notice what’s not on that list. Excavation. Grading. Compaction. Cutting edge restraints. Cutting and laying the field. Those are the tasks where a small mistake compounds into a total rebuild. If your plan involves a home addition or ADU that changes your driveway approach or parking layout, coordinate the grading between the two projects; our Home Additions & ADU in Richmond page explains how site work is sequenced when additions and paving happen together.
The Real Equipment Cost of a DIY Base Job
Cost calculators online give you paver cost, sand cost, and maybe a hand-tool allowance. They almost never include what it actually takes to prepare a base correctly. Here’s what a realistic DIY base job looks like when you add up rentals and specialist equipment for a typical 400-square-foot residential driveway in Richmond.
| Item | Rental / Purchase Cost | Notes |
|---|---|---|
| Plate compactor | $80 to $120 per day | Likely needed for multiple days across lifts |
| Excavation (mini-excavator) | $250 to $400 per day | Top 8 to 12 inches of subgrade and old material |
| Laser level / rotary level | $60 to $100 per day rental | Or $300 to $500 to buy. Essential for grading |
| Wheelbarrow / hauling | $100 to $200 (buy) | Moving aggregate, sand, and spoil |
| Sprayer and compaction water | $50 or less | Moisture conditioning is required, not optional |
| Dumpster / spoil removal | $300 to $600 | Excavated material has to go somewhere |
| Bedding sand and geotextile fabric | $150 to $350 | Underlayment and leveling layer |
| Paver saw rental | $80 to $120 per day | Wet saw for clean cuts at borders and edges |
That’s $1,000 to $1,900 in equipment, hauling, and consumables before a single paver is laid, and before you’ve put a value on your own time. For most homeowners, that’s where the calculation quietly flips. A rental day on a plate compactor is only worth it if you actually know how to use it for compaction testing, because a confused operator is just as likely to over-water and over-compact as under-compact. And if you’re grading near a building, you’re doing sight work a laser level can’t fully check for you.
How DIY Installation Affects Material Warranties
Paver manufacturers warranty the product, not the installation. That distinction matters more than people realize. Read the warranty fine print on a major paver brand and you’ll find language conditioning coverage on proper installation per industry standards (ICPI guidelines, ASTM compaction specs, or manufacturer install guides). If a paver cracks or fails prematurely, the manufacturer can decline the claim if the installer didn’t follow spec. And if the installer was you, working from a video and a rented compactor, the paper trail is thin.
- Material defects stay covered. If a paver is defective from the factory and fails within the warranty window, you’re still in a reasonable position to claim, provided the install met spec.
- Install-related failures usually aren’t covered. Heaving, settlement, rutting, and cracking from inadequate base compaction fall outside most material warranties. That’s the failure mode most DIY jobs run into.
- Workmanship warranty is the missing piece. A licensed installer typically provides a workmanship warranty on top of the material warranty, covering the labor to fix what fails. When you install yourself, there’s no one to call back. The labor to redo is entirely on you.
This is where the Groundwork Construction Co. of Richmond conversation usually lands. Our 730-Day Done Right Promise – one of the longest workmanship guarantees in residential construction – covers what we install. If the driveway fails because of how it was built within that window, we make it right. That’s the piece a DIY job can’t give you, no matter how good the video was. We pair that with upfront pricing, no surprises, so the base work, the pavers, and the disposal are all in the number before work starts.
The Honest Break-Even Math: When Professional Wins
Let’s put real numbers on the table. In Richmond, a professionally installed paver driveway typically runs $14 to $28 per square foot installed, fully built, including base, compaction, bedding, pavers, and edges. Material and equipment for a DIY install of the same square footage typically lands at $8 to $15 per square foot, not counting your time. That $6 to $13 per square foot gap is where the argument gets made.
Here’s how it actually plays out.
- Under 200 square feet. DIY math often works out. Small pads, walkway-to-driveway transitions, and patio-size installs are forgiving, and the failure mode is smaller. If you own or can borrow the tools, go for it.
- 200 to 400 square feet. Close to a coin flip. This is the size where the equipment costs start to bite and the base depth really matters. DIY is viable if you’re genuinely capable, confident in your grading, and can rent and operate a compactor properly.
- 400 to 600 square feet. The break-even zone. Professional install typically costs less than a correctly executed DIY job in this range, once you price your own weekend labor, equipment rental, spoil removal, and the risk of a redo.
- Over 600 square feet. Professional install wins on almost every metric. The excavation, the compactor hours, the hauling, the probability of a critical mistake – all scale up faster than the per-square-foot savings. This is a driveway, not a patio pad. A 600-square-foot driveway built wrong costs you another 600-square-foot rebuild.
The number that isn’t on any calculator is the cost of the second install. On Richmond clay, an improperly prepped base typically fails inside three years, sometimes faster. When you add the cost of removal, new base, and reinstallation to the original DIY savings, the ten-year picture almost always favors professional the first time.
Richmond’s Soil, Rain, and Why Local Knowledge Matters
Richmond sits on an unusual soil mix. The flatlands and areas near the bay and the shipyards hold a lot of expansive clay and bay mud. As the clay absorbs winter rain it swells; as it dries through summer it shrinks. That movement, over cycles, is what lifts and drops paver surfaces that weren’t given a properly stabilized base. We see it most often in the older residential blocks of central Richmond and the low-lying pockets near the waterfront, where drainage is already an issue and the soil holds water longer than it should.
The hillside neighborhoods, like Point Richmond and the streets climbing toward Wildcat Canyon, have the opposite problem: gradient and runoff. A driveway on a slope has to move water to a designed outfall, not just “away from the house.” If your driveway sits on a slope and the base isn’t built with a deliberate grade, water finds the weakest joint and the surface starts to unravel from underneath.
Two Richmond specifics worth knowing before you plan anything:
- Permits. Most paver installation on an existing driveway is not permit-triggered, but if your project involves grading that changes drainage, retaining walls over a certain height, or changes to how your driveway meets the public right-of-way, it likely falls under Richmond Municipal Code and needs review by the city’s Building Division. Grading and slope work near a property line is the usual trigger.
- Winter timing. Richmond’s rainy season runs roughly November through April. Paving work done in the wet months has to work around moisture-conditioning and base stability issues that dry-season work doesn’t. If you’re planning a spring project, get the estimate in the dry window and plan for a fall or early-summer start.
When a contractor knows the specific block, they know the soil profile. That’s the local knowledge a national online calculator can’t give you. Our broader overview at the Groundwork Construction Co. of Richmond home page walks through how we sequence projects in Richmond neighborhoods where site work and drainage interact with the rest of the home.
How Long Each Route Actually Takes
Time is a real cost, and DIY guides routinely underestimate it. Here’s the honest comparison for a 500-square-foot driveway, which is roughly the size of a two-car driveway in much of Richmond.
Professional installation
A crew with proper equipment typically completes a 500-square-foot paver driveway in 2 to 4 working days, weather permitting. Day one is excavation and spoil removal. Day two is base aggregate, layering, and compaction. Day three is bedding sand, paver installation, and edge restraint. Day four is joint sand, cutting, cleanup, and final grading check. Cure time before sealing is 60 to 90 days. The homeowner’s time investment across the whole project is a couple of conversations and one final walkthrough.
DIY installation
A first-time homeowner doing the same job, working evenings and weekends, typically takes 3 to 5 weekends. Realistic breakdown: one weekend for excavation and spoil hauling (this step alone often eats a full weekend and then some, because wheelbarrow hauling is slow), one weekend for base aggregate layering and compaction, one weekend for bedding sand and cutting, one weekend for laying pavers and edge restraints, and one weekend for joint sand and cleanup. Renting equipment means overlapping rental days, and a missed weekend sets everything back. In our experience, the 3 to 5 weekend estimate is the optimistic end. Most first-time installs run closer to 6 to 8 weekends, and the project stalls halfway through more often than people expect.
If the driveway is part of a bigger scope, like paving that ties into a fence, a patio, or an outdoor build-out, the sequencing matters as much as the hours. Coordinating those phases with a single contractor is a big part of why we call the full scope from foundation to finish line on our own projects.
Common Mistakes to Avoid
- Compacting in lifts that are too thick. Piling 8 inches of aggregate and running the compactor over the top looks fine and fails in six months. Lifts should be 2 to 4 inches, moisture-conditioned, and compacted each time.
- Skipping geotextile fabric on Richmond clay. Fabric stops fines from migrating into the base and helps stabilize the subgrade. It’s inexpensive and most DIY videos skip it entirely.
- Getting drainage slope wrong. A driveway that pools water or sheds water toward the garage slab is a problem you’ll see in the first rainy season and live with for years. Slope matters more than surface flatness.
- Ordering exactly the square footage. You need 5 to 10 percent extra for cuts, breakage, and future repairs. A paver dye lot from two years later won’t match.
- Using a hand tamper instead of a plate compactor. No amount of hand tamping hits compaction density at depth. A rental is $80 to $120 per day, and it’s the single most important tool in the job.
- Sealing too early. Sealing before joint sand settles or before pavers fully cure locks in moisture and can cause haze. Wait 60 to 90 days, and follow the sealer spec on temperature and dry time.
- Forgetting the edge restraint. Pavers without a properly anchored edge restraint walk outward over time, opening joints and letting sand wash out. It’s a small detail and the difference between a 20-year driveway and a 5-year one.
When to Call a Professional
Call a professional when the project involves more than about 400 square feet, when your soil is clay-heavy or sits low on the drainage, when the driveway slopes toward a building, or when you want a workmanship warranty on the outcome. If the driveway is part of a bigger site plan including a fence, patio, ADU approach, or retaining wall, those projects have to be sequenced together and a crew should handle the whole scope. And if you’ve already had a DIY paver driveway fail on you, tear-out and rebuild is definitely not a homeowner job. Groundwork Construction Co. of Richmond offers free estimates in Richmond – call (833) 700-4611. We’ll walk your property, check the drainage, and give you a written line-item quote. Background-checked, uniformed technicians on every job, and a live person answers the phone 24/7.
See the difference
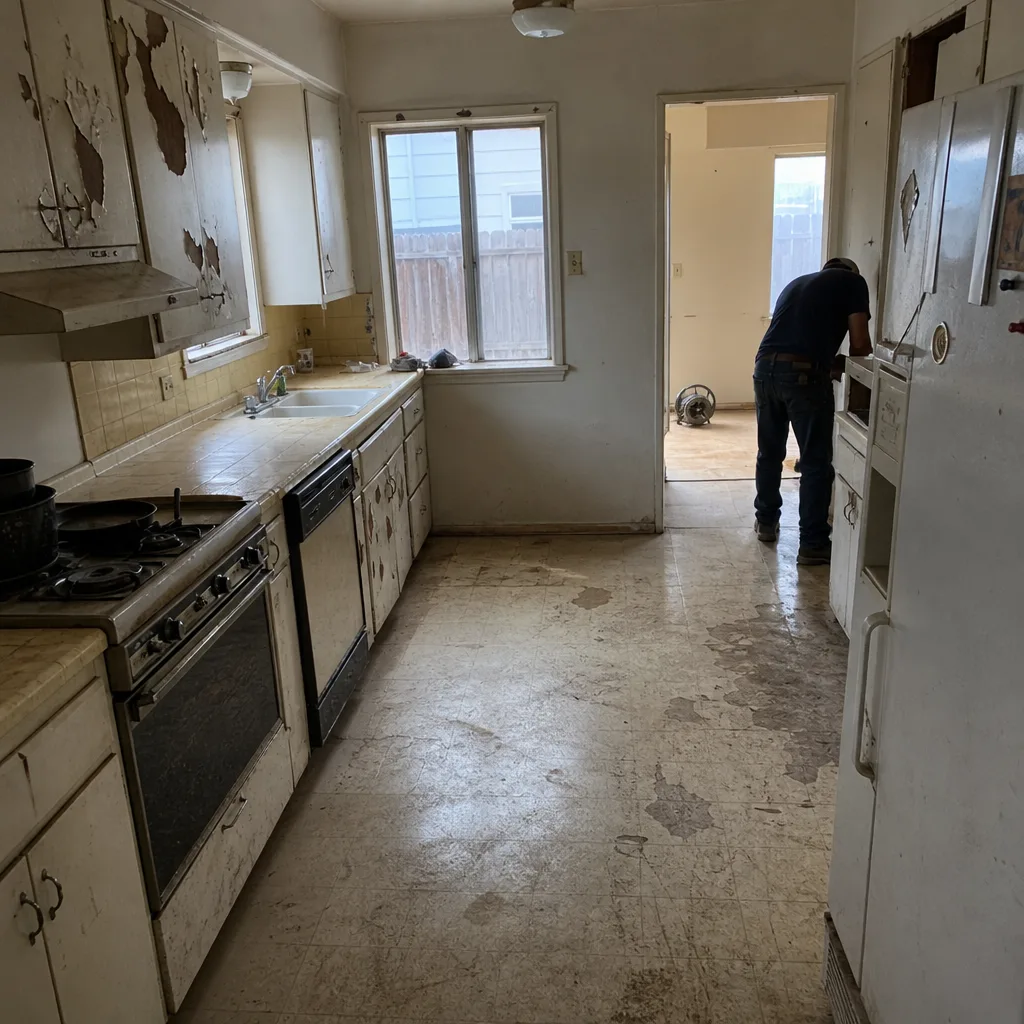 Before
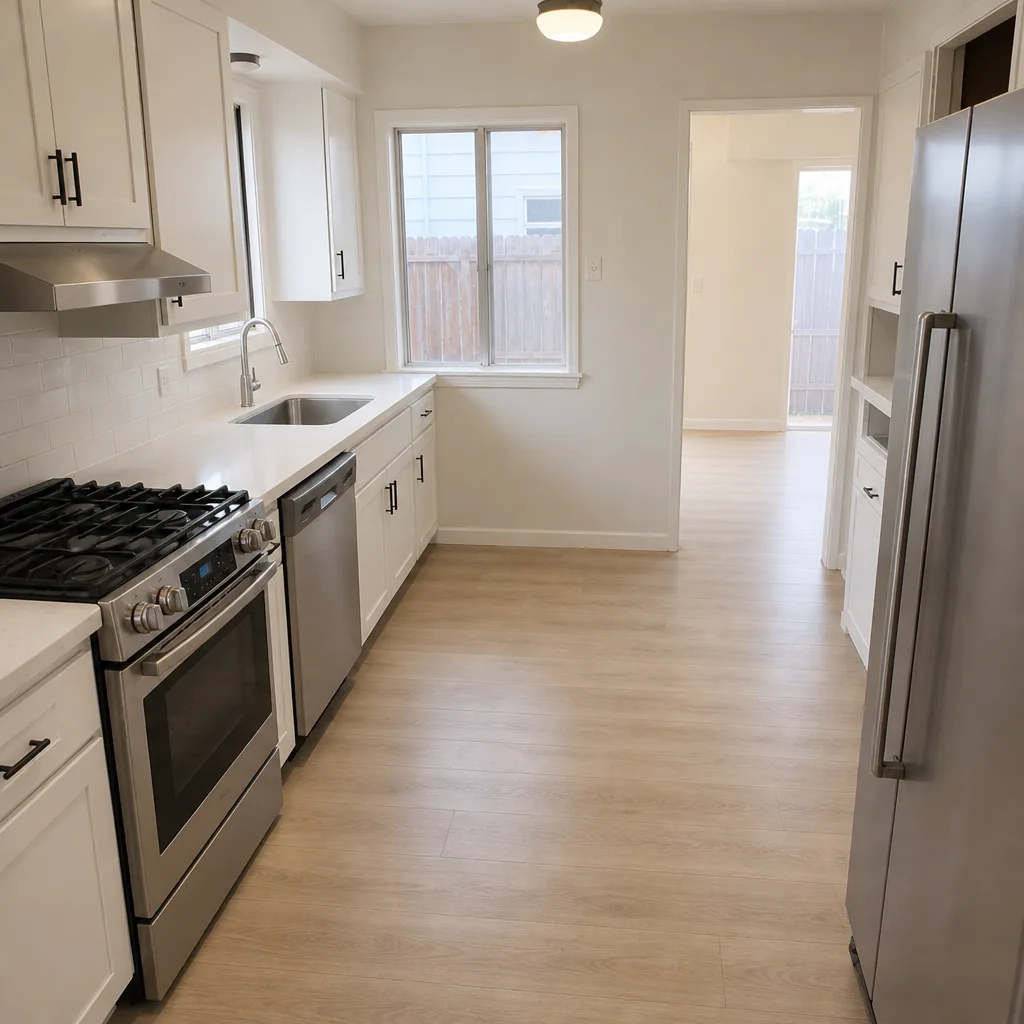 After
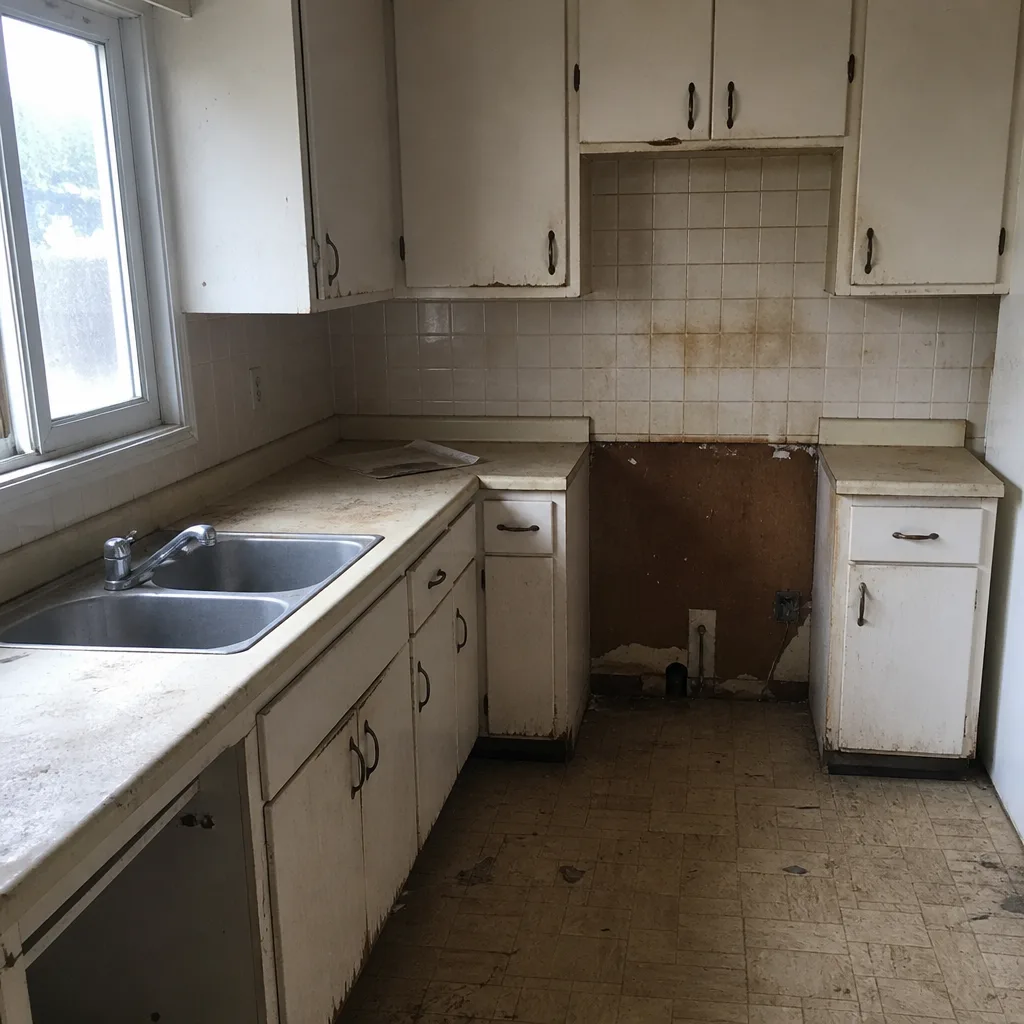 Before
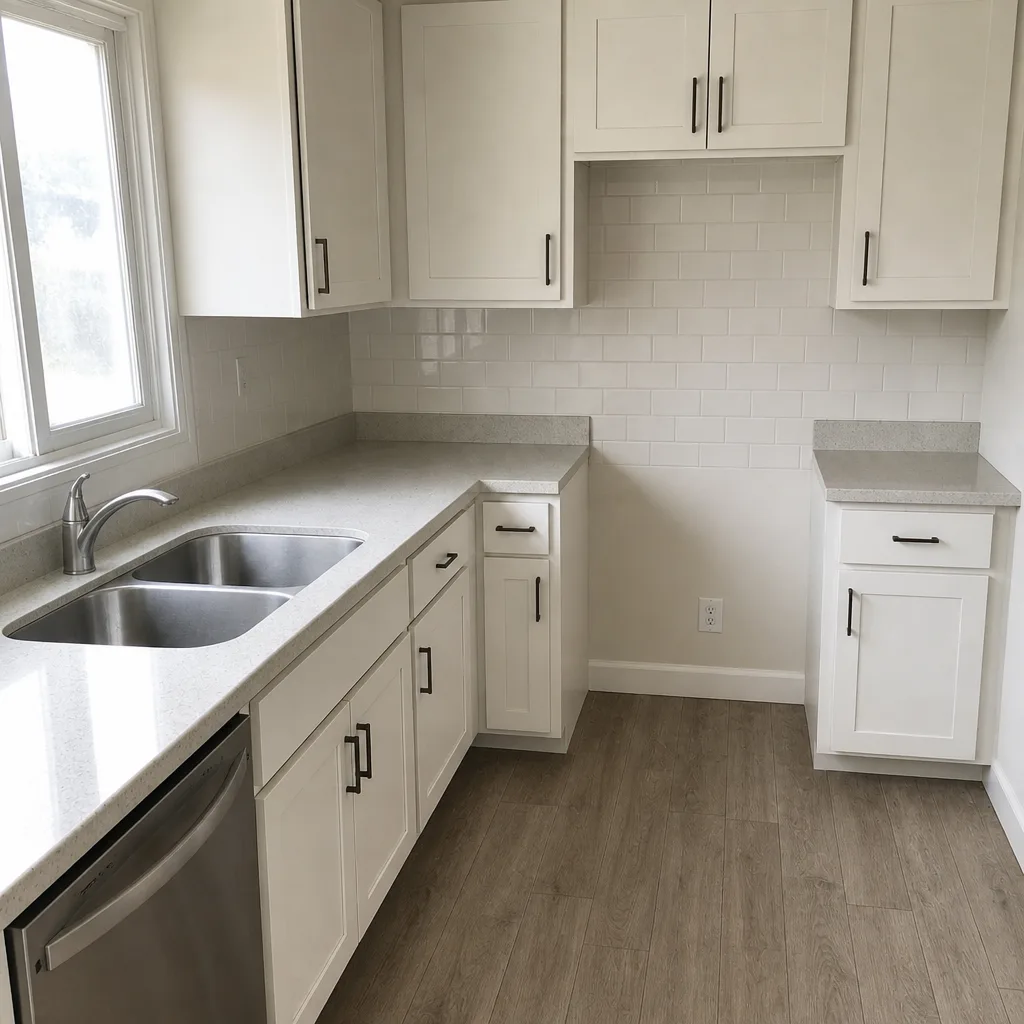 After
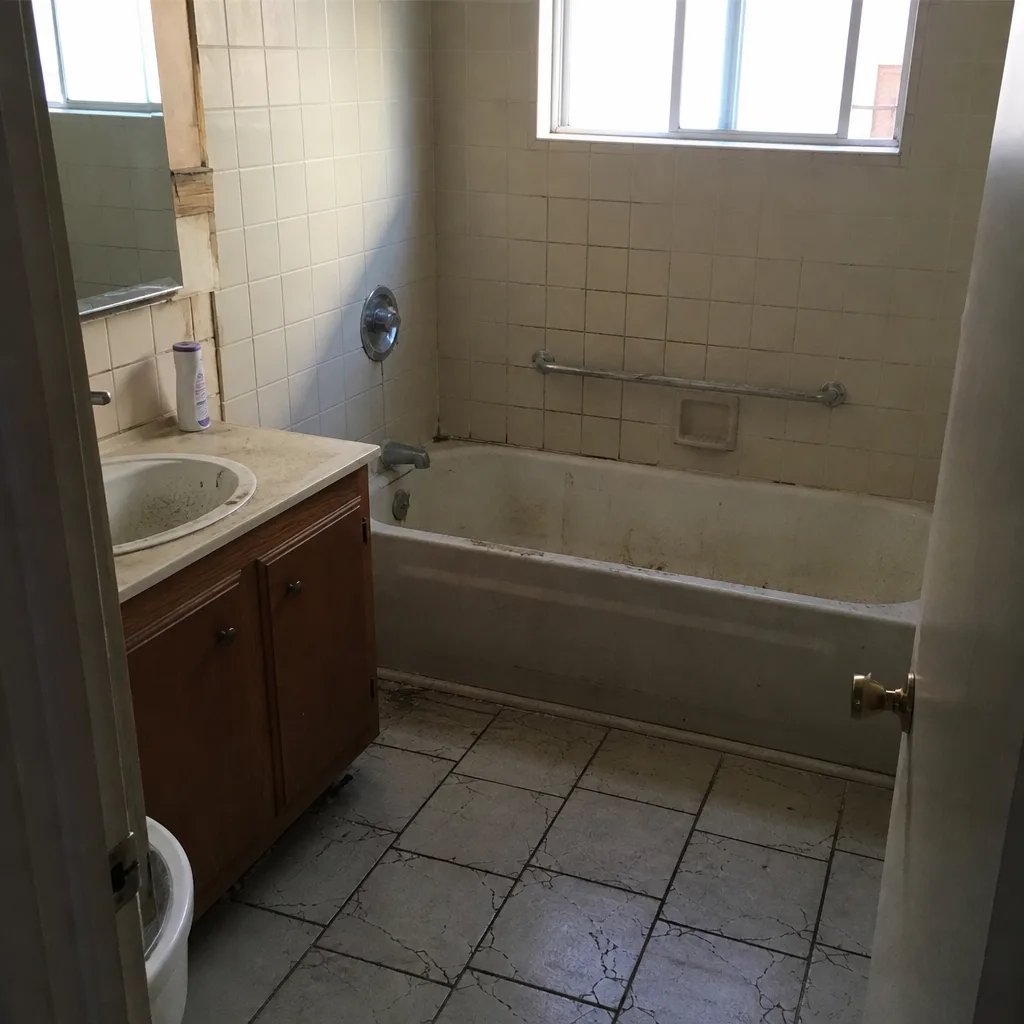 Before
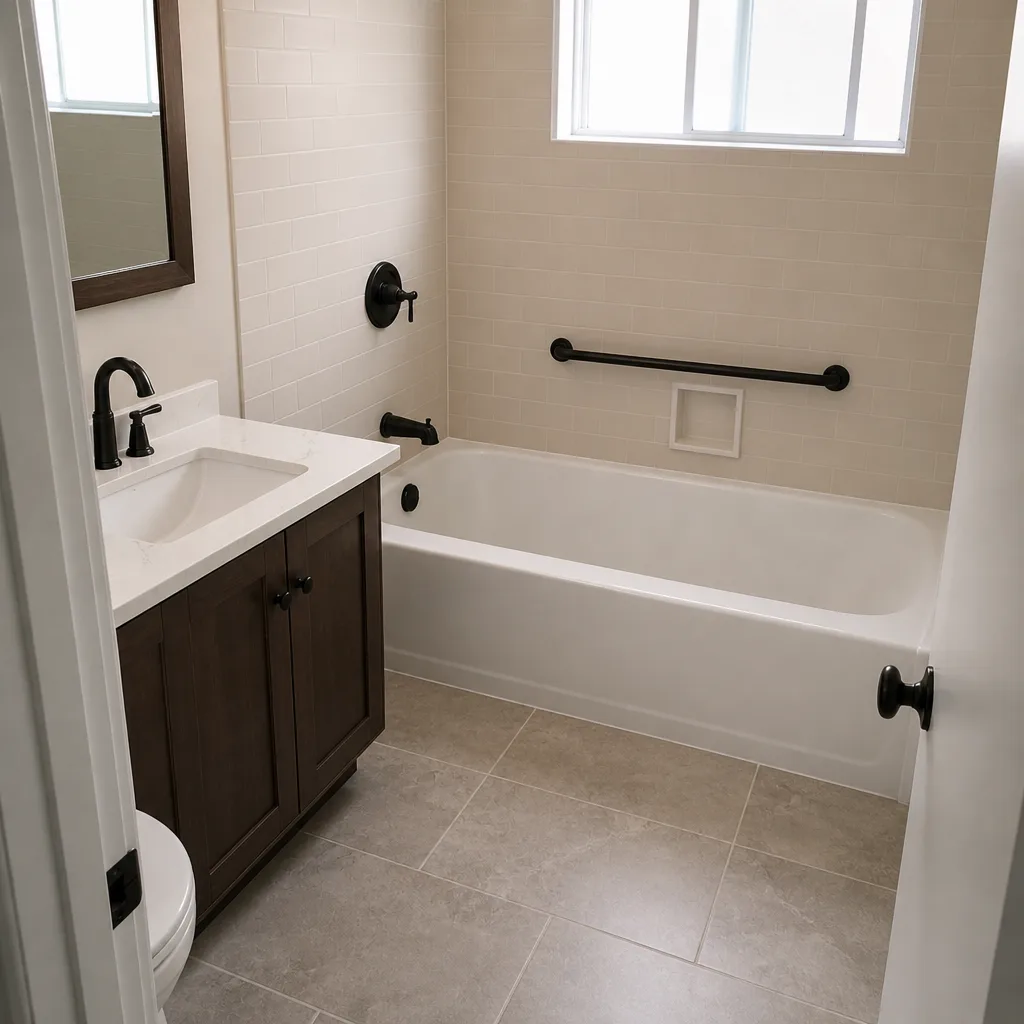 After
Frequently Asked Questions
DIY pavers are worth it for small projects under roughly 200 square feet where you own the tools and can handle grading. For driveways over 400 square feet on Richmond clay soil, hiring a contractor usually costs less over ten years because the base prep is where DIY jobs fail. Groundwork Construction Co. of Richmond offers free estimates if you want a number to compare against your DIY budget.
In Richmond, a professionally installed paver driveway typically runs $14 to $28 per square foot fully built, depending on paver selection, site access, and base depth. That covers excavation, base, compaction, materials, installation, and cleanup. Call (833) 700-4611 for a free written quote, and we’ll give you a line-item number before work starts.
Most contractors won’t warranty pavers over a base they didn’t build, and we don’t either. The 730-Day Done Right Promise covers the whole install, and that means the base has to be built by the crew that’s warrantying it. If you want to keep some hands-on work, layout planning, pattern selection, and sealing after install are the tasks we recommend for homeowners.
A properly built paver driveway in Richmond lasts 25 to 30 years or more with normal maintenance. The base is the deciding factor. On Richmond clay, a well-compacted base with geotextile fabric and correct drainage slope is what gets you to 25 years. A shortcut base can fail in 3.
Most paver replacement on an existing driveway doesn’t require a permit in Richmond. If the project changes grading, adds a retaining wall, or alters drainage or the way the driveway meets the public right-of-way, it may need city review. Ask at the estimate stage, because it’s cheaper to plan for it than to discover it mid-project.
The material warranty may still cover a defective paver, but the labor and rebuild cost fall on you. Most failures in a DIY paver driveway are base-related and aren’t covered by any warranty. The fix is full tear-out and rebuild. That’s the specific reason we warn homeowners away from a DIY base on Richmond’s clay.
The Bottom Line
The DIY question for driveway pavers isn’t about how handy you are. It’s about the base underneath, and whether you can grade and compact a subgrade in Richmond clay that won’t settle after two wet winters. If you can’t, the paver laying skill is wasted work. Layout, material selection, sealing, and joint sand refill are genuinely yours to handle, and they save real money. The base work, excavation, and compaction are professional territory, and that’s where the honest line sits. Under 200 square feet, DIY can win. Over 400, the professional install usually wins in total cost, and it comes with something the DIY job doesn’t: a written warranty covering the whole install for 730 days.
Ready to Stop Guessing and Get a Real Number?
Groundwork Construction Co. of Richmond builds driveway and paver projects across the city and around the neighborhoods where the soil won’t forgive a shortcut. We answer the phone 24/7 with a live person, we show up in uniform, and the price we quote is the price you pay. Whether you want a full install or you’ve already started a DIY project that needs a professional eye, we’ll walk the property and give you a straight answer. Call (833) 700-4611 today to schedule your free estimate and design consult. If your project is over $10,000, you can use $1,000 off, and 0% financing is available for 18 months. Built to last, backed in writing.
Written by the team at Groundwork Construction Co. of Richmond.