Last updated November 18, 2026





Free written scope consultation - allowances, timeline, and change-order rules on paper before a single trade is scheduled
DIY vs Professional Windows & Doors: What’s Safe to Do Yourself
Here’s what the product videos never show: the moment after the window is set in the opening and the camera cuts away. That’s the flashing tape stage, the integration point between the frame, the sheathing, and the wall’s water-resistive barrier. These days, a window that looks perfect from the inside, sits plumb and operates smoothly, and passes every visual check you can make with your own eyes can still be a slow-motion failure. The first real storm that drives rain sideways off the Pacific pushes water behind the siding, and in Richmond, where wind-driven rain coming off the bay is a routine winter event, that failure starts rotted sheathing and mold in the wall cavity. This guide breaks down, task by task, what’s genuinely safe to handle yourself and what belongs in professional hands.
Quick Answer
Weatherstripping, hardware swaps, caulk touch-ups, and screen repair are safe DIY window and door projects. Full-frame replacement, structural header work, and any installation requiring exterior flashing integration are not. In California, most window replacements that change the rough opening require a building permit, and unpermitted work can empty out your homeowner’s insurance coverage when you need it most. If the job touches the envelope of your house (the barrier between inside and outside), bring in a trained professional.
Styles & brands we work with
- Kitchen remodeling
- Bathroom remodeling
- Home additions & ADU
- Roofing
- Windows & doors
- Driveway & pavers
- Fence
Table of Contents
- The Task-by-Task Breakdown: What’s DIY and What Isn’t
- Why California Requires Permits for Most Window Replacements
- The Flashing Steps YouTube Skips (And Why They Matter)
- How to Check If Your Rough Opening Is Square and Plumb
- The Real Cost Comparison: DIY Callback vs. Professional Install
- Richmond-Specific Conditions That Change the Equation
- Entry Doors: A Different Animal From Windows
- The Safe DIY List: Projects We Endorse
The Task-by-Task Breakdown: What’s DIY and What Isn’t
Most homeowner frustration with window and door work comes down to a single misunderstanding: the industry lumps every task into “window replacement” and “door installation,” as if every job were equal. It isn’t. Some tasks are genuinely appropriate for a confident homeowner with a Saturday and a few hand tools. Others involve structural loads, water management, or life-safety details that don’t forgive mistakes.
Here’s how we break it down.
Genuinely DIY-appropriate
- Weatherstripping replacement: On old doors, worn weatherstripping is responsible for most of the air infiltration. New foam, V-strip, or door-sweep kits cost $10 to $40 and take an hour to install. This one’s a clear yes.
- Hardware swaps: Handles, locksets, hinges, sliding door rollers, balance hardware on double-hung windows. If the window operates but the latch is broken, replacing the part is well within reach.
- Caulk touch-ups: Recaulking the exterior perimeter of a window or door is annual maintenance, not installation. Clean the joint, use exterior-grade paintable caulk, and keep it moving.
- Screen repair and replacement: Re-screening a frame is a satisfying DIY project that requires about $30 worth of spline and a screen rolling tool.
- Glazing compound repair on older wood windows: Small cracks in the putty around single-pane glass can be scraped and refilled. Anything more than cosmetic cracks suggests the glass or sash needs attention.
Professional territory
- Full-frame (new construction) window replacement: When the entire window assembly, including the frame and rough opening, is being replaced. This is invasive work that requires permit, flashing, and often structural attention.
- Pocket or insert replacement window installation: Looks easier than full-frame, but still requires proper flashing integration and precise measurement. A pocket window installed with insufficient flashing will leak just like a full-frame window installed poorly.
- Any work involving structural headers: Widening a door opening, replacing a load-bearing header over a picture window, or removing a corner post. This is engineering territory, not DIY.
- Flashing integration: The water management system around your window or door. This is where the liability lives, whether you realize it or not.
- Panning, jamb extensions, and exterior trim detail: Doable with the right experience, high risk of water intrusion for a first-timer.
If you’re honest with yourself about which column your project belongs in, you’ve eliminated about 80% of the risk before you’ve bought a single tool. In our experience, the homeowners who get in trouble in Richmond are the ones who read a how-to article and think “full-frame replacement” and “replace the handle” are in the same category. They’re not.
Why California Requires Permits for Most Window Replacements
California’s building code treats window replacement as a permit-triggering event more often than most homeowners expect. The state loosely divides it into two categories: like-for-like replacements that don’t change the rough opening (sometimes exempt in certain jurisdictions) and replacements that change the rough opening, require new framing, or alter the wall assembly (almost always permitted). In Richmond and most Bay Area cities, if a permit inspector can’t see what you did six months from now without a permit trail, they want a permit on file.
Why does this matter beyond paperwork?
- Insurance: If your homeowner’s policy excludes coverage for unpermitted work, a water intrusion claim following an unpermitted window install can be denied. The policy language you signed at purchase is often hyper-specific about “code-compliant construction.” Unpermitted work isn’t compliant, full stop.
- Resale: A buyer’s inspector will catch it. A title search will catch it. A lack of permits on a window replacement can scuttle a sale or force a retroactive permit process that’s more expensive than the original work.
- Safety inspections: The permit process catches things you wouldn’t: inadequate header installation, missing joist hangers, window openings that don’t meet egress sizing requirements for bedrooms. These are real safety issues that a self-install won’t flag.
- Energy code compliance: Window specifications are regulated for thermal performance in California, and a permit pulls those specs into the record. Older windows rarely meet current code without choosing specific products.
When we replace windows or doors in Richmond, pulling the permit, scheduling inspections, and passing final is part of what we do. Homeowners shouldn’t have to manage that process. But every homeowner should understand what’s at stake when it’s skipped.
The Flashing Steps YouTube Skips (And Why They Matter)
Flashing is the water-management system that sits around a window or door assembly, channeling any water that gets behind the siding back out to the exterior. It’s the single most important part of an installation and the part almost every DIY tutorial cuts away from before it ever shows up on camera. Watch a product video for any window system and the camera usually ends on the finished interior trim or the last turn of a screw. The flashing sequence is where the 20-year window becomes a 7-year window.
Here’s what correct flashing integration actually involves, in order:
- Sill pan flashing first. A sloped or back-dammed sill pan directs water outward instead of pooling at the bottom of the frame. It’s cut and installed before the window goes in, not after.
- Flashing tape around the frame. Self-adhesive flashing tape is applied to the sill, then jambs, then the head. The overlap direction is important: upper layers shed water over lower layers. Get the sequence wrong and the flashing does the opposite of its job.
- Integration with the weather-resistive barrier (WRB). The house wrap or rigid foam on the wall has to layer over the flashing tape in the correct sequence so any water that reaches the wall assembly drains outward and down.
- Head flashing above the window. A metal or taped flashing detail above the head keeps water from wicking behind the siding above the window.
- Drainage path testing. Before trim and siding go back on, spray water on the assembly and watch where it goes. Any water that pools is a future leak.
The reason this step gets skipped isn’t laziness. Flashing tape integration takes time, planning, and understanding the sequence. It also happens under siding, where no one sees it. That’s precisely why it’s the step that fails silently and causes the most expensive repairs. In Richmond, where the fall and winter storms routinely drive water against the windward side of the house, a poorly flashed window on a west or south wall is going to find out within the first two rainy seasons.
Groundwork Construction Co. of Richmond home is where we explain our full-scope approach, but the short version is this: flashing is not a value-add. It’s the work.
How to Check If Your Rough Opening Is Square and Plumb
You don’t have to commit to a full installation to check whether the rough opening of any window or door is square and plumb. You do have to check that before you buy a replacement unit, because a replacement that doesn’t fit will either force you into a much larger project or push you back to the store. Here’s the sequence, and it takes less than 20 minutes per opening.
- Measure the diagonals. For any opening, measure from the top-left corner to the bottom-right corner, then from the top-right to the bottom-left. The two numbers should match within 1/4 inch. Larger differences mean the opening is out of square.
- Check plumb on both vertical sides. A 4-foot spirit level on each jamb tells you whether the sides are plumb. A consistent 1/8 inch or more out of level is a red flag.
- Check level on the header and sill. The top of the opening and the bottom sill should both be level, with the sill sloped slightly outward (about 1/8 inch) for drainage.
- Look for rot and pest damage. Probe the sill and frame with a screwdriver. Soft wood anywhere in the opening means the scope has changed. You can’t install over rot, and no flashing tape will save a rotten sill.
- Check the header and framing visually. Look for sagging, cracks, or anything suggesting the structural load above the opening has been compromised. If anything looks suspicious, stop and call a professional. Structural assessment isn’t a homeowner project.
- Confirm the size against the manufacturer’s spec. Every window or door comes with a specific rough opening requirement. If your existing opening is more than 1/2 inch off in any direction, you’re in a “modify the opening” project, not a “drop it in” project.
Out-of-square rough openings in Richmond homes happen more often than they should, particularly in older housing stock in the Iron Triangle and South Richmond neighborhoods, where settling and previous alterations have accumulated. When the opening is out of square, the fix is a reframe, which is a professional project. When it’s noticeably out of plumb from settling, the fix is often the same.
The Real Cost Comparison: DIY Callback vs. Professional Install
The number homeowners quote to us comparing DIY vs. professional window install is usually the sticker price: “the window costs $800, and I saved $1,500 by installing it myself.” What that math misses is the callback. It’s the cost of fixing the part of the install that fails 18 months later, discovered when water damage shows up in the drywall under the window or the paint starts bubbling on the interior wall.
Here’s a realistic range comparison for a typical Richmond project, based on what we see on bids and what we hear from homeowners.
- Window replacement (professional, mid-grade product, per unit): Generally $1,200 to $2,400 per opening installed, including removal, disposal, flashing, and finish. Permits, when required, are additional and quoted separately. Full-frame replacement trends higher; pocket replacement trends lower.
- Window replacement (DIY, mid-grade product, per unit): $600 to $1,200 for the unit itself, plus $100 to $300 in flashing tape, caulk, shims, fasteners, and touch-up materials. Total $700 to $1,500 per opening, not counting any tool purchases.
- Water intrusion repair (when flashing fails): This is the number that changes the math. In Richmond, we’ve seen repair costs ranging from $1,800 for a cosmetic drywall-and-trim repair to over $8,000 when sheathing, insulation, and framing have rotted out around a wall assembly.
- Permit-retroactive work (if the unpermitted install is caught): Fines vary, and the retroactive permit process often requires the work to be opened up for inspection, which means paying for at least partial reinstallation.
- Professional workmanship warranty: A quality professional install typically includes a written workmanship warranty measured in years, not weeks. Our Home Additions & ADU in Richmond page explains how that shows up on structural projects, but the same principle applies to window and door work: the warranty doesn’t cover the window, it covers the labor, which is where the failure lives.
Run the math with the callback included, and the professional-install case is usually stronger than the DIY case for any full-frame or flashing-involved project. The spot where DIY wins the math cleanly is the maintenance list: weatherstripping, hardware, recaulking. Those are the projects where a homeowner genuinely saves money doing the work in the afternoon.
Richmond-Specific Conditions That Change the Equation
Richmond sits at the eastern edge of the bay, and that geography drives two conditions that affect window and door performance more than most homeowners realize.
Wind-driven rain off the bay
Winter storm systems coming off the Pacific push water against the western and southern faces of buildings, and in the hills above Point Richmond and the Richmond Annex, wind speeds during storms can spike hard enough to drive water up and under poorly integrated flashing. If your house is on a west- or south-facing slope, your windows are the test case for whether your installation is done right. We’ve seen perfectly maintained Richmond homes from the 1950s with chronic leaks around the back porch door because the original install never got a sill pan.
Marine layer and humidity
The marine layer doesn’t just make for cool mornings. It keeps relative humidity elevated, which is why wood windows and doors in Richmond see faster swelling and shrinking cycles than the same windows in the Central Valley. Recaulking annually on Richmond homes is not paranoia, it’s maintenance. Weatherstripping on doors in the fog belt buys more time before it needs replacing than doors east of the hills.
The older housing stock
Much of Richmond’s housing was built between 1900 and 1970, and window openings from that era are often anything but square. Single-pane wood windows with original sashes, steel casement windows in mid-century homes, and aluminum sliders from the 1970s are all common. None of these are drop-in replacements. Every one of them is a “measure twice, plan carefully, expect scope adjustment” project. In Iron Triangle, for example, we regularly see original wood sills that need full replacement before any new window goes in. The replacement window in that scenario is the easy part. The sill is the project.
The same conditions affect every exterior project we work on. Our Fence Installation in Richmond page touches on how wind and moisture interact with exterior structures, and our Driveway & Pavers in Richmond service handles the drainage side of the same equation. Anything on the envelope needs to be built to Richmond, not built to the code minimum.
Entry Doors: A Different Animal From Windows
Entry door replacement has its own rules, and they’re stricter than window replacement in one important way: an entry door is a life-safety system. It’s egress, it’s weather-sealing, it’s security, and it’s often where the most complex trim and flashing detail lives on the front of your house.
What’s genuinely DIY on doors:
- Weatherstripping and sweeps. Standard maintenance. Yes.
- Locksets and deadbolts. Replacing a lockset within an existing bored-through hardware prep is a two-hour project. Enlarging a bore for a new lockset is a one-shot operation that’s very easy to ruin.
- Sliding door roller replacement. Doable if you can lift the door panel safely with a helper. Take that seriously; a sliding glass door panel weighs 100 pounds or more.
- Hinge replacement and adjustment. Standard.
What’s not:
- Full entry door replacement. Removal of the old door, replacement of the frame, integration with the existing wall assembly, new flashing, threshold pan, weather-sealing, and interior trim. This is a half-day-to-full-day project for a pro, and a full weekend of chances to build in a slow leak for a first-timer.
- Widening a door opening. Structural. Permit-territory. Don’t.
- Any work on exterior storm doors where the flashing at the wall has to change. Same water-management rules as windows.
Whether you’re replacing a single entry door in a Bellemeade ranch house or doing all five exterior doors on an older home near the Marina, the checklist stays the same: flashing, threshold, weather-seal, and structural integrity. Miss any one and you’ve moved the project from “installed” to “in progress.”
The Safe DIY List: Projects We Endorse
If you’re a homeowner who wants to spend a Saturday improving your windows and doors without calling anyone, this is the list we hand to our own neighbors.
- Weatherstripping replacement on any door. Costs under $40 in material, takes an hour, and pays for itself in the first winter.
- Door sweeps. Same story. Replace them when they crack.
- Caulk touch-ups on exterior windows and doors. Annual fall project, one afternoon, high return.
- Screen repair and replacement. A genuinely beginner-friendly project.
- Lockset replacement. Straightforward if the existing hardware prep is standard.
- Window hardware (cranks, locks, balances, sash lifts). Replacing a broken balance on a double-hung window is doable with a little patience.
- Glazing compound repair on older wood windows. Small cracks only.
- Interior trim touch-up and painting around windows and doors. Purely cosmetic, totally fine.
Everything else on windows and doors is professional territory. Not because homeowners aren’t smart enough, but because the failure modes are invisible until they aren’t, and the cost of catching a failure late is measured in thousands, not hundreds.
Common Mistakes to Avoid
- Skipping the sill pan because “flashing tape takes care of it.” Sill pan flashing and flashing tape do different jobs. Sill pan handles water that pools at the bottom of the frame. Tape handles water coming down the sides. You need both, in the right order.
- Layering flashing tape in the wrong direction. Tape has to shed water outward and downward like shingles. Tape laid in the reverse direction collects water behind the siding where you can’t see it. In Richmond, that scenario often shows up as a bubbling paint line inside the room about two winters after install.
- Buying a replacement window before measuring the existing opening. We’ve seen homeowners in Richmond bring home a replacement window from a big box store based on the sticker size on the old window, only to find the rough opening was 3/4 inch out in one direction. The return is easy. The setback isn’t.
- Assuming “like-for-like” means “no permit needed.” In California it’s a jurisdictional question, and doing the work unpermitted on the assumption of exemption creates an insurance problem you can’t undo. Call your local building department and ask specifically about your address.
- Replacing a window without checking the surrounding wall for existing water damage. Installers who catch rot in the sheathing during removal are saving you from a slow leak that predated the new window. Homeowners who don’t pull the trim can’t see the rot they’re closing in.
- Ignoring an out-of-square rough opening and shimming to fit. Shims can compensate for small inconsistencies, but a rough opening that’s 3/4 inch out of square will stress the new window frame and void most manufacturer warranties. Fix the framing or don’t install.
- Using interior-grade caulk on exterior joints. Interior caulk will crack out of exterior joints in one Richmond winter. Exterior-grade, paintable caulk is not the place to save $4 on a tube.
See the difference
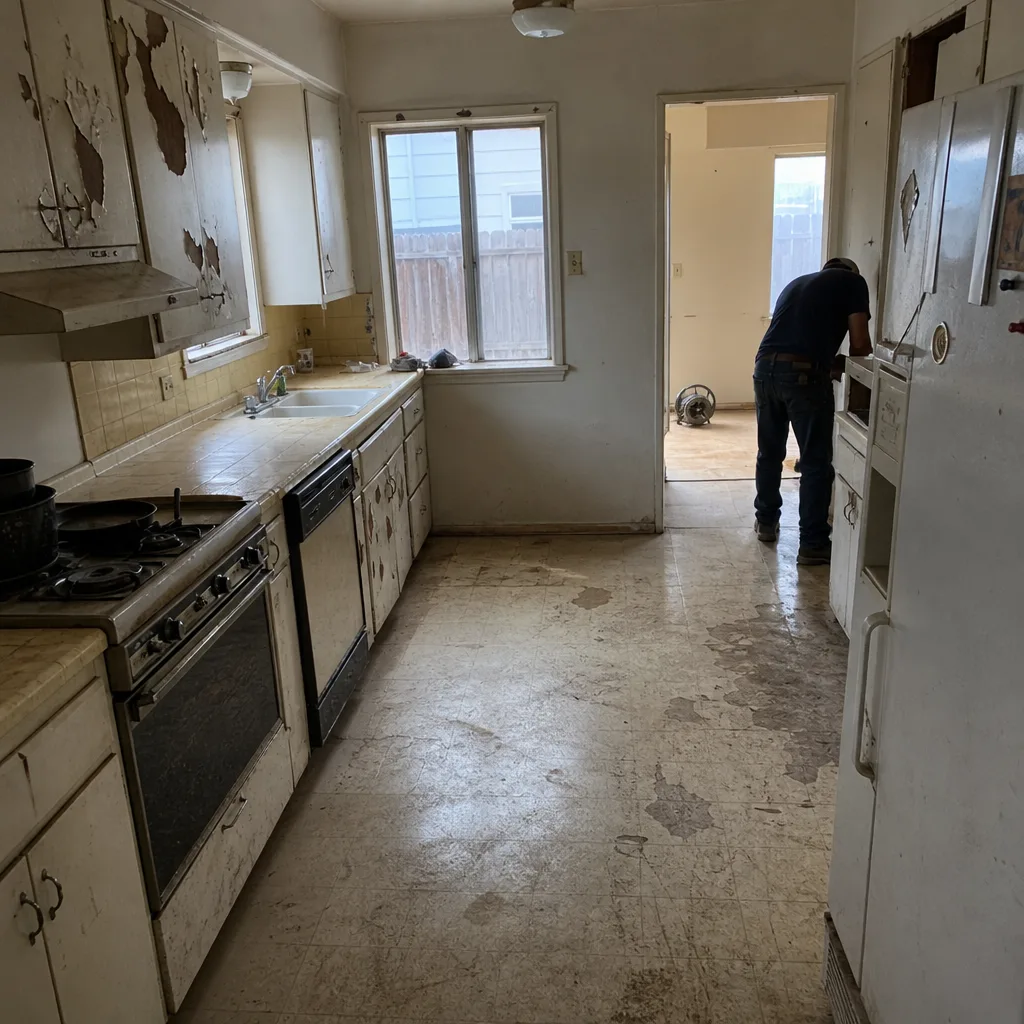 Before
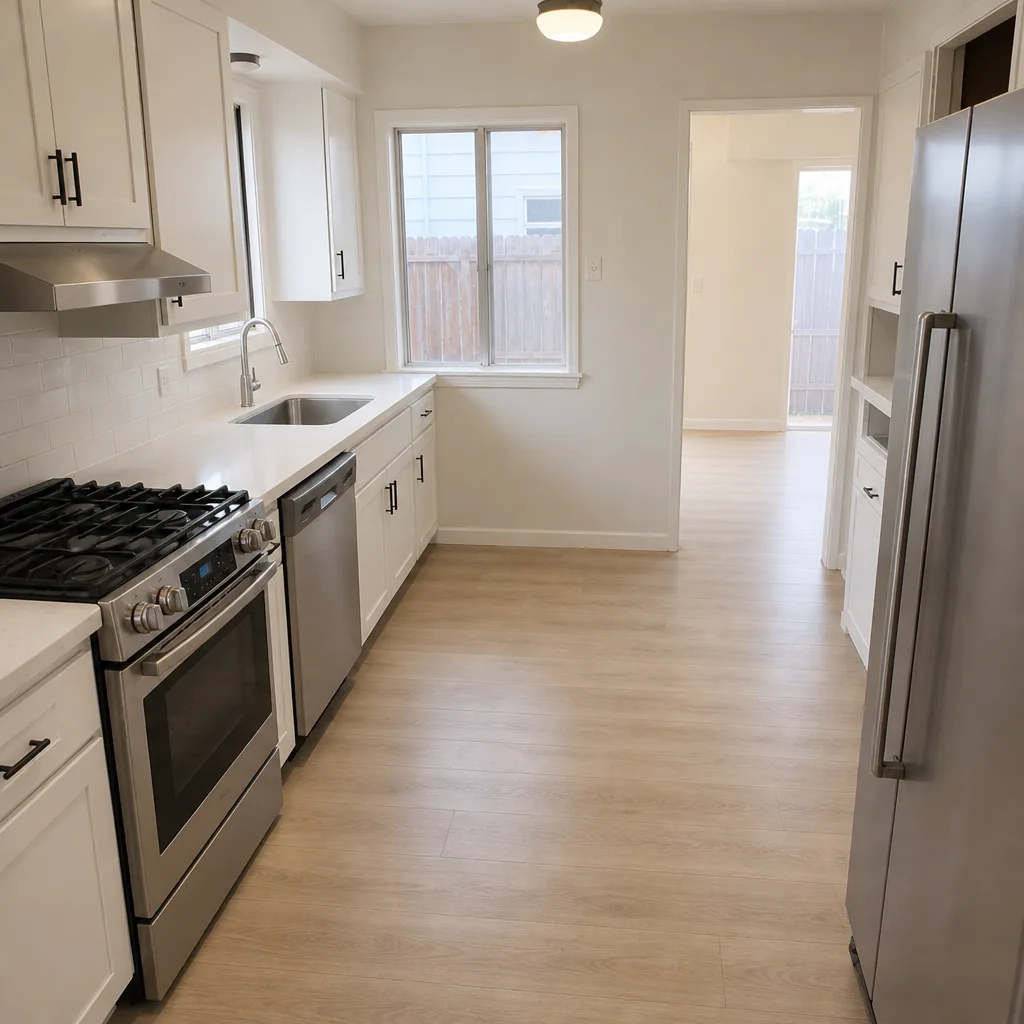 After
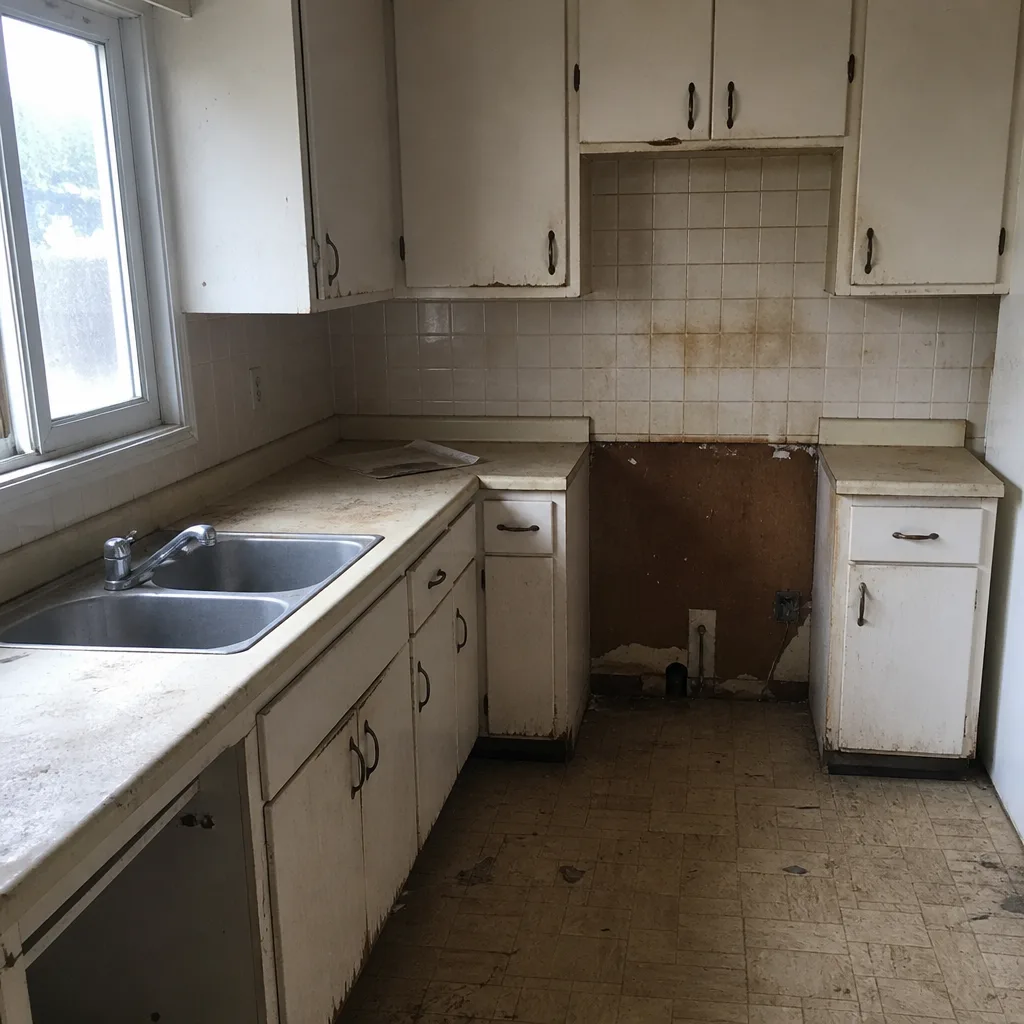 Before
 After
 Before
 After
When to Call a Professional
Call a professional if any of the following is true. You’re replacing a window or door in any configuration that changes the rough opening. You’re replacing a full frame including the sash and surrounding trim. The header above the opening appears compromised by sagging, cracks, or visible damage. Any part of the surrounding framing or sheathing shows rot, soft wood, or pest damage. The project needs a permit. You don’t want to spend two weekends on it and aren’t confident about flashing sequence. Or, most importantly: you want a written workmanship warranty that actually means something if a leak shows up two years from now.
Groundwork Construction Co. of Richmond offers free estimates in Richmond, and we’ll walk you through exactly which tasks on your list belong in professional hands and which don’t. Call (833) 700-4611. Our pricing is quoted upfront in writing, no change orders for scope we identified on the front end. If the job calls for premium window and door products, we work with brands like Andersen, Pella, and Marvin, and every project is covered by our 730-Day Done Right Promise. From foundation to finish line, we’d rather give you an honest “this one’s yours to do” than sell you work you don’t need.
Frequently Asked Questions

In many California jurisdictions, replacing a window with a like-for-like unit that doesn’t change the rough opening can be done without a permit by the homeowner. Any replacement that changes the rough opening, requires framing modifications, or alters the wall assembly almost always requires a permit, and the permit requires the work to be inspected. Call your local building department with your specific address before you buy the window. If your project needs a permit and you’d rather skip the paperwork, call us at (833) 700-4611; we pull permits and manage inspections as part of every qualifying project.
Typical professional window replacement in Richmond runs $1,200 to $2,400 per opening installed, depending on window grade, whether it’s a pocket replacement or full-frame, and the extent of surrounding repair. Permits, if required, are typically quoted separately. Call (833) 700-4611 for a written, line-item quote for your specific windows; estimates are free and upfront, with no surprises.
Warning signs of bad flashing include bubbling paint or stains on the interior drywall near the window, water spots at the corners of the window trim on the interior, visibly soft or discolored sheathing when you remove exterior trim, and pooling water at the exterior sill after a storm. Any of those signs means water is getting somewhere it shouldn’t. Call us for an assessment if you’re seeing any of them; in Richmond, we know the west- and south-facing walls that fail first.
Replacing an entry door and frame is not a beginner project. It involves removing the old frame, integrating new flashing and a threshold pan, and setting a heavy door plumb and square. It typically takes a professional half a day to a full day. The failure mode is a slow leak around the door that rots the sill within a couple of seasons. Stick to hardware and weatherstripping on the DIY side; call (833) 700-4611 for a free estimate on the door itself.
Pocket replacement keeps the existing window frame and installs a new sash-and-frame unit inside it. Full-frame replacement removes everything down to the rough opening and installs a new window and frame. Pocket replacement is faster and cheaper but only works when the existing frame is sound and square. Full-frame replacement is more invasive, requires permit and flashing work, and gives you a new envelope integration.
It can. Many homeowner’s policies exclude claims arising from unpermitted construction or non-code-compliant work. If you install a window without the required permit and it leaks two years later, your water intrusion claim may be denied based on that exclusion. That’s a real risk in Richmond, where a failed installation is usually discovered during a storm. Call us at (833) 700-4611 if you’re worried about a prior installation; we can advise on the path forward.
The Bottom Line
The window and door projects worth doing yourself are weatherstripping, hardware, caulk, and screen repair. Full-frame replacement, structural header work, and any flashing-integrated install belong in professional hands. The reason isn’t difficulty. It’s the water-management detail between the frame and the wall assembly, the part every tutorial cuts away from, and the part that determines whether your installation lasts 20 years or leaks in the third winter. Before you pick up a pry bar, know where your job ends and the liability begins. If you’re unsure, that’s a phone call, not a YouTube video.
Call (833) 700-4611 for a free estimate. Every project is covered by our 730-Day Done Right Promise, and every call is answered by a live person, 24/7. Our technicians bring up to 12 years of experience to every job, arrive background-checked and in uniform, and quote your project upfront in writing.
Written by the team at Groundwork Construction Co. of Richmond.