
Last updated November 18, 2026








Free written scope consultation - allowances, timeline, and change-order rules on paper before a single trade is scheduled
Bathroom Remodeling Troubleshooting: Common Problems and How to Fix Them
Grout cracking in a newly remodeled bathroom within the first year isn’t a grout problem. It’s almost always a substrate problem or a movement problem that the installer tried to cover with grout rather than solve. We’ve walked into Richmond bathrooms where a homeowner had paid for two separate “re-grouting” visits before anyone pulled back a tile and found the real cause: a plywood subfloor that flexed every time someone stepped near the shower. In this guide, you’ll learn how to diagnose grout and tile failures at the source, trace a persistent moisture smell through a three-step check, understand why water pressure drops after rough-in, and document lippage against actual industry standards so a contractor has to respond with a real fix. Bathroom remodeling in Richmond comes with its own local quirks, and we’ll cover those too.
Quick Answer
Most post-remodel bathroom problems trace back to four root causes: substrate movement under tile, inadequate waterproofing or ventilation, rough-in plumbing decisions made without checking supply capacity, and installation tolerances (like lippage) that were never held to TCNA standards. Cosmetic patches almost never fix these. The right move is to diagnose the failure logic first, document it, and then invoke the correct warranty: workmanship through the contractor, product defects through the manufacturer.
Styles & brands we work with
- Kitchen remodeling
- Bathroom remodeling
- Home additions & ADU
- Roofing
- Windows & doors
- Driveway & pavers
- Fence
Table of Contents
- Diagnosing Grout and Tile Failures: The Four-Cause Tree
- Persistent Moisture Smell: A Three-Step Diagnostic
- Water Pressure and Hot Water Delivery Problems After Rough-In
- Lippage and Uneven Tile: Documenting Against TCNA Standards
- California Warranty Obligations: Workmanship vs. Product
- Richmond-Specific Failures: Climate, Older Housing Stock, and Code
- Common Mistakes to Avoid
- When to Call a Professional
Diagnosing Grout and Tile Failures: The Four-Cause Tree
Not every crack means the same thing. Before a homeowner accepts another cosmetic patch, it’s worth identifying which of four causes is actually at work. Each has a different fix, and treating one as another is how a repair turns into a repeat problem.
1. Substrate flex
If cracks follow a pattern along floor tiles, especially near a toilet, tub, or doorway threshold, and the tile itself sounds hollow when tapped, the subfloor is likely deflecting. Wood-frame floors need enough stiffness for the tile assembly, and a standard joist span in an older Richmond Victorian or bungalow doesn’t always meet it. The fix is structural: additional underlayment or a decoupling membrane installed over a properly stiffened substrate. Grout alone will crack again.
2. Improper mortar bed
Spot-bonding (dollops of thinset under tile corners instead of full coverage) shows up as loose tiles, hollow sounds, and cracks that run in odd directions rather than along grout lines. The TCNA requires high mortar coverage for floor installations. If you can tap a tile and hear clear hollow pockets, the bed was wrong. The fix means removing and re-setting affected tiles with proper coverage.
3. Thermal movement
Cracks that appear seasonally, or along the perimeter of a floor, are usually movement-related. Tile needs room to expand and contract, and that means movement joints at the perimeter and at any change of plane. Richmond’s mild climate still sees enough interior temperature swings in a bathroom with a poorly placed heat register to cause this. Fix: cut a proper movement joint, fill it with flexible sealant, replace rigid grout at the perimeter.
4. Inadequate grout joint size
Tile specifications state a minimum joint width for the tile type and size. Narrower joints crack more readily. If your installer ran a tight 1/16 inch joint on a large-format tile that called for 3/16 inch, the joint itself is the failure point. Fix: regrout at the correct width, not the same width over again.
Persistent Moisture Smell: A Three-Step Diagnostic
A bathroom that smells damp weeks or months after a remodel is telling you something specific. Work through these three checks in order before anyone starts tearing out tile.
- Test ventilation first. Run the exhaust fan for ten minutes with the door shut and hold a tissue against the grille. If the tissue doesn’t stay, the fan isn’t moving enough air. Many Richmond bathrooms we’ve opened up have fans ducted into the attic instead of through the roof, which pushes humid air into the same space that then re-enters the bathroom. The fix is re-routing the duct to an exterior vent, and in older homes that’s often the whole problem.
- Check the drain connection and trap. A faint sewer smell (not musty, but distinctly off) points at a dry trap, an improperly sealed toilet flange, or a shower drain not fully set into the pan liner. Look for water staining under the sink cabinet or a soft spot in the floor near the drain.
- Look for water intrusion behind the tile field. This is the one that matters most. Sign of intrusion: efflorescence (white mineral powder) on the grout lines, grout that stays dark long after the shower stops, or a soft spot when you press on a tile. A moisture meter held against the grout will confirm it quickly. If intrusion is present, the waterproofing layer failed and spot repairs won’t hold. The shower pan and wall board need to come out.
In our experience, Richmond homes built before 1970 frequently have original cast iron drains that survived the remodel but were never fully scoped. If the smell is intermittent and worse after heavy rain, that’s your signal to have the drain camera-checked. We’ve seen a bathroom in the North and East neighborhood that got torn apart for waterproofing only to find the real problem was a hairline crack in the original cast iron drain line under the pan. Fixing the drain was a fraction of the cost of the tear-out.
Water Pressure and Hot Water Delivery Problems After Rough-In
Pressure and temperature complaints that appear after a bathroom rough-in almost always trace to a decision made during rough-in, not to the fixtures. Here’s how to narrow it down.
Whole-house vs. single-fixture pressure loss
If pressure is down at every fixture in the house since the remodel, the culprit is usually a partially closed shutoff valve, debris introduced during the rough-in that’s now lodged in an aerator or cartridge screen, or a new pressure-balancing mixing valve that’s undersized for the supply. Clean or replace the aerators and cartridge screens first. If that doesn’t resolve it, test at a hose bib to confirm whether the drop is upstream of the bathroom.
Single-fixture pressure loss
If only the shower or only the vanity faucet is weak, look at the supply line first. A braided supply line that was kinked during installation, or a quarter-turn shutoff valve that was installed with thread sealant jammed into the seat, will choke flow. The shower valve cartridge is the next stop, and on a pressure-balancing valve a misaligned hot/cold stop can also limit flow. Replacing the cartridge is often a same-visit fix; a kinked supply line needs to be replaced, not bent back into place.
Hot water delay and temperature swing
A remodeled bathroom located far from the water heater will always have a delay, and no fixture change alters it. If the shower also swings hot and cold, a pressure-balancing valve cartridge may be sticking, or the valve may be installed with the hot and cold ports swapped. Swapped ports happen more than homeowners expect and show up as “hot” on the cold side. Confirm by running the shower while watching whether the trim indicator matches the actual discharge temperature. If it doesn’t, the valve body is rotated incorrectly and needs correction at the rough-in side, not at the trim.
One Richmond note: many of the older homes in the Iron Triangle and Santa Fe corridor have half-inch supply lines feeding multiple fixtures. A remodel that adds a rain head and a hand shower to an existing half-inch run can starve both. If you’re down the road from this being an issue, our Groundwork Construction Co. of Richmond home team can scope the supply layout and match it to the fixture demand during a free design consult.
Lippage and Uneven Tile: Documenting Against TCNA Standards
Lippage means one tile edge sits higher than its neighbor, enough to feel with a fingertip or catch a straightedge. The industry measures this against standards set by the Tile Council of North America (TCNA). Those standards exist for a reason, and a contractor’s warranty obligations on flatness are anchored to them. The trick is documenting before anyone reaches for a fix.
How to document lippage that will stand up
- Photograph against a straightedge. Lay a 4-foot or 6-foot straightedge (an aluminum level works) across the tile field perpendicular to the lippage and photograph the gap with a ruler in frame. Do this on three separate locations.
- Measure and record the gap in the photograph. The gap in the photograph is what makes the number verifiable. A picture of a level that “looks” off is not evidence.
- Note the tile type and size. TCNA allowances vary by tile type and joint width, and the standards distinguish between a lippage that’s unavoidable in the tile’s finish (a natural cleft or slate) and one that’s an installation error (rectified porcelain, where tighter tolerances are expected). Write down what you have.
- Ask the installer for the standard they built to. A competent installer can state the tolerance they held to and how they verified it. If they can’t answer, that’s your leverage.
Leverage matters more than most homeowners realize. Once you have a documented measurement against the TCNA standard, the conversation with the installer changes from “it looks a little off” to “this field measures outside the tolerance your installation required, and here is the photo evidence.” That’s when a real fix gets scheduled instead of another filler coat.
California Warranty Obligations: Workmanship vs. Product
California draws a sharp line between what the contractor owes you and what the manufacturer owes you, and knowing which to invoke saves months. The two warranties cover different failures and are governed by different parties.
Workmanship warranty: the contractor’s responsibility
Workmanship covers installation errors: substrate that wasn’t stiff enough, mortar coverage that was wrong, waterproofing that wasn’t done per the manufacturer’s instructions, ventilation that wasn’t routed to the exterior. These failures are the installer’s problem regardless of what product was used. Groundwork’s 730-Day Done Right Promise is the company’s written version of that commitment: if it’s not done right, we make it right, and the scope is workmanship, not the client’s design choices.
Product warranty: the manufacturer’s responsibility
Product warranty covers defects in the material itself: a leaking shower valve cartridge, a defective tile from the factory, a fan motor that fails within the manufacturer’s term. The installer’s job here is to install correctly, and the manufacturer’s job is to stand behind the product. The contractor is often your first call because they have the manufacturer relationship and can initiate a warranty claim. If they installed the product wrong, workmanship applies; if the product itself failed, the manufacturer applies. In many disputes, both apply and the fix uses both.
Invoking the right warranty in a dispute
Document the failure with the same photo-and-straightedge rigor you’d use for lippage. Then send the contractor a written request that names which warranty you’re invoking, cites the specific install spec or manufacturer instruction that was missed if you have it, and requests a written response. In practice, this is the step that separates a contractor who fixes things from one who stalls. Groundwork’s warranty is in writing and it’s the reason many of our Richmond clients refer neighbors after a problem is handled – and handled right.
Richmond-Specific Failures: Climate, Older Housing Stock, and Code
Richmond’s bathrooms fail in ways that would look unusual in newer construction. Walk the older housing stock and the reasons become clear quickly.
Older housing stock and subfloor deflection
A large share of Richmond homes, especially in neighborhoods like Point Richmond, the Santa Fe corridor, and North and East, were built between 1900 and 1960. Floor joists in that era were frequently overspanned by modern standards after a bathroom was added on. When we open a floor and find a 2×8 joist spanning fourteen feet, we know the deflection is going to show up as grout cracking and lippage before a single tile is laid. The fix is adding a sister joist or a stronger underlayment before the tile goes down. If you’re planning a bathroom remodel in Richmond, this is the check to do before you choose tile.
Ventilation and old wall ventilation
Many Richmond homes vent the bathroom fan through an abandoned chimney chase or into the attic. That’s the top cause of the persistent moisture smell we see. The fix is a proper exterior termination through the roof or gable with a backdraft damper and insulated ducting. In our experience, correcting that one detail solves about half the “wet smell” complaints we get in Richmond.
California code on waterproofing and tile substrate
The California Building Code incorporates the TCNA reference standard for wet-area substrate and requires the wall board in a shower receptor to be installed per manufacturer instructions. In practical terms, that means a waterproofing membrane over the appropriate cementitious backer, with the membrane flashed into the shower pan and up the walls to the specified height. If a shower was tiled directly over greenboard, that’s the failure. Both the fix and the documentation are anchored here.
Permits and inspections
A bathroom remodel that moves plumbing, adds a fixture, or changes the shower layout requires a permit in Richmond and an inspection that includes the plumbing rough-in and the shower waterproofing. The inspection record is a real asset if a problem later appears: it’s proof of what was approved and inspected. If the remodel was done without a permit, that’s often why the failure wasn’t caught. Plan ahead with a Home Additions & ADU in Richmond scope if the bathroom remodel is part of a larger addition, since those combine the permitted phases into one project timeline.
For homeowners who plan to remove a bathroom’s exterior window or add exterior access to a deck, the exterior work is a good time to also plan a Fence Installation in Richmond to close the perimeter of the work zone, and the driveway and walkway resurfacing often happens in the same season with Driveway & Pavers in Richmond.
Common Mistakes to Avoid
- Accepting a re-grout as a fix. If the underlying cause is substrate flex, thermal movement, or a too-narrow joint, new grout cracks within a season or two. Insist on the diagnostic first.
- Treating a moisture smell as a ventilation problem without checking the drain. Half the time the fan is fine and the shower pan or drain is the issue. The three-step check takes ten minutes and saves thousands.
- Missing the permit for a plumbing change. A bathroom remodel in Richmond that moves a shower valve, adds a fixture, or converts a tub to a shower requires a permit. Without one, you’ve also lost the inspection that would have caught a waterproofing error.
- Assuming a manufacturer will cover a workmanship failure. A leaking shower valve cartridge is often an install issue, not a product defect. The manufacturer will decline until the contractor proves the install was correct.
- Documenting lippage with a spirit level held at a bad angle and no ruler. A photo without a measurement won’t hold up. Use a straightedge, plant a ruler in the frame, and record the gap.
- Letting a contractor install a fan that ducts into the attic or an abandoned chimney. This is the single most common cause of persistent damp smells in Richmond homes. Ask where the duct terminates before the ceiling goes back up.
- Skipping the deflection check before tile in older Richmond homes. A bathroom in a 1940s bungalow that gets a large-format tile floor without a stiffened substrate is a grout-crack waiting to happen within the first year.
See the difference
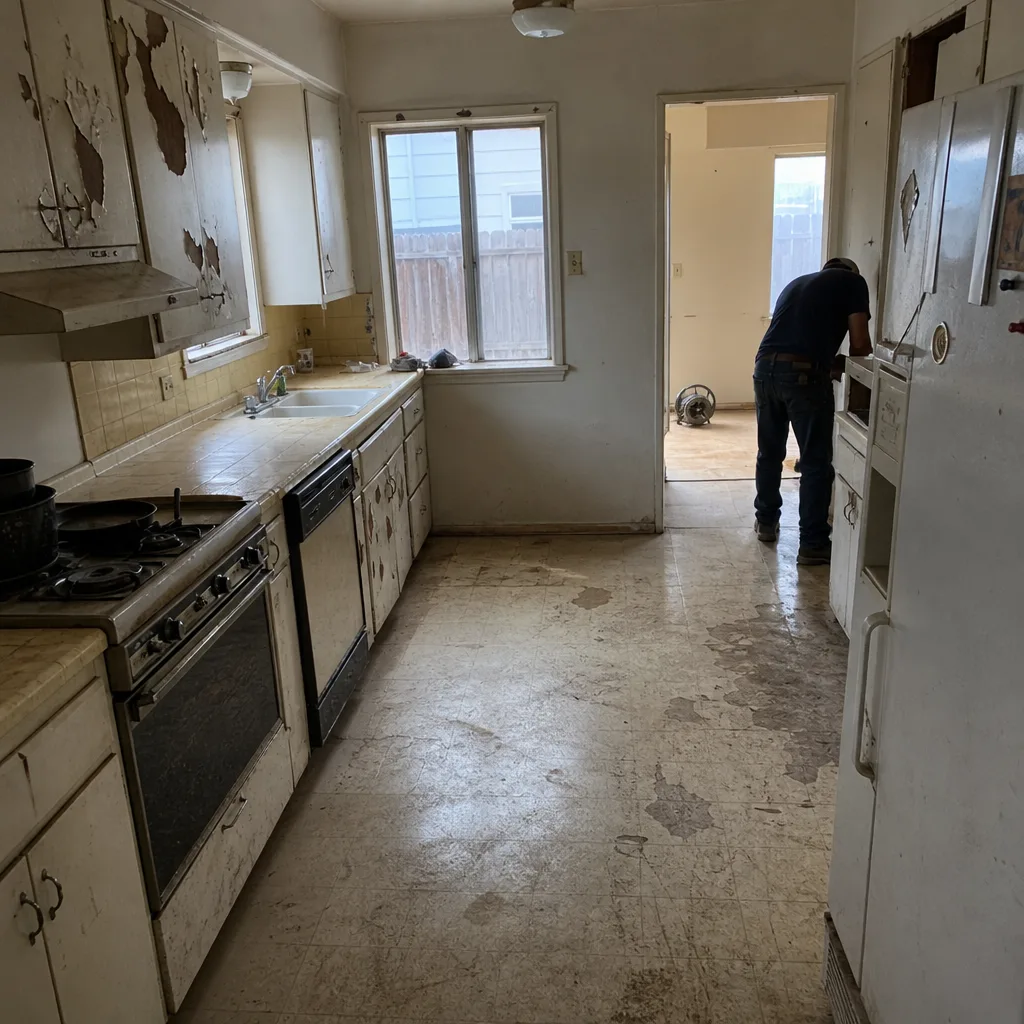 Before
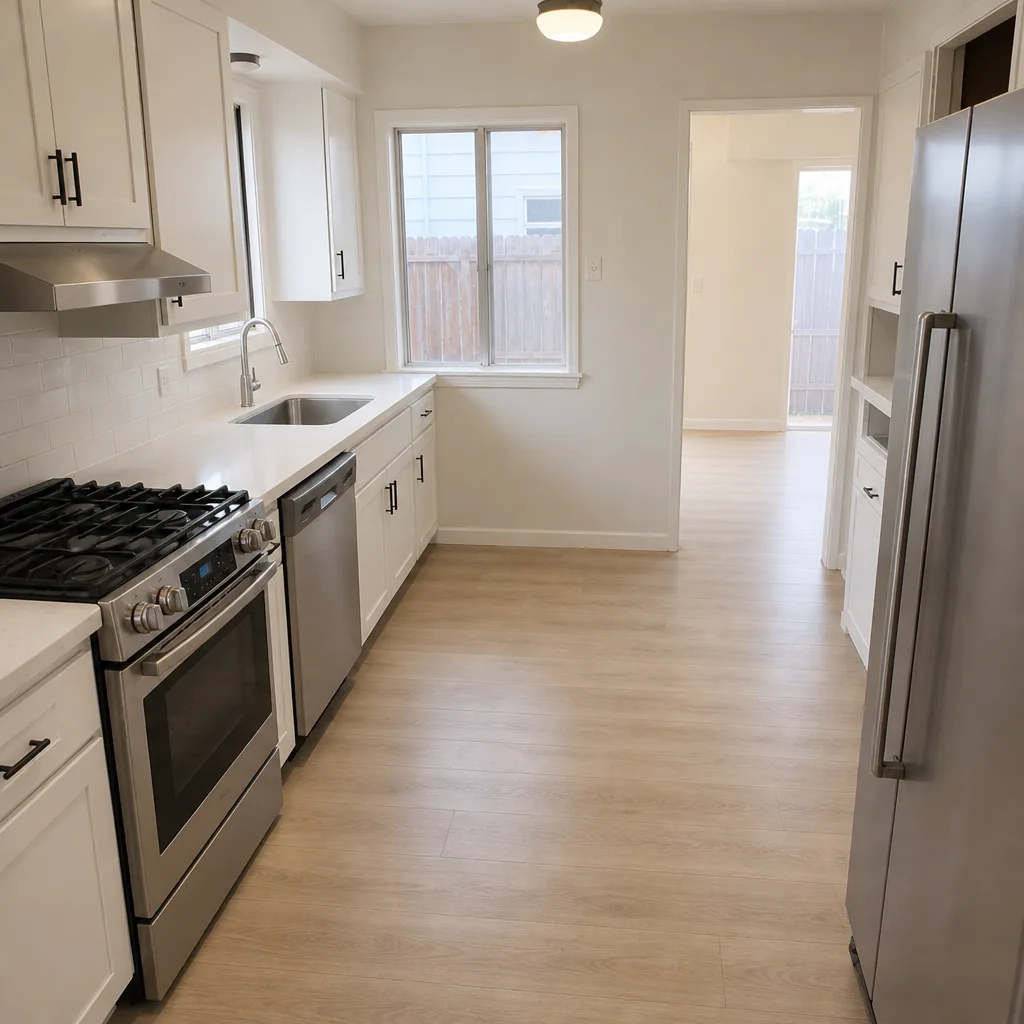 After
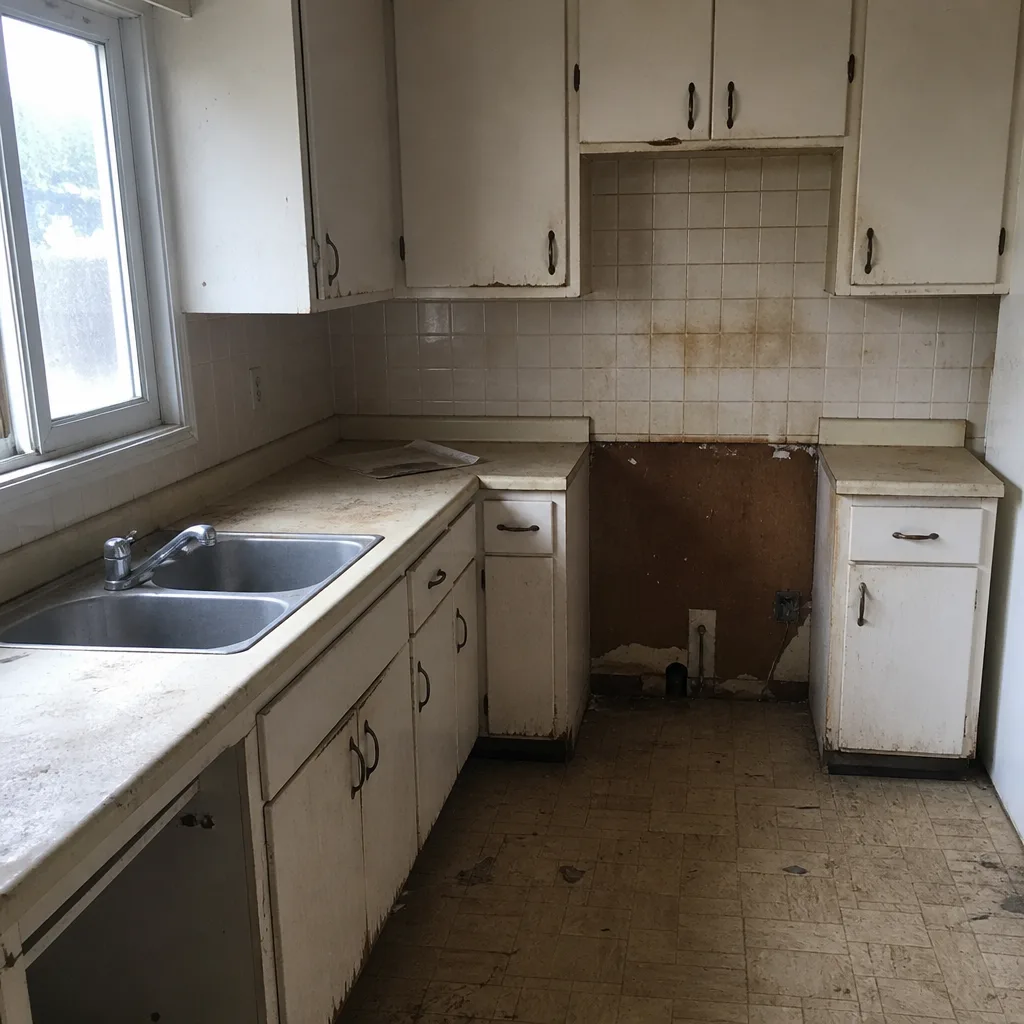 Before
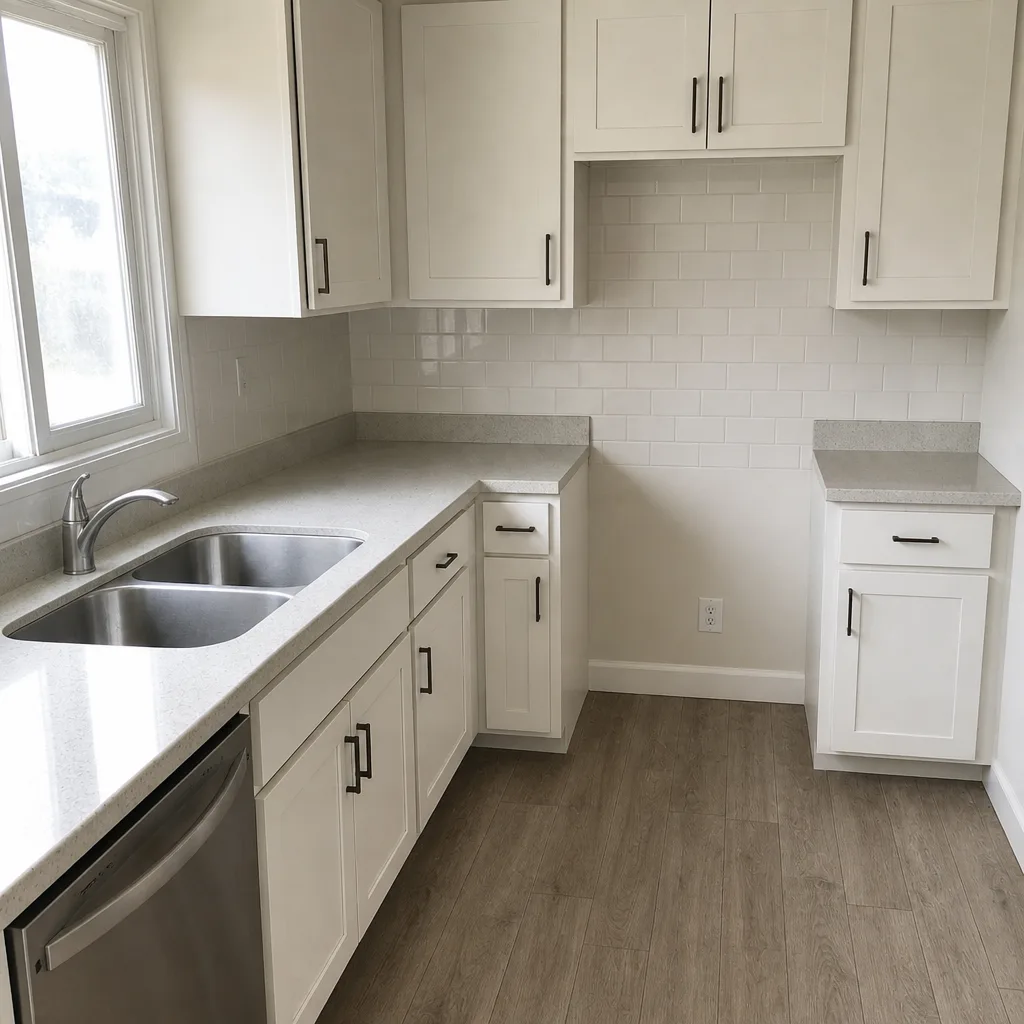 After
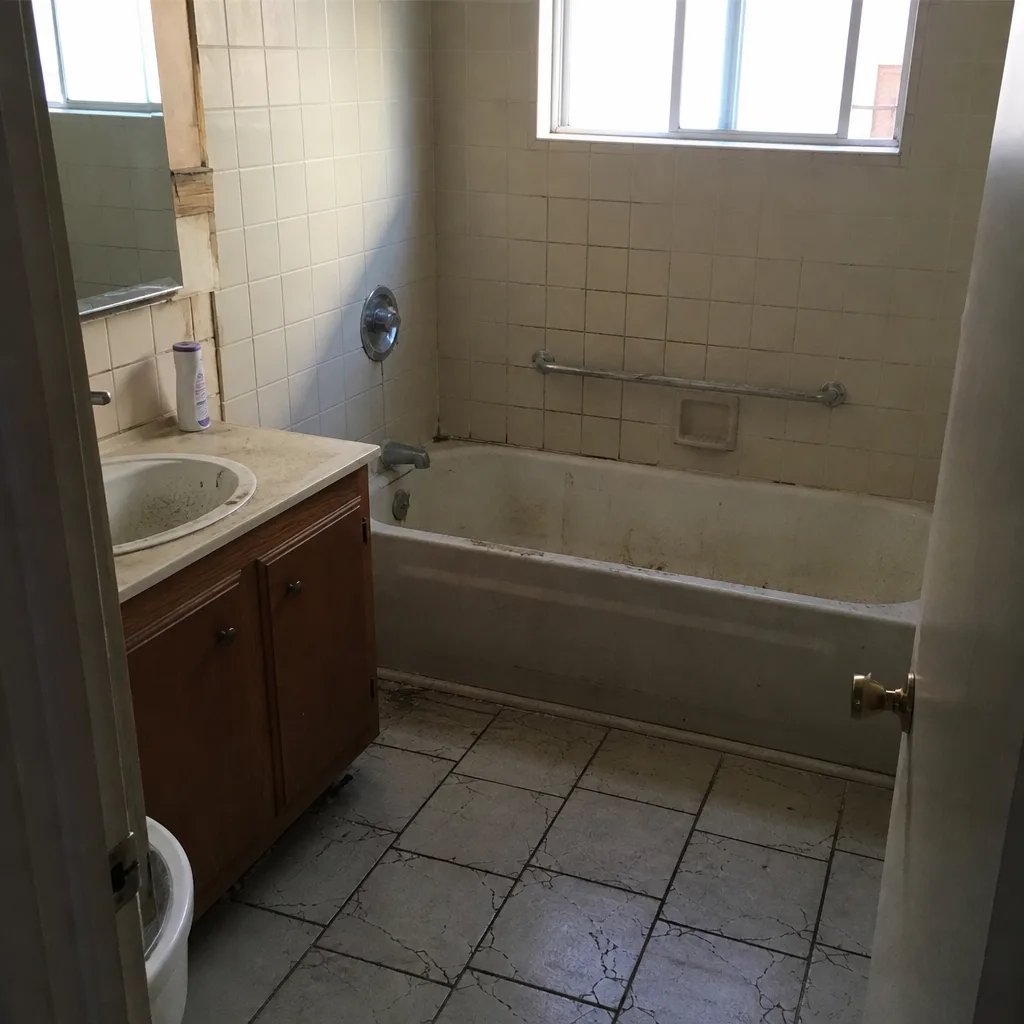 Before
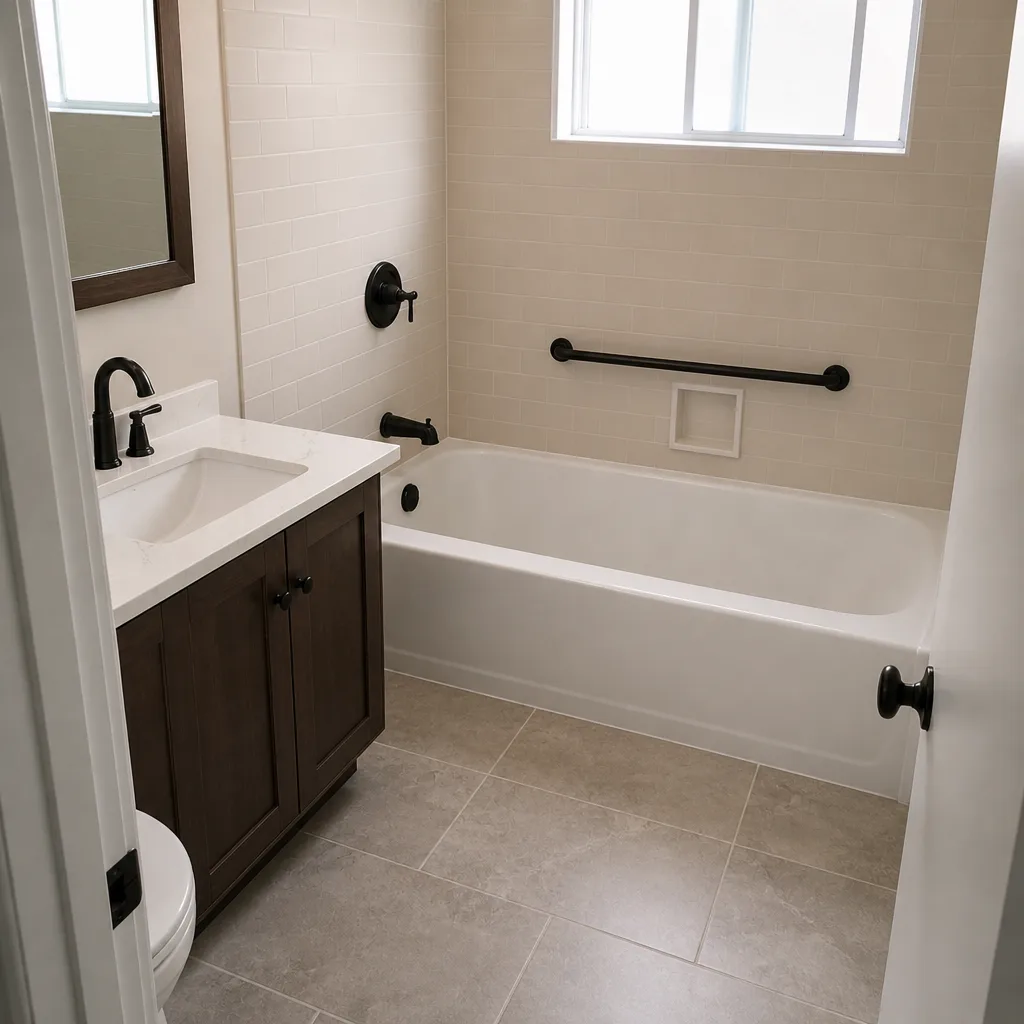 After
When to Call a Professional
Call a licensed contractor when the failure involves anything behind the tile field: shower pan waterproofing, a drain that was never fully set, a substrate that’s deflecting, or a plumbing valve that was installed with the hot and cold ports reversed. Also call when the same issue has already been “fixed” once with a cosmetic patch and reappeared, because the second attempt is where the real cause lives. Don’t open a water-damaged wall yourself: the moisture behind it can hide mold and electrical issues that need a pro. The Richmond home improvement team at Groundwork Construction Co. offers free estimates in Richmond and free design consults, with calls answered by a live person 24/7. Call (833) 700-4611 and we’ll walk through the symptoms with you before anyone schedules a visit.
Frequently Asked Questions
A diagnostic visit to identify the failure cause in a Richmond bathroom typically runs a small flat fee, and a repair involving tile removal and substrate correction ranges from several hundred to several thousand dollars depending on the scope. The reason to start with the diagnostic rather than a re-grout is that the re-grout often costs more over two visits than the correction would cost once. Call (833) 700-4611 for an exact quote, since estimates are free.
No. Groundwork’s upfront pricing is the number you see, and no-hassle upfront pricing means the number you pay doesn’t move once demolition begins. The only exceptions are concealed conditions that no contractor could have seen before opening the wall, and those are handled with a written change order before any work proceeds. Call (833) 700-4611 to schedule your free estimate and design consult.
Yes. Any bathroom remodel that moves plumbing, adds a fixture, or changes the shower layout requires a permit in Richmond, and the permit and inspection are both pulled and passed as part of the project. That matters for warranty disputes later, because the inspection record is proof the waterproofing and rough-in were checked. Call (833) 700-4611 to confirm the permit scope for your project.
The install is the tell. If the product was configured the way the manufacturer specifies and it still failed, it’s likely a product warranty matter. If it wasn’t installed to spec, it’s a workmanship matter. Either way, bring the contractor in first, because they typically have the manufacturer relationship that handles either path. Call (833) 700-4611 to have the install checked against the manufacturer’s spec.
No. Grout cracking within the first 12 months of a remodel almost always points to substrate movement, an improper mortar bed, thermal movement, or a joint width below the tile’s minimum. A proper installation with a sound substrate and correct joint width should not crack in the first year. Call (833) 700-4611 if your Richmond bathroom was finished in the last year and the grout has started to crack, so we can run the diagnostic before another patch is applied.
Cosmetic corrections like re-grouting to correct joint width typically take a single visit. A correction that removes tile and addresses substrate or waterproofing takes several days and may include a permit and inspection, so plan for a longer window in a permitted Richmond job. The timeline is written into the written line-item quote so you know what to expect before work starts. Call (833) 700-4611 for a free estimate and a written scope.
The Bottom Line
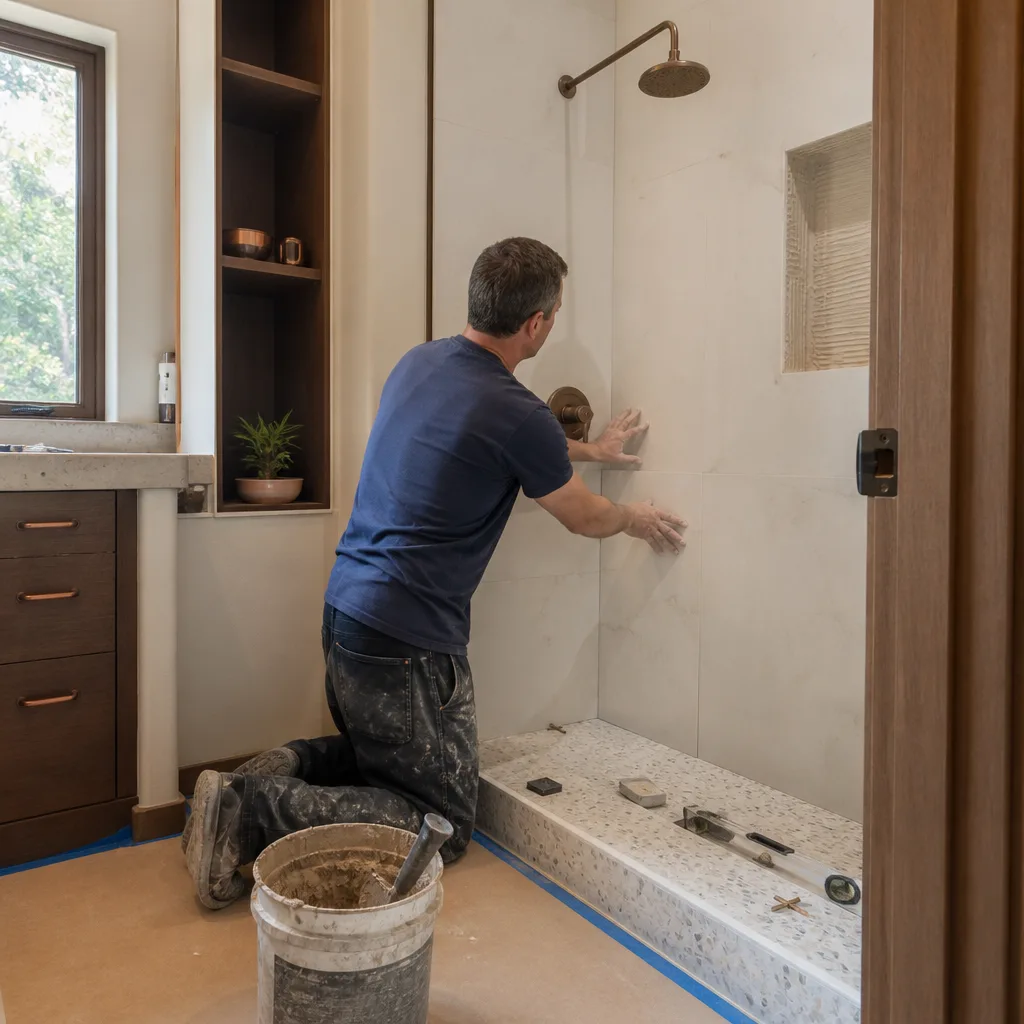
Bathroom remodel problems have a diagnostic logic, and it always starts at the installation detail behind the visible symptom. Grout cracks point at substrate, mortar coverage, movement, or joint width. A persistent moisture smell follows ventilation, drain, or waterproofing. Pressure and temperature complaints trace back to a rough-in decision. Lippage is a measurement against a written TCNA standard, and the workmanship vs. product warranty distinction is what gets a real fix scheduled instead of a patch. If you’re in Richmond and a remodel has started giving you trouble, the fastest path is a real diagnostic, not a re-grout. Groundwork Construction Co. of Richmond backs every project with the 730-Day Done Right Promise and built to last, backed in writing. Call (833) 700-4611 for a free estimate, and someone will answer – live, 24/7.
Written by the team at Groundwork Construction Co. of Richmond.