Last updated November 18, 2026







Free written scope consultation - allowances, timeline, and change-order rules on paper before a single trade is scheduled
Bathroom Remodeling Warning Signs Every Homeowner Should Know
If a contractor skips the waterproofing membrane and tiles directly over cement board, your shower will look perfect for 18 months, then fail catastrophically. You’d never know it happened until the mold does. That’s the ugly truth about bathroom remodeling: the worst mistakes get buried behind tile, under a tub, or inside a wall where no one looks again until the damage is expensive. We’ve walked into Richmond homes where a three-year-old shower was already rotting the subfloor from the inside out, and the homeowner had no idea. This guide covers the warning signs before, during, and after construction so you can catch problems while they’re still cheap to fix.
Quick Answer
The biggest bathroom remodeling warning signs are a bid with no written line-item scope, pressure to skip permits, and any crew that lays tile before a waterproofing inspection. After the job, watch for grout cracking within six months, caulk separating at the tub-wall seam, and condensation that never clears. Any of these means the assembly behind your tile may already be compromised, and you should get it inspected before the damage spreads.
Styles & brands we work with
- Kitchen remodeling
- Bathroom remodeling
- Home additions & ADU
- Roofing
- Windows & doors
- Driveway & pavers
- Fence
Table of Contents
- Pre-Construction Red Flags You Can Spot Before You Sign
- Warning Signs During Construction
- What a Proper Shower Waterproofing Install Actually Looks Like
- Post-Completion Warning Signs Most Homeowners Dismiss
- Why Richmond Bathrooms Fail Differently Than Anywhere Else
- How to Document Your Project and Protect Your Warranty
- Common Mistakes to Avoid
- When to Call a Professional
Pre-Construction Red Flags You Can Spot Before You Sign
Most remodel disasters are visible on paper long before anyone swings a hammer. The problem is that homeowners don’t know what to look for in a bid, so a one-page lump-sum quote and a three-page line-item scope look equally official. They aren’t. A bid is the contract that determines how a dispute gets settled, and the difference between a bid that protects you and one that traps you usually comes down to a few clear signals.
Here’s what should stop you cold before you sign anything:
- No written scope of work. If the bid just says “bathroom remodel” with one number, you have no way to prove what was promised. Every fixture, tile, valve, and finish should be named or specified by brand and model, so there’s no later argument about what’s included.
- Lump-sum bids with no line items. A single number hides where the money goes. You want to see demo, rough-in, waterproofing, tile, electrical, plumbing, finishes, and cleanup broken out separately. That breakdown is your leverage if something gets skipped.
- Pressure to skip permits. In Richmond, bathroom remodels that move plumbing or electrical require permits through the city’s Building Division. Any contractor who says “we don’t need permits for that” or “permits just slow things down” is gambling with your property, not theirs.
- Asking for more than 10% upfront. California caps the deposit a licensed contractor can ask for on a home improvement contract at 10% of the total or $1,000, whichever is less, plus the cost of any materials you order yourself. If someone wants 30% or 50% to “get started,” that’s a violation of state law and a serious warning sign.
- No physical address or license number on the paperwork. It’s an easy thing to check against the CSLB’s online license lookup, and it tells you a lot about how the contractor runs their business.
- Verbal-only change orders. A real crew won’t start extra work without signing off on the change. If extras appear out of nowhere on the invoice, you’re looking at “upfront pricing” that wasn’t upfront at all.
These pre-construction warning signs are also the reason we put a written, line-item estimate in front of every homeowner before work begins. When the number you see is the number you pay, there’s no space for the kind of confusion that turns into a five-figure dispute.
Warning Signs During Construction
The messiest phase of a remodel is also when the most critical mistakes get made, and most of them are small things a homeowner wouldn’t think to question. Knowing what to look for during this stretch is the difference between catching a problem while it’s still fixable and discovering it two years later.
1. Waterproofing skipped or covered before inspection
This is the single biggest warning sign in wet-area work. Tile and grout aren’t waterproof, and cement board isn’t a waterproofing layer. A properly built shower has a waterproofing membrane over the substrate, applied with sealed seams and correct application at the corners and pan, and it stays visible until it’s inspected. If tile goes down before you or your contractor have seen the membrane exposed, ask why. In our experience on Richmond jobs, this is where cheap bids hide the most expensive mistake.
2. No shower pan slope test
Your shower floor must slope toward the drain at roughly a quarter inch per foot. If it doesn’t, water pools at the edges, and no amount of grout or caulk will fix it later. A simple test: during the middle of construction, before tile, have someone put water in the pan and watch where it goes. If it sits in a corner, the slope is wrong.
3. Tile set before mortar fully cures
Rushing the set time causes tile to lift, crack, or bond unevenly. If the crew is laying huge volumes of tile in a single day and moving on before the thinset has cured, ask how long they’re allowing between set and grout. Standard thinset needs at least 24 hours of cure before grouting, sometimes longer in cooler, humid weather. A careful crew will tell you without hesitation.
4. No protection during other trades
Dust, debris, and thinset splatter should be wiped before final inspection. If you’re seeing a floor drain full of construction debris or a finished vanity covered in dust, it’s a sign that standards aren’t being enforced, and that sloppiness rarely stops at cleanup.
5. Unexpected crew changes
Consistent crews build consistent work. If the people on your job change every week, you have less continuity and less accountability. Our technicians are background-checked and arrive in uniform, which means you can verify who’s coming through your door every day.
What a Proper Shower Waterproofing Install Actually Looks Like
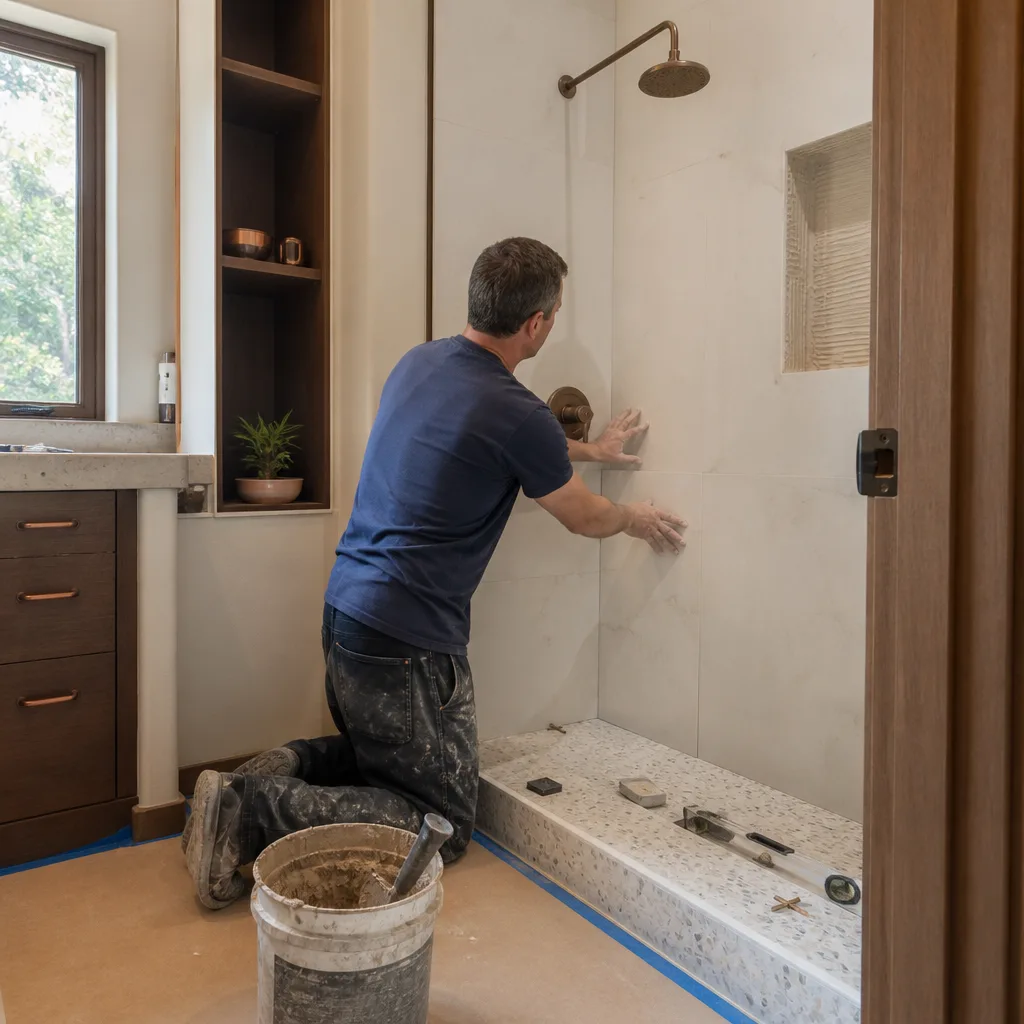
You don’t need to be a builder to spot a waterproofing failure in progress. You just need to know what the assembly should look like at each stage so you can verify it before it’s covered, because once tile goes down, the only way to check the membrane is to tear it out. Here’s what a properly built shower should look like step by step:
- Demo and substrate check. Prior tile is removed, the pan is replaced with a sloped mortar bed or a pre-sloped pan, and the walls are checked for rot or water damage before anything new goes up.
- Vapor barrier or backer. A continuous moisture barrier (typically a surface-applied waterproofing or a bonded sheet membrane) goes up over the substrate and behind it, tied into the drain flange at the bottom.
- Seams, corners, and pan transitions sealed. Every corner, seam, and around the drain gets reinforced with mesh and a compatible sealing product. This is where cheap installs cut corners, and it’s exactly what you should ask to see.
- Flood test. A proper install holds water in the pan for a full day to confirm no leaks in the drain connection or the membrane. No flood test, no confidence.
- Sloping confirmed. The pan should drain visibly and completely. Water pooling anywhere around the perimeter or the curb means the slope is wrong and the shower will never stay dry.
- Only then tile and grout. Every step above should be complete and inspected before a single tile goes on the wall or floor.
If you’re comparing bids, the crew who walks you through this sequence with clear detail and invites you to inspect at each stage is usually the one to hire. If the crew hand-waves when you ask, that’s your answer. We’ve all seen what happens when a Richmond homeowner finds out the membrane was skipped after 18 months of a perfect-looking shower. The mold reveals it. The fix is usually a full tear-out.
If your bathroom is part of a larger project that also touches a home addition, the same waterproofing discipline applies anywhere a wet area exists. Our Home Additions & ADU in Richmond work uses the same step-by-step waterproofing standard on every full bath.
Post-Completion Warning Signs Most Homeowners Dismiss
The weeks and months after installation are your diagnostic window. Most homeowners assume that any new issue they see in a fresh remodel is a normal part of settling in, so they shrug off small things that are actually early signs of a failing assembly. Pay close attention to these, and take photos when you spot them.
- Grout cracking within six months. Hairline cracks in grout usually mean movement in the substrate, poor sealing, or improper cure time. In a properly built shower, grout shouldn’t crack for years.
- Caulk separating at the tub-wall seam. This is where water enters the wall cavity. If it’s opening up in less than a year, the joint wasn’t prepped correctly or the tub wasn’t seated.
- Exhaust fan condensation that never clears. If your mirror stays fogged for more than a few minutes after a shower, the fan is undersized or improperly ducted. Trapped moisture is the leading cause of bathroom mold, and a fan that exhausts into the attic instead of outside is a code problem you’ll want fixed.
- Soft or spongy floor at the edges of the shower. This usually points to a pan leak behind the tile, and by the time you can feel it underfoot, the damage has already spread.
- Loose or hollow-sounding tile. Tap a coin on the tile. A hollow sound means the thinset didn’t bond correctly, which is often a sign of rushed install or incorrect substrate.
- Water pooling around the base or a musty smell that won’t go away. Both are signs that the pan was built incorrectly or the shower door wasn’t set to direct water properly.
Any of these should trigger a call to whoever did the work, in writing, with photos, and with a deadline to inspect. If you can’t get a response, it’s a sign the warranty wasn’t worth the paper it was printed on. Our 730-Day Done Right Promise exists precisely because that’s when problems surface, and it’s our job to make them right for as long as the promise runs.
Why Richmond Bathrooms Fail Differently Than Anywhere Else
Richmond is a great place to live, but its climate and housing stock create bathroom failure patterns you won’t see in newer construction elsewhere. Understanding those patterns tells you what to watch for on your own job.
Much of Richmond’s housing stock is older, and the bathrooms in those homes have been renovated three or four times. The result is layered conditions behind the walls: original plaster, patches of cement board, maybe a 1990s tile-over-tile job on top of a 1960s install. When a crew opens a wall and finds layers of the past, the best contractors hit pause and reassess. The worst ones tile right over whatever’s there. We’ve seen this repeatedly in older neighborhoods where walls have original lath and plaster with galvanized plumbing hidden behind them, and it demands a real scope review before anyone starts building.
The other Richmond factor is moisture. The Bay Area’s fog and marine layer mean bathrooms here live in a constant state of high humidity, which makes every waterproofing shortcut twice as costly as it would be in a dry climate. A grout line that would survive ten years in Fresno can fail in three or four here. Exhaust fans that vent into the attic rather than to the exterior, and undersized fans that struggle to clear the air, are the two most common moisture problems we find in Richmond homes.
Richmond permits also require real compliance, and the city’s building inspectors expect a paper trail. A contractor who’s vague about permitting is a contractor you should not let inside your walls. We pull permits for every job that needs them and invite inspection at every stage, which is the only honest way to build a wet area that will last.
If your remodel is part of a full-scope update, you’ll often find the same waterproofing standards apply to fencing drainage and driveway runoff. Our Fence Installation in Richmond work handles site drainage as carefully as our shower pans, because water always finds the weak point.
How to Document Your Project and Protect Your Warranty
The best protection you have if something goes wrong is a photo record. Contractors can’t argue with a photo of a missing membrane, and insurance companies and lawyers rely on documentation, not memory. Build a documentation habit from day one and you’ll have a real case if you ever need one. Here’s the system we recommend:
- Photograph every phase before it’s covered. Take pictures of the studs, the plumbing rough-in, the waterproofing membrane, the flood test, the slope, and every layer before the next goes on. Date each one.
- Keep everything in writing. Save your signed contract, the line-item bid, all change orders, and every text or email you trade with your contractor. Verbal promises disappear.
- File permits and inspection records. Richmond’s building department maintains inspection records, and those are gold if you need to prove a permit was required or pulled.
- Write down anything that looks off, with the date it happened. A dated log of “grout cracked on shower floor, March 2026” is worth a lot more than “it started looking bad sometime last spring.”
- Report issues in writing with a deadline. Send a short email describing the problem, attach your photos, and give the contractor a reasonable window to inspect. Written notice is required by most warranties.
- Keep your warranty documents in one folder. The 730-Day Done Right Promise is only actionable if you can find it, so keep a copy in the folder next to the permits and the contract.
For a broader view of how documentation fits into a full home project plan, our guide on Driveway & Pavers in Richmond covers similar phase-by-phase site documentation, and it’s worth reading even if your project has nothing to do with hardscape.
Common Mistakes to Avoid
- Hiring on price alone. The lowest bid is almost always the one that skipped the waterproofing membrane and the flood test, and you’ll pay three times over to redo the work. A line-item estimate from a contractor who names their materials is always worth the extra conversation.
- Letting your contractor skip the permit. Richmond requires permits for plumbing and electrical changes in bathrooms, and skipping them means your work isn’t inspected. It also creates a title issue if you ever sell the home.
- Not asking to see the waterproofing before tile goes on. Once tile is down, the only way to verify the membrane is to tear it out. Ask for the walkthrough before tile, and don’t be shy about it.
- Letting the exhaust fan vent into the attic. This is a common shortcut that puts all that Richmond fog-level humidity directly into your attic instead of outside where it belongs, and it rots the structure above your head.
- Paying more than 10% upfront. California law caps the deposit at 10% of the contract price (or $1,000, whichever is less) plus materials. Anyone asking for 30-50% is breaking the rules and putting your money at risk.
- Waving off small cracks and caulk failures. Grout cracks within six months and caulk separating at the tub-wall seam are not “settling.” They’re early signs of a failing assembly, and they get much more expensive the longer you wait.
- Not checking the contract for warranty details. A written guarantee should say what’s covered, how long, and how to file a claim. If the warranty is a phrase on a business card, it’s not worth the cardstock.
When to Call a Professional
Some bathroom problems are genuinely do-it-yourself friendly: swapping a faucet, re-caulking a seam, or replacing a fan cover. Others are dangerous or simply not worth the risk. Waterproofing failures, mold behind tile, any work involving gas or major electrical, and any project where the wall is coming open should go to a licensed professional. Shower assemblies are the most common place Richmond homeowners get into trouble, because the failure is invisible until it’s costly. If you’re seeing cracked grout, musty smells, water stains creeping across the ceiling below the bathroom, or a bathroom that’s been “redone” more than once, get an inspection before it gets worse. Groundwork Construction Co. of Richmond offers free estimates in Richmond, with line-item written quotes and permits pulled on every job that requires them. Call (833) 700-4611 to set up a walkthrough and see exactly what’s behind your walls.
See the difference
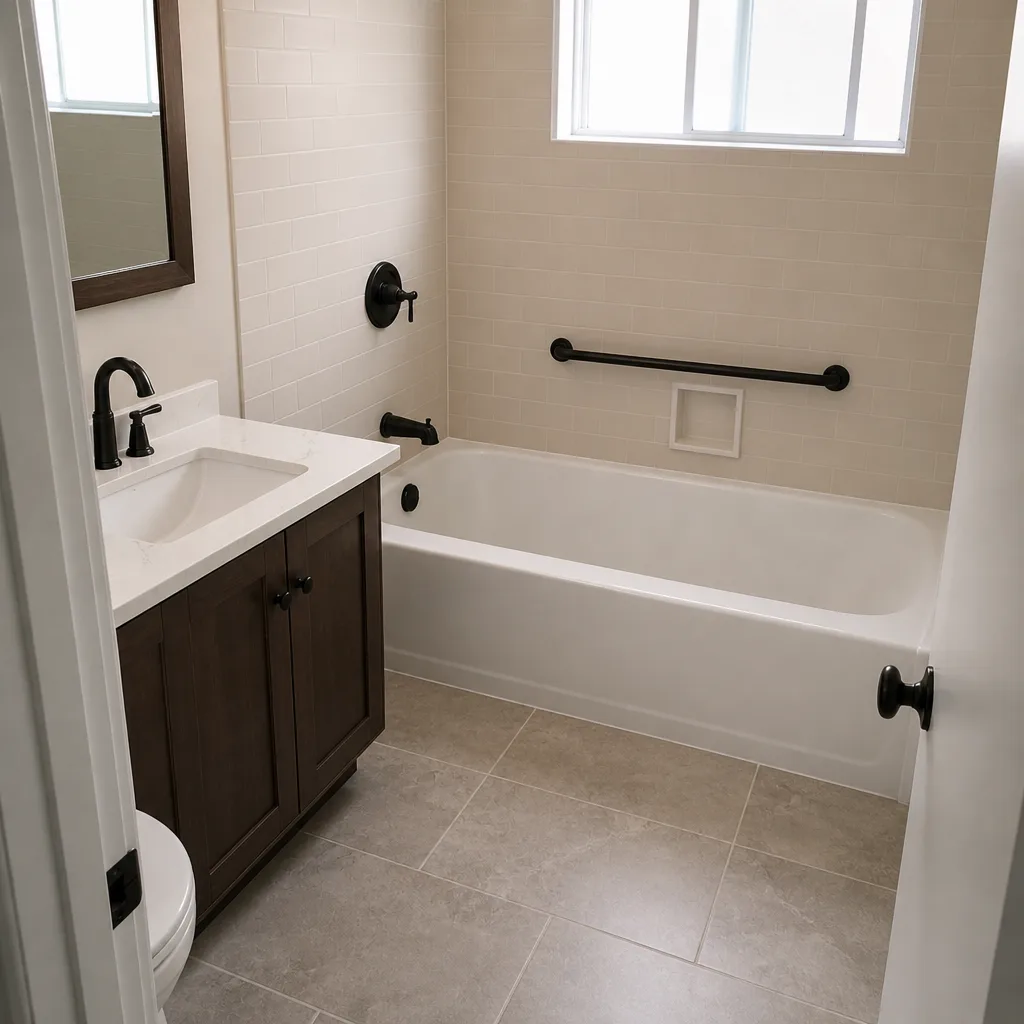
 Before
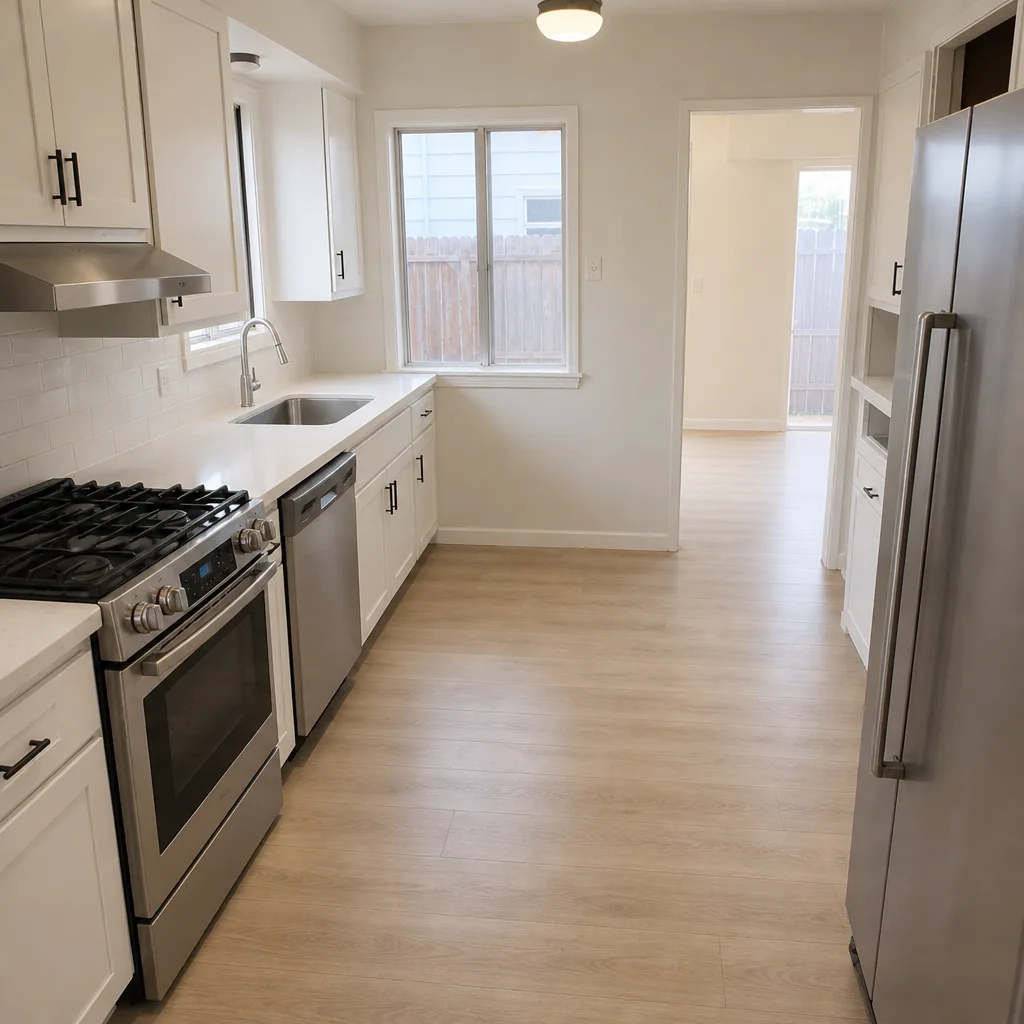 After
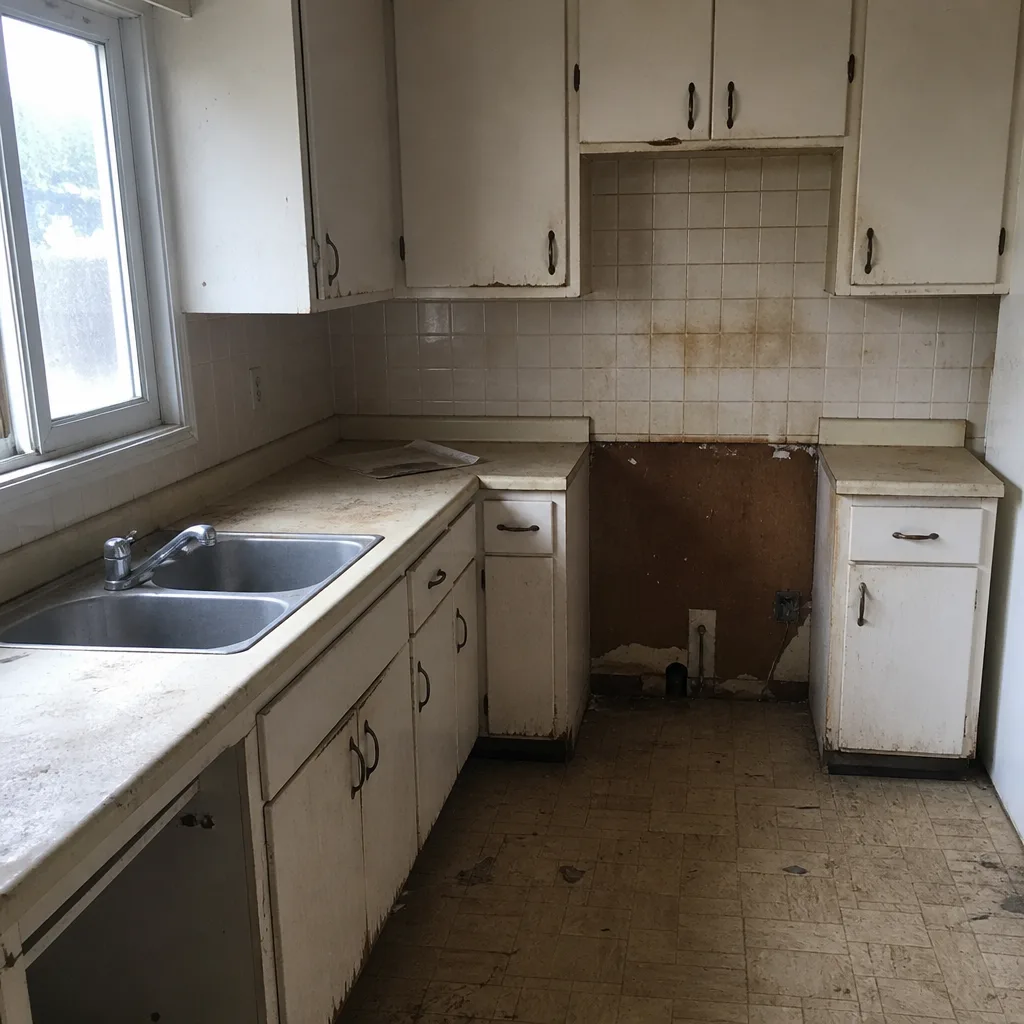 Before
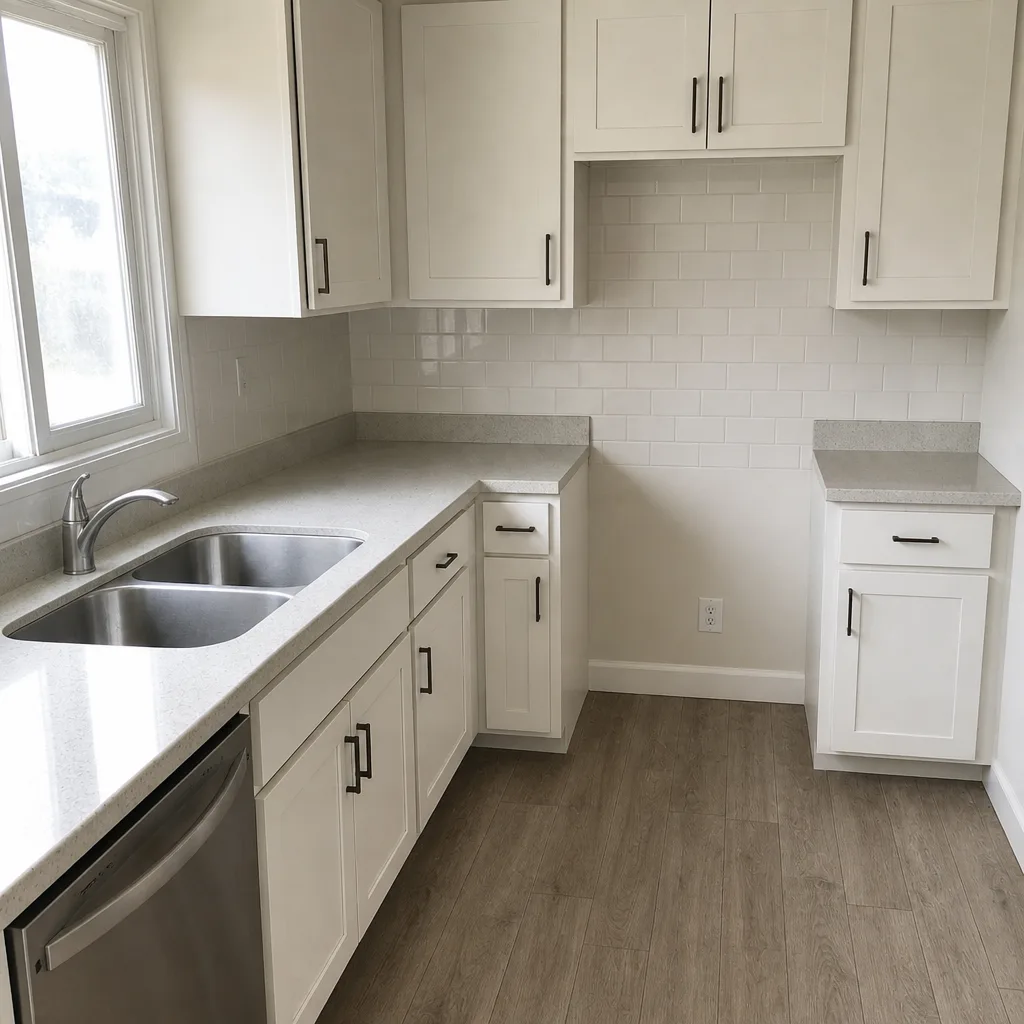 After
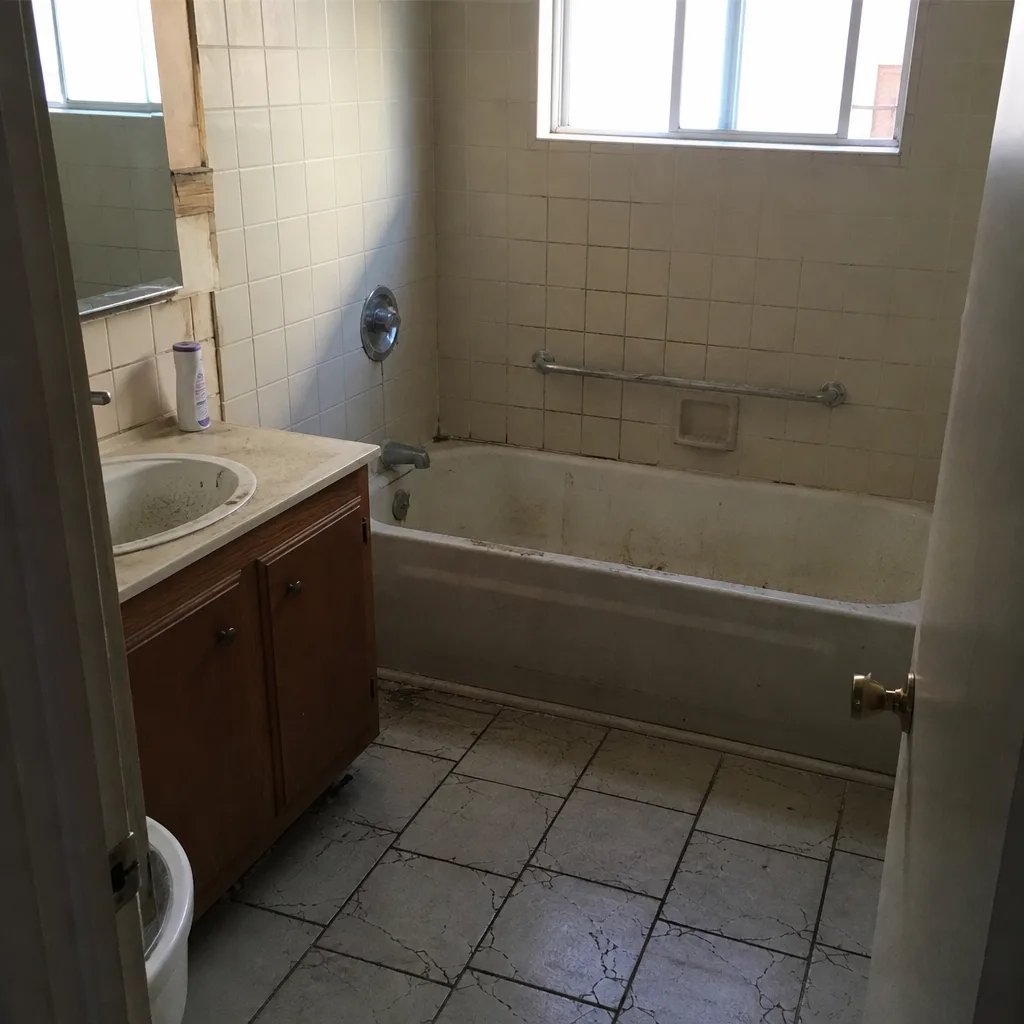 Before
 After
Frequently Asked Questions
Bathroom remodel costs in Richmond vary widely with scope, but a typical full-gut renovation runs in the tens of thousands, while a cosmetic refresh stays well below that. The biggest cost drivers are whether the layout changes, whether plumbing is moved, and whether the shower is being rebuilt from the framing up. A written line-item estimate is the only way to get an accurate number, and we provide those free. Call (833) 700-4611 for an exact quote on your Richmond bathroom.
Not if the scope is clear and the contract is written correctly. The price should only change if you request a change order in writing, or if hidden conditions behind the walls genuinely require adjustment (like discovering a failing cast-iron drain under a tub). Our approach is upfront pricing with no surprises, so the number in your estimate is the number you pay. Call (833) 700-4611 to talk through what your scope will look like.
You can, but the shower will fail, and the fix will cost several times more than the membrane itself. Waterproofing is the one phase of a bathroom remodel that should never be cut for budget reasons. If a contractor offers to skip it, that’s the single biggest warning sign you’ll see. Ask us to walk you through the waterproofing sequence before work starts.
A full bathroom remodel typically takes several weeks, and a smaller powder room can often wrap in under two. The timeline stretches when permits are involved, when the shower is being rebuilt, or when a wall opens up and reveals original plumbing that needs replacement. Permits through Richmond’s Building Division and required inspections also add time, and they’re worth the wait. Call (833) 700-4611 for a realistic timeline based on your scope.
Yes. Any bathroom work that moves plumbing or electrical gets permitted through the City of Richmond, and we handle the paperwork and schedule the inspections. Skipping permits puts your home’s title and insurance coverage at risk, and it’s a shortcut we simply don’t take. Call (833) 700-4611 and we’ll explain what’s required for your specific project.
Workmanship on your bathroom remodel is covered for 730 days after completion, and if something we installed fails due to our work, we make it right. The promise is in writing, it’s one of the longest workmanship guarantees in residential construction, and it’s why we’re so focused on the waterproofing details during the build. Call (833) 700-4611 if you’re still deciding which contractor to hire; we’re happy to walk you through what the promise covers before you decide.
The Bottom Line
Bathroom remodeling disasters almost never start with a contractor who looks incompetent on day one. They start with a homeowner who didn’t know what to check for. The warning signs are learnable: no written scope, pressure to skip permits, tile before waterproofing, and a shower pan that was never flood tested. After the job, watch for cracked grout within six months, caulk separating at the tub-wall seam, and fans that don’t clear the moisture. If you’re planning a bathroom refresh in Richmond, you can start with a free written estimate and a real conversation about what’s behind your walls. That conversation is the best protection you have.
If you’re also updating other parts of the house, take a look at the broader work we do across Groundwork Construction Co. of Richmond home. And when you’re ready to schedule a bathroom estimate with a real live person on the phone any time, call (833) 700-4611.
Written by the team at Groundwork Construction Co. of Richmond.