Last updated November 18, 2026






Free written scope consultation - allowances, timeline, and change-order rules on paper before a single trade is scheduled
Driveway & Pavers Troubleshooting: Common Problems and How to Fix Them
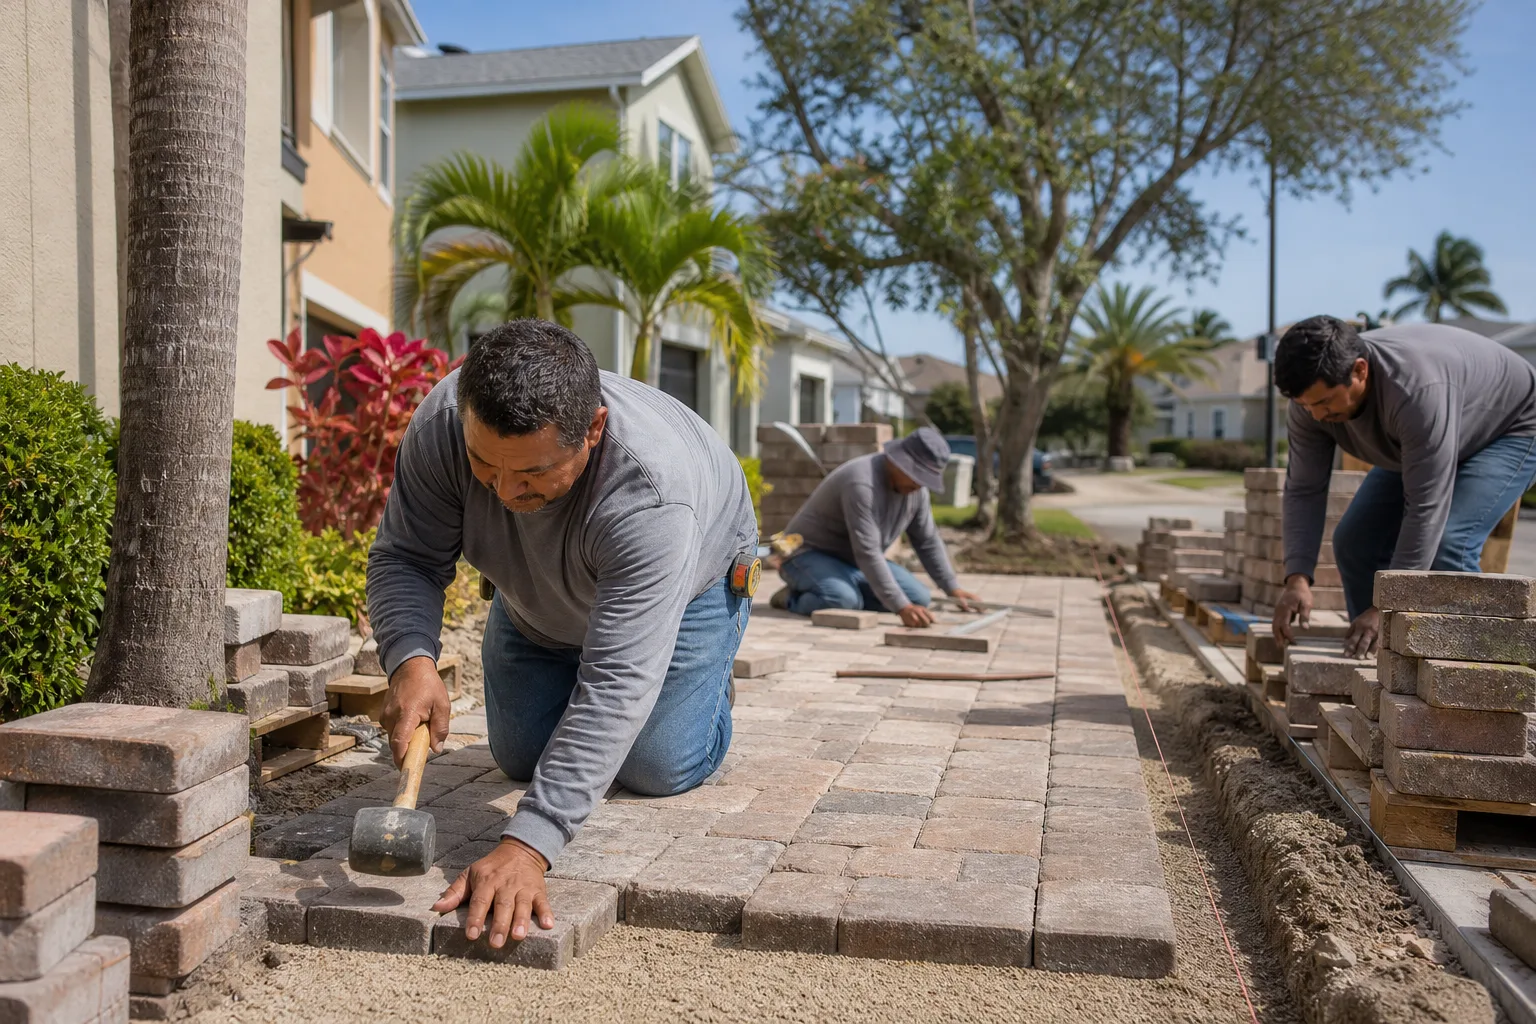
A single sunken paver isn’t a paver problem – it’s a base problem. Homeowners who replace just the stone without addressing what’s beneath it will be calling someone again within two seasons. Most driveway paver problems aren’t random bad luck, either. They’re predictable failures that trace back to one of three installation shortcuts: a base that was never compacted correctly, joint sand that was never sealed, or edge restraint that was never anchored. This guide teaches Richmond homeowners to diagnose before they call anyone. You’ll learn which crack patterns tell you what, which repairs you can finish yourself on a Saturday, and which ones require excavation and professional re-grading.
Quick Answer
Most driveway paver problems come from three root causes: an uncompacted base, missing joint sand that was never sealed, or failed edge restraint. Surface damage is fixable in a weekend, but a paver that sinks or rocks underfoot almost always means the base beneath it has shifted, and that needs excavation and re-grading before the stone goes back down. Diagnosing which one you’re looking at takes about ten minutes of observation.
Styles & brands we work with
- Kitchen remodeling
- Bathroom remodeling
- Home additions & ADU
- Roofing
- Windows & doors
- Driveway & pavers
- Fence
Table of Contents
- Surface Damage vs. Base Failure: The Pressure Test
- Why Your Joint Sand Keeps Disappearing
- Edge Restraint Failure and Widespread Shifting
- Reading Crack Patterns: Roots, Freeze-Thaw, or Settlement
- Drainage and Standing Water Problems
- Weekend Repairs vs. Professional Excavation
- Why Richmond’s Climate Accelerates Paver Problems
- Efflorescence and Staining: What’s Normal
Surface Damage vs. Base Failure: The Pressure Test
Before you buy a single bag of sand or a replacement stone, you need to know whether you’re dealing with a surface problem or a structural one. This distinction determines whether you’ll spend an afternoon or a week, and whether you’re fixing a cosmetic issue or a $2,000 excavation job.
Here’s the field test we use on every Richmond driveway assessment. Stand on the questionable paver with both feet and rock your weight front to back, then side to side. A properly installed paver won’t move at all – no give, no clicking, no wobble. If you feel movement, press down hard on one edge with the heel of your hand. In wet months, a spalled-looking paver that rocks will release a small puff of water from the joint. That’s a drainage or base problem, not a stone problem.
Then look at the joints. On a sound installation, the joints stay tight and the sand stays put for years. If you can push a screwdriver blade into a joint with light pressure, the sand layer is gone and you’re looking at failed bedding. The stone above it was never supported properly.
- Surface damage: Chipped edges, faded color, hairline scratches, isolated efflorescence. The stone itself is fine; the face is worn.
- Base failure: Rocking pavers, sunken sections, joints that won’t hold sand, water pooling near the paver, adjacent pavers that have dropped together in a cluster.
- The tell: Base failure moves in groups. Surface damage happens to single stones. If you see one sunken paver, check the six around it – they will almost always tell you the answer.
The pressure test catches another problem: tree root uplift. A root passing under the driveway lifts a few pavers in a cluster while the rest of the section holds firm. We see this often on Richmond properties with mature street trees, and it’s a case where addressing the surface alone guarantees the problem returns.
Why Your Joint Sand Keeps Disappearing
Joint sand disappears because it was placed but never sealed, because the wrong sand was used, or because water is running through the driveway more aggressively than the joints can shed it. Sand doesn’t vanish – it gets flushed out, blown out, or never packed in the first place.
The most common failure we see in Richmond: a crew swept polymeric sand across the joints, misted it once, and called it done. Polymeric sand needs two or three activation passes with a fine mist to polymerize correctly, and if it’s over-watered it hazes the pavers, while under-watering leaves it powdery and weak. A single mist leaves you with sand that washes out within a rainy season.
Even correctly applied, joint sand loses volume over time from wind, runoff, and foot traffic. Refilling is part of routine paver maintenance, usually every two to four years. Refilling without sealing is a temporary patch – water and weather will take it back out.
The proper refill process:
- Pressure-wash the joints and pavers to clear old sand and debris. Let it dry fully.
- Fill the joints with fresh polymeric sand, sweeping it in with a soft broom.
- Compact with a plate compactor to settle the sand into the joint. Do this carefully – a heavy compactor can crack pavers that aren’t fully supported.
- Sweep off excess sand and activate with a gentle mist, following the manufacturer’s instruction on water volume.
- Apply a penetrating sealer after the sand has cured (typically 24-48 hours, depending on weather). The sealer locks the sand and slows UV fade on the pavers.
Richmond’s wet-winter, dry-summer pattern means joint sand washes hard in December through March and then bakes in August. The combination accelerates volume loss faster than in a more temperate climate.
Edge Restraint Failure and Widespread Shifting
Edge restraint is the plastic, aluminum, or steel border that holds the pavers and locks the whole field in place. When it fails, the paver field spreads outward – and the failure cascades across the whole section. If you’re seeing pavers walking apart along the driveway’s outer edge, your restraint is the culprit.
Edge restraint fails in three ways:
- Stakes pulled out: The restraining spikes loosen over time from freeze-thaw and traffic, letting the paver field spread.
- Adhesive failure: Some restraints are glued down with a construction adhesive that can separate at the base over freeze-thaw cycles.
- No restraint at all: A shortcut install where pavers were set against soil or a rough concrete curb with no proper restraint.
The diagnostic: walk the driveway and look at the outer edge. If the pavers are spaced further apart along the edge than in the middle, or if the outer paver field is humped up slightly, the restraint has released. Same test if you see loose soil washing out from beneath the edge – that’s water getting under the unrestrained field.
Repair means excavating the edge, resetting the restraint, and re-compacting the paver field back into proper position. It’s not a stone-by-stone repair. Attempting to just push the stones back by hand rarely holds – the restraint has to be anchored back into compacted base material and relocked.
For broader driveway paver installation in Richmond, see our full service page – proper edge restraint is where most shortcut installs break first.
Reading Crack Patterns: Roots, Freeze-Thaw, or Settlement
The crack pattern tells you what’s happening below. A crack that runs in a line is usually structural. A crack that runs in a spiderweb is usually settlement. And a crack that curves over a neighboring tree is usually roots.
Here’s how to read the three most common patterns:
- Tree root intrusion: The crack follows a curve that mirrors the direction of a nearby tree’s root radius, and the pavers around it lift slightly rather than sink. This is common on Richmond properties with mature oak, redwood, and elm trees. Roots pass under the driveway and the annual growth lifts the paver field above them.
- Freeze-thaw damage: Cracks appear in a line perpendicular to the driveway edge, or along a joint line that runs parallel to the house. Water gets into a base layer that wasn’t graded for drainage, freezes, expands, and heaves the paver above. Richmond’s winters are mild, but overnight frosts on a wet driveway can still trigger this on a poorly drained base.
- Settlement: A curved depression or a “bowl” shape where the pavers have dropped as a group, usually near the center of the driveway or along a utility line crossing. This is almost always a compacted-base problem – the installer didn’t compact in lifts or skipped the geotextile fabric.
The size and direction of the crack matter less than the shape. Line cracks are surface-level movement; spiderweb cracks are deeper structural movement. A line crack that runs the full length of the driveway usually points to a base that’s dropping uniformly along one side.
Home additions and ADU work in Richmond frequently involves moving a driveway or changing grade around the house – if your cracks appeared after nearby construction, that’s your answer. See our Home Additions & ADU services in Richmond for related projects.
Drainage and Standing Water Problems
Standing water on a paver driveway is a grading failure, not a paver failure. Pavers are supposed to shed water at a slope of about 1″ to 2″ per 10 feet, and if the driveway doesn’t slope correctly, water pools on the surface and works its way under the pavers through the joints.
Signs you’re looking at drainage failure:
- Puddles that stay more than 24 hours after rainfall.
- Water running toward the garage rather than away from it.
- Joints that wash out rapidly on the downslope side of the driveway.
- Pavers that feel slick and soft in the same spot each wet season.
A proper Richmond paver driveway should drain toward a lower grade, a French drain, or a channel drain at the garage door threshold. On flat lots, the installation needs a linear drain or a slot drain – otherwise water sits and the base eventually washes away regardless of how well-compacted it was.
Standing water accelerates everything else wrong with a paver field. It softens the base, washes out joint sand, and pushes the paver field slightly at every freeze. If you have standing water and joint sand loss, fix the drainage first or the sand will keep disappearing.
Weekend Repairs vs. Professional Excavation
The good news: some paver problems are genuinely fixable on a weekend with a few bags of polymeric sand and a couple of hand tools. The hard news: the ones that require excavation almost always get worse if you try to shortcut them. Here’s how to tell which is which before you pick up a shovel.
Weekend repairs (a homeowner with basic tools can handle):
- Joint sand refill. Sweep, mist, cure, seal. Two-day job depending on drying time.
- Isolated cracked paver. Lift the cracked stone with a paver extractor, clean the joint, reset with a fresh bed of sand and compact. One paver, one afternoon.
- Efflorescence removal. A mild acid wash or dedicated efflorescence remover, plus time. This is surface-level cosmetic.
- Minor weed removal. Scrape and refill the joint with polymeric sand. Easy, but refilling without sealing means the weeds come back.
Professional excavation (do not shortcut these):
- Any sunken cluster of pavers. Base failure almost always means excavating 6-10″ and re-grading with compacted aggregate.
- Widespread edge shifting. Restraint reset, re-anchoring, and recompacting the whole paver field that spread.
- Tree root intrusion. Root removal requires coordination with an arborist and rebuilding the paver base to prevent recurrence.
- Drainage regrade. Reshaping the subbase to a correct slope is not a homeowner job even for a confident DIYer.
- Utility-cut repair. Any paver driveway that was cut open for a utility line needs to be rebuilt in lifts and re-graded.
If you’re not sure which camp you’re in, assume the professional one and get a free estimate. Guessing on a base repair is how a $300 fix becomes a $3,000 excavation. We handle this in Richmond regularly – see Driveway & Pavers in Richmond for how we structure install and repair projects.
Why Richmond’s Climate Accelerates Paver Problems
Richmond’s weather pattern makes paver problems show up faster than neighbors 30 miles inland will ever see. The reason is the two-season swing: winters that stay wet and cool enough to keep the base saturated for months, followed by summers that bake the pavement at 90°F+ for weeks. Water ingresses in the rainy season, then dries out, and the cycle repeats.
Two specific effects hit Richmond driveways hardest:
- Expansive clay soils. Richmond’s clay-heavy soils swell when wet and shrink when dry. A paver base compacted in one season will lift and settle across the seasons if the subgrade wasn’t stabilized correctly. In a properly installed driveway, the paver field barely notices; in a shortcut install, you get the bowl-shaped settlement pattern we covered above.
- Winter rain runoff. The Bay Area’s wet winters send water down driveways that sit on sloping lots. Without proper drainage, that water gets under the paver field and pulls joint sand out on the way.
We also see a seasonal failure pattern we call the “spring lift” – pavers that look flat all autumn suddenly show joints opening in March after the wet season. That’s not the pavers; that’s water moving the base. In west Richmond neighborhoods close to the Bay, the combination of high water table and clay soil makes base preparation the single most important part of any paver driveway installation.
If you’re also working on landscape fencing around the yard, we’ve noticed pavers and fences share the same base problem – see our Fence Installation in Richmond for the parallel.
Efflorescence and Staining: What’s Normal
Efflorescence is that white powdery haze that appears on pavers, especially after wetting. It’s not a paver defect – it’s dissolved salts migrating from the base through the paver and crystallizing on the surface. All concrete-based pavers will efflorescence to some degree, and the amount depends almost entirely on how wet the base stays.
The problem shows up most when:
- The paver was laid very wet (common on rushed installs).
- The base doesn’t drain, so water runs continuously through the pavers, carrying salt to the surface.
- The driveway is on new concrete or cured with too much water in the mix.
Most light efflorescence fades on its own with weather. Heavy efflorescence needs an acid wash or efflorescence-specific cleaner, with precautions – acid washing can etch the paver surface if the mix is too strong or the pavers aren’t acid-resistant. Always test on a spare paver first.
Rust and iron staining is a different problem: it comes from fertilizer, irrigation water with heavy iron content, or metal objects left on the pavers. Rust removers work, but the stains return if the source isn’t addressed.
Consider efflorescence a diagnostic. If it keeps coming back in the same spot, water is moving through the paver from the base on a repeating cycle. Fix the base drainage and the efflorescence fades permanently. Patch the surface and you’ll be back on the same spot next spring.
Common Mistakes to Avoid
- Replacing a sunken paver without checking the base. The paver didn’t sink on its own; the base let go. Pull the paver out and inspect the 4″ of aggregate beneath it. If that aggregate moves under your screwdriver, you’re not fixing anything by putting the stone back.
- Refilling joint sand without sealing. Polymeric sand needs sealing to stay in a wet-winter climate like Richmond’s. Refilling without sealing is guaranteed to see the same sand wash out within a year.
- Skipping the plate compactor on a re-set. A hand-tamped paver will look fine for about six weeks and then rock again. A 3,000-4,000 lb plate compactor is not optional for any paver reset.
- Pressure-washing joints too aggressively. High-pressure washing blows the joint sand out – which is the exact thing you’re trying to fix. Use low pressure at the joint line, and always refill sand afterward.
- Sealing wet pavers. A sealer applied to damp pavers will trap moisture in the paver, causing efflorescence to bloom under the sealer and permanently clouding the finish. Wait for a dry window of at least 48 hours.
- Ignoring drainage because you only see puddles once. Puddles that sit for a day are a base failure signal, not a cosmetic one. Richmond’s clay subgrade moves quickly once water sits, and a small puddle in spring becomes a sunken paver field by the fall.
- Cutting pavers in place to remove a root without shoring the base. Removing a root under a paver field without compacting the resulting void almost always produces a new settlement pattern within a season.
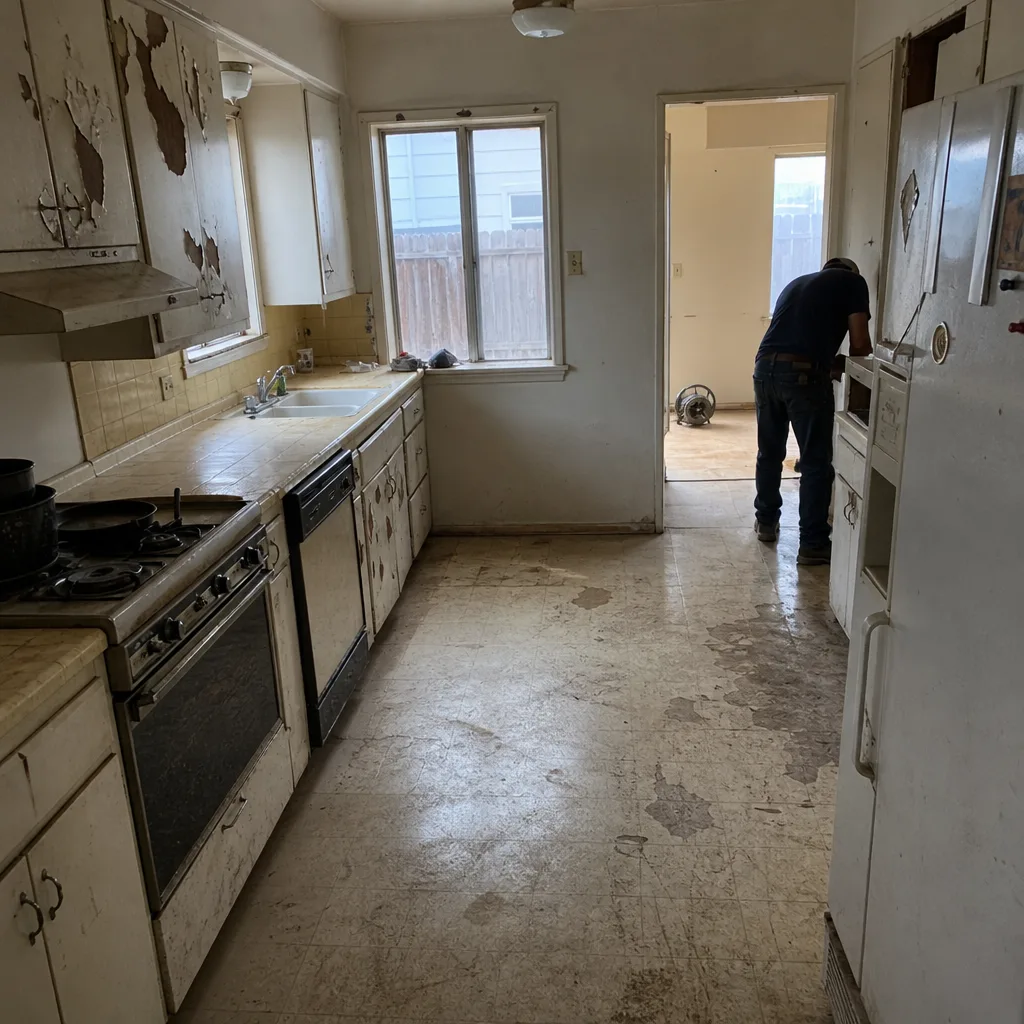
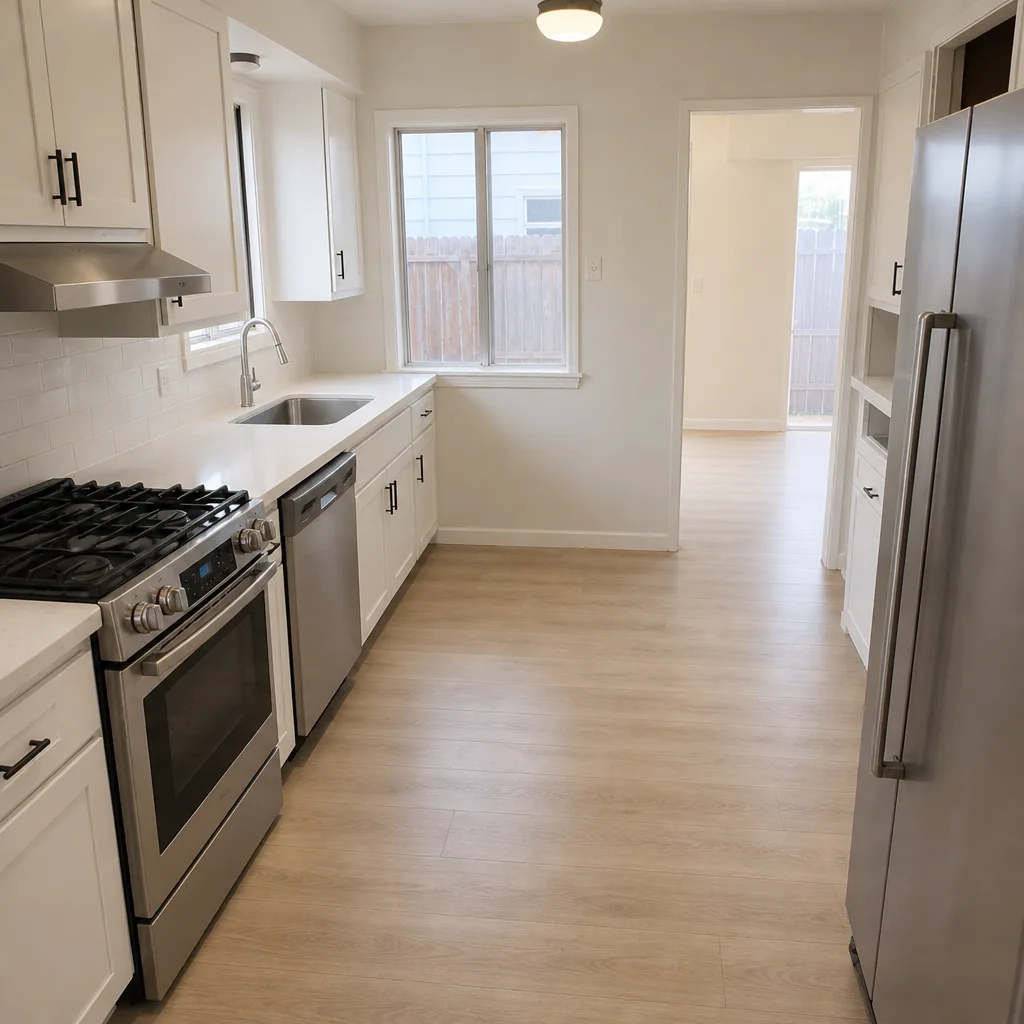
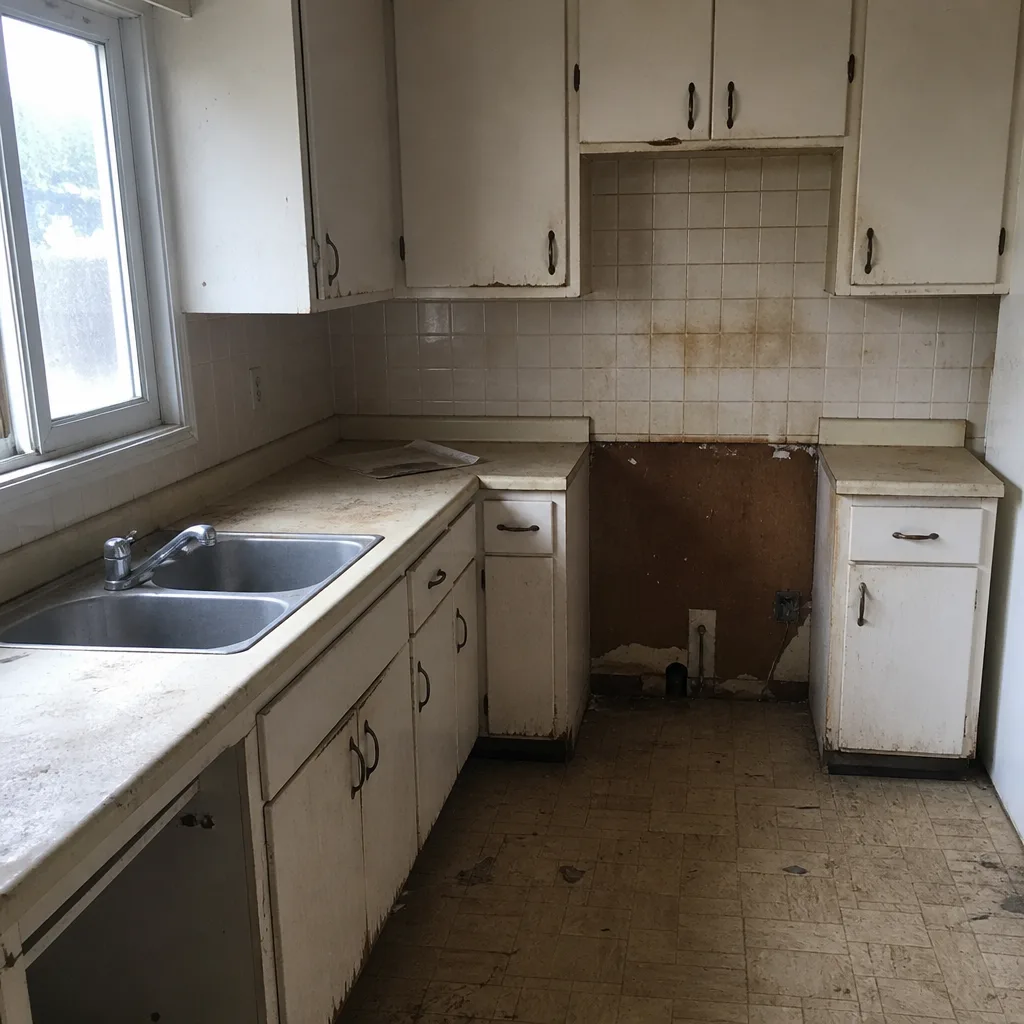
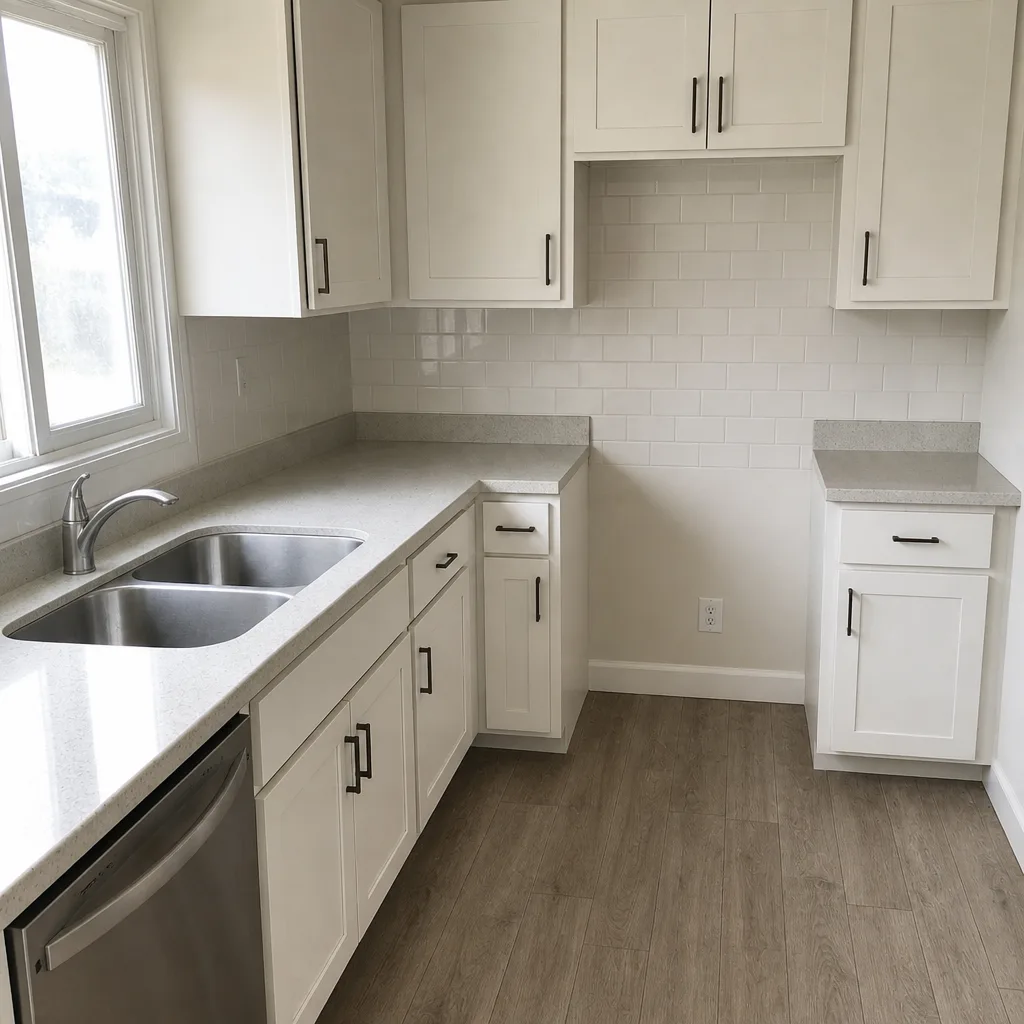
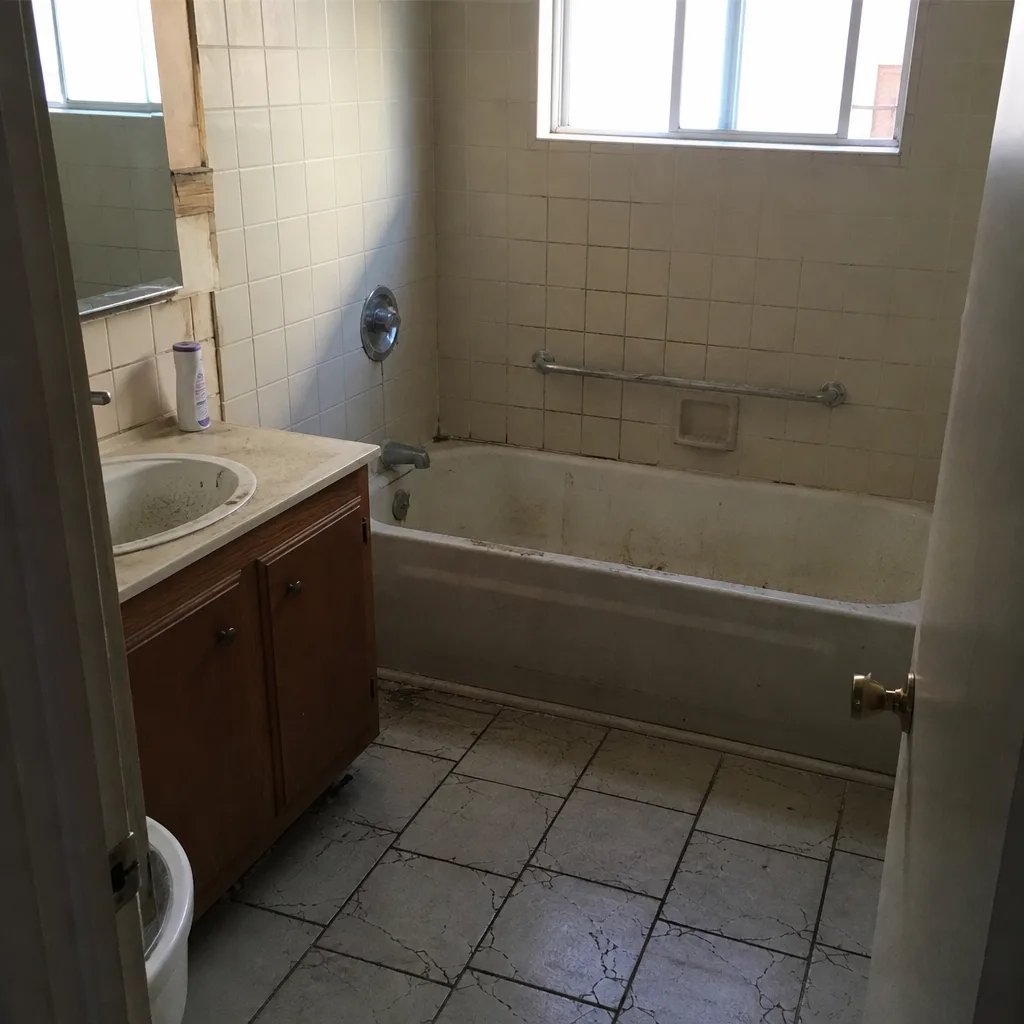
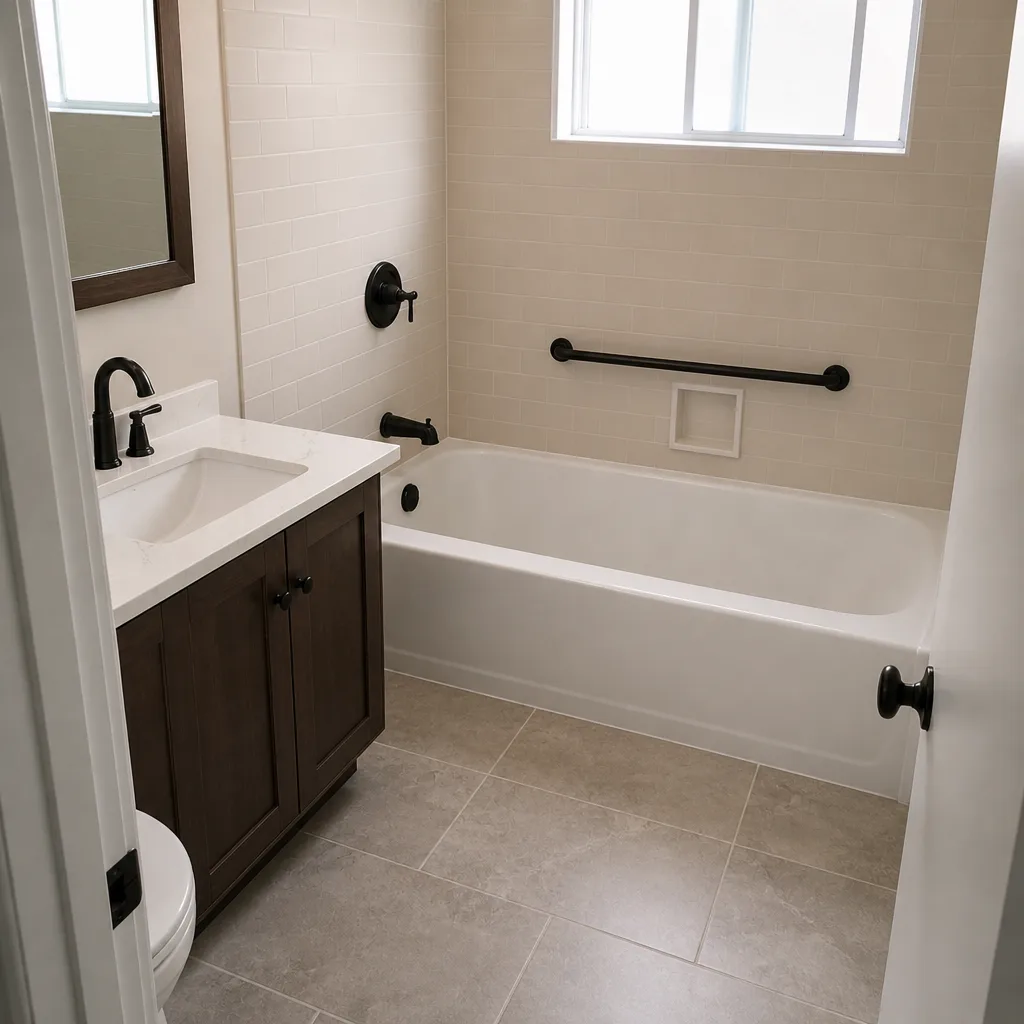
See the difference
 Before
 After
 Before
 After
 Before
 After
When to Call a Professional
Call a professional when the paver is rocking underfoot, when a section has dropped more than a half inch below its neighbors, when joints will not hold sand after a proper refill, or when cracks or movement appear near the outer edge of the driveway. Those are base, restraint, or drainage problems, and they’re not going to fix themselves with a bag of sand. Richmond homes near mature trees, on sloping lots, or built over expansive clay soil are more likely to need a professional assessment on any paver problem that isn’t purely cosmetic. Groundwork Construction Co. of Richmond offers free estimates in Richmond – call (833) 700-4611.
Frequently Asked Questions
Small repairs like refilling joint sand, resetting one cracked paver, or replacing a cracked stone typically run a few hundred dollars. A base repair on a sunken cluster – excavating, re-grading, and re-setting the pavers – usually runs in the low-to-mid four figures depending on square footage. Full driveway replacement with new pavers runs higher, and we quote every job with an itemized written estimate before work starts. Call (833) 700-4611 for an exact number on your driveway – the estimate is free.
Only if the paver is genuinely isolated and the base below it is still sound. Lift the paver, inspect the aggregate with a screwdriver – if the aggregate is loose or damp, it’s not a DIY fix; you’re looking at a base failure that will need excavation. If the aggregate is firm and the paver just sat a fraction low, you can re-set it with fresh sand, compact it, and it will hold. Call us for a free estimate before you start excavating – the answer takes ten minutes and costs nothing.
Because it wasn’t sealed, because it wasn’t the correct polymeric sand, or because water is running under the paver field on a slope that wasn’t graded right. The most common version in Richmond is a polymeric sand that was misted once instead of activated correctly, then never sealed. Refilling alone is a temporary fix – you need the sealing step, and if the joints drain that fast in the wet season, you may need to address drainage. Call (833) 700-4611 for a free estimate on a proper refill and seal.
A properly installed paver driveway with a compacted base, restrained edges, correct drainage, and routine sealing every few years lasts a very long time – decades, not a handful of years. The variable is the base and the sealing schedule. Shortcut installs where the base wasn’t compacted in lifts or the edge was set against soil fail in five to ten years, and Richmond’s wet-winter clay soil accelerates that timeline compared to a dry climate. Quality materials and proper base preparation are what separate the two outcomes.
Late spring through early fall – dry weather lets joint sand cure, sealer bond correctly, and excavation proceed without muddying the site. Winter repairs are possible for emergencies but wet weather makes sealing and base work slower and less reliable. The best window in Richmond is typically May through October, with the warmest, driest stretch ideal for sealing. Call (833) 700-4611 to schedule a free estimate well before the season starts – spring slots fill quickly.
Not always, but the risk grows each season. A single cracked paver that’s structurally sound underneath can sit for years without spreading – that’s a cosmetic issue. A cracked paver that’s rocking or has shifted will accelerate joint movement in the pavers around it, and eventually you’re repairing a cluster instead of a stone. The pressure test tells you which one you’re looking at; if the paver moves underfoot, fix it now. Call (833) 700-4611 for a free estimate before the repair gets bigger.
The Bottom Line
Three failures cause almost every driveway paver problem: an uncompacted base, joint sand that wasn’t sealed, and edge restraint that wasn’t anchored. Surface repairs – refilling sand, sealing, replacing a single cracked stone, removing efflorescence – can be done by a homeowner in a weekend. Anything involving a rocking paver, a sunken cluster, widespread edge shifting, tree root intrusion, or drainage regrade needs excavation and professional re-grading; those are the repairs that fail again if you shortcut them. In Richmond, the wet-winter clay soil pattern means base failures show up faster than in a dry climate, so the diagnostic pressure test matters. Diagnose first, repair second, and don’t put a stone back on bad base. Our full-service team at Groundwork Construction Co. of Richmond can look at any driveway and give you a straight answer – see our Groundwork Construction Co. of Richmond home page for the full scope of work we do across the property.
Ready to get a straight answer on your driveway? Call (833) 700-4611 for a free estimate. Our technicians have up to 12 years of experience, every project is covered by our 730-Day Done Right Promise, and a live person answers the phone 24/7 – no voicemail, no waiting until Monday. Upfront pricing, no surprises, and a written itemized estimate so you know exactly what you’re paying for before we touch a single paver.
Written by the team at Groundwork Construction Co. of Richmond.