Last updated November 18, 2026






Free written scope consultation - allowances, timeline, and change-order rules on paper before a single trade is scheduled
Home Additions & ADU Troubleshooting: Common Problems and How to Fix Them
If your ADU or addition is showing cracks, moisture, or temperature control problems within the first two years, you’re almost certainly not dealing with a finish issue. You’re dealing with a structural or envelope decision that got made when you weren’t watching. We’re not saying that to alarm you. We’re saying it because we’ve walked into dozens of Richmond additions where a homeowner was about to pay somebody to patch drywall for the third time when the actual problem was a footing poured 14 months earlier on soil that drains poorly. This guide is about diagnosing root causes instead of chasing symptoms: how to read cracks, why new-room HVAC fails, how to trace a leak to the one joint most additions get wrong, and how to get warranty action instead of a runaround under California law. Twenty minutes here will save you a lot of money.
Quick Answer
Most home addition and ADU problems fall into four buckets: structural movement (cracks that widen over time, sticking doors, sloping floors), envelope failures (water intrusion at the seam where new meets old), HVAC shortfalls (a room that’s too hot or cold because of duct design, not equipment), and post-occupancy electrical or plumbing issues that usually trace back to inspection compliance during construction. Fixing a symptom without finding which bucket you’re in leads to repeat failures. The good news is that every one of these has a recognizable signature, and this guide walks you through all of them.
Styles & brands we work with
- Kitchen remodeling
- Bathroom remodeling
- Home additions & ADU
- Roofing
- Windows & doors
- Driveway & pavers
- Fence
Table of Contents
- How to Tell a Cosmetic Drywall Crack from Structural Movement
- Tracing Water Intrusion at the Connection Point Between New and Old
- Why Your New Room Can’t Hold Temperature
- Electrical and Plumbing Problems That Show Up After You Move In
- Permits, Inspections, and What Post-Occupancy Issues Signal
- How to Document Problems and Get a Warranty Response
- ADU-Specific Problems: Drainage, Utilities, and Occupancy
- Prevention Playbook: What to Check Every 6 Months
How to Tell a Cosmetic Drywall Crack from Structural Movement
All drywall cracks are not created equal. A hairline crack at the corner of a door frame that appears in the first six months and then stops growing is normal and cosmetic. Wood framing shrinks as it dries, and new construction in Richmond’s summer fog belt dries slowly, so a settling crack here and there is expected. A crack that starts thin and keeps widening, or one that appears suddenly after a wet winter, is telling you something different.
Here’s how engineers and experienced contractors separate them:
- Cracks that pull in a stair-step pattern. Look at cracks in brick, block, or stucco that walk diagonally like a staircase. That pattern is a movement signature, not a finish failure. Cosmetic cracks run with the framing; structural cracks run across it.
- Cracks wider than 1/16 inch. Measure them now and measure again in 90 days. Widening means ongoing movement. A crack that stays the same width for six months is usually cosmetic.
- Cracks that appear with other symptoms. If the crack comes with a door that suddenly won’t close, a floor that feels sloped, or a window frame that’s pulled away from the drywall, those are structural symptoms, not cosmetic.
- Cracks around the connection. The joint where the new addition meets the existing house is the most stressed area in the whole structure. Cracks that concentrate there deserve inspection first, before anything else.
What to do: if you see a stair-step crack, a widening crack, or any crack accompanied by doors or windows that don’t operate smoothly, stop patching. Call a licensed structural engineer for an inspection, and call whoever built the addition at the same time. Do not assume the problem is cosmetic.
Tracing Water Intrusion at the Connection Point Between New and Old
The single most common failure point in any home addition is where the new roof meets the existing roof, and where the new wall meets the old wall. In our experience inspecting additions around Richmond’s older neighborhoods, this is where the vast majority of water complaints start. The reason is simple: that connection is not a roof and it’s not a wall. It’s a special detail that has to be flashed, taped, and integrated with both the new and old assemblies, and when it’s done in a hurry it leaks in places nobody looks until a ceiling stain shows up.
How to trace a leak back to the source, in order:
- Start at the ceiling stain. Note the position on the ceiling. Water travels along framing for 10 or more feet before it finds an exit point, so the stain location almost never sits directly under the entry point.
- Work uphill along the rafters. From the stain, follow the framing toward the ridge of the roof. The actual entry is usually higher and often toward the intersection of old and new.
- Check the connection flashing first. This is the transition detail where new roof meets old. Look for lifted flashing, cracked sealant, missing kickout flashing at the wall-to-roof run, and stucco that wasn’t taped into the new framing.
- Look at the wall transition on the inside. If the addition has a wall that butts against the existing house, look at the interior corner for moisture, mold, or paint bubbling. That’s a wall-junction leak, not a roof leak, and it means the weather barrier wasn’t integrated correctly.
- Check the new roof surface last. Individual shingles or panels are usually not the problem on a new roof. The connections are.
If you find yourself doing this in an unfinished attic, take photos as you go. Those photos will be the single most valuable piece of evidence if the fix gets disputed. Note where the flashing is, where the water barrier ends, and where the tape is or isn’t.
Any water intrusion around the connection point deserves a professional diagnosis. Patching the stain on the inside and the seam on the outside is the most common repeat-failure cycle we see, and it’s entirely avoidable.
Why Your New Room Can’t Hold Temperature
This is the most misdiagnosed problem in home additions, and we want to be direct with you: when a new room is consistently 5-10 degrees hotter or colder than the rest of the house, the equipment is almost never the problem. The duct design is. A properly sized HVAC system with undersized ducts or a long run with too many elbows will never deliver adequate air to that room, no matter what you set the thermostat to. Homeowners with a new addition who’ve had an HVAC company out three times and been told “the equipment is running fine” are usually dealing with a duct placement problem that was baked into the plans.
How to verify which one you have, in order:
- Measure the temperature at the vent, not the room. Use an infrared thermometer or an HVAC technician’s probe. If air at the supply vent is 15-25 degrees below room temp in summer or 20-30 above room temp in winter, the equipment is doing its job.
- Check airflow by feel. With the system running, hold your hand at the vent. Weak airflow from a supply vent when the rest of the house is strong points to a duct issue. Compare against a working vent elsewhere in the house.
- Count the elbows. Every 90-degree bend in a duct run reduces airflow significantly. A new room with a small supply duct and three elbows is not getting enough air.
- Check the return. This is the biggest single failure in new additions. A room without a dedicated return duct can’t circulate air back to the air handler. The room pressurizes and stalls. Many additions were built without one.
- Look at the interior wall separation. If the new addition has a solid door, closing it makes the problem worse. This confirms you’re dealing with a duct design and air-balance problem.
The fix is almost always to add or upsize the return, shorten the duct run, or add a mini-split for that zone. Not to replace the equipment. If you’re still within your contractor’s warranty window, this is exactly the kind of problem a warranty should cover, because the original design is what failed.
Electrical and Plumbing Problems That Show Up After You Move In
Electrical and plumbing issues that surface in the first year of a new addition almost always trace back to the rough-in stage, and most of the time they’re signs that a specific inspection phase was skipped or compromised. That’s a hard sentence to write, but it’s true, and knowing what to look for matters more than being polite about it.
The recurring patterns after occupancy:
- Tripping breakers in a specific room. Usually a shared circuit between the new and old house, or a circuit loaded beyond its rating because the original panel was never upgraded to support the addition. A tired panel can run for years without issue until load increases.
- GFCI trips in bathrooms or a new kitchen. New code requires GFCI in kitchens, bathrooms, laundry, and outdoors. If you’re seeing repeated trips, it may be a wet location issue, or it may be that the circuit wasn’t protected in the way the code requires.
- Light fixtures that flicker or dim. Often a loose neutral at a junction box or a panel that wasn’t torqued properly. Flickering is worth investigating promptly, because a loose neutral can overheat.
- Slow drains or gurgling in the new bathroom. A new drain line that ties into existing plumbing can lose slope or have a vent problem. Gurgling usually means a vent that isn’t working; slow drain usually means slope.
- Water heater strain. If a new bathroom or kitchen was added to a house without upsizing the water heater or adjusting the run, you’ll see uneven hot water between fixtures. That’s plumbing design, not appliance failure.
- Outdoor outlets that don’t work. Often simply GFCI that tripped and was never reset; occasionally rough-in that was never completed.
Every one of these should trigger two calls: the original contractor, and a licensed electrician or plumber for a second opinion. The written record you build matters. Keep a log of the symptoms, dates, and what you observe.
Permits, Inspections, and What Post-Occupancy Issues Signal
Richmond, like most of the Bay Area, requires building permits for additions and ADUs, with inspections at the foundation, framing, rough-in (electrical/plumbing/mechanical), insulation, and final stages. When those inspections are properly done, many of the problems in this guide never make it into the finished house because they’re caught when the walls are still open. When they get skipped or rushed, the problems show up exactly the way we’ve described in the prior sections.
Signals that a phase may have been under-inspected:
- No permit history at the city. For a permitted addition, there should be an inspection record. If you don’t have it, request it from the Richmond Building Department. Missing records are a flag.
- Multiple repeat failures across rooms. One problem can happen. A pattern usually means a phase was rushed.
- Electrical that doesn’t match code minimums. No GFCI where required, no AFCIs in bedrooms, no dedicated ground for certain circuits. Ask a licensed electrician to walk the addition and compare.
- Ventilation not installed in the new bathroom or kitchen. Every new bathroom needs mechanical ventilation. If yours doesn’t have it, that’s a rough-in stage issue that should never have passed final.
- Framing photos not available. Any responsible contractor photographs the open walls during framing. If they don’t exist, ask why.
If you’re in the middle of a future addition, insist on seeing the inspection signoffs. Richmond Building Department has records, and so should your contractor. A written permit trail is not paperwork – it’s your proof that the phases that matter most were done correctly.
How to Document Problems and Get a Warranty Response
The gap between “the contractor fixes it” and “you get a runaround” is almost always the quality of your documentation. Contractors pay attention to a homeowner who shows up with dated photos, a written description, and a clear request. Vague complaints get vague responses.
What to collect before you call:
- Photograph the problem from multiple angles. A crack needs a full-frame shot plus a close-up. A moisture problem needs the interior stain, the exterior location directly across from it, and the connection point. Time-stamp everything.
- Measure and record dimensions. Crack width today, and again in 60 days. Moisture extent. Temperature differences room-to-room. Numbers make complaints concrete.
- Keep a written log of symptoms. Dates, what you observed, what you did. This becomes evidence if the dispute ever needs it.
- Pull your contract and warranty documents. Locate the written warranty that came with the work. California contractors are required to give you a specific warranty notice under Business and Professions Code section 8955 and following for certain work.
- Send your request in writing. Email or a letter. State the problem, describe what you want fixed, and set a reasonable response window. Keep a copy.
Under California’s Right to Repair Act (Civil Code sections 895 through 945.5), homeowners have specific rights when construction defects appear in a home. The Act sets standards for what counts as a defect, and it establishes a process that, done correctly, requires the contractor to have a chance to inspect and repair before litigation. That process gives contractors an actual opportunity to fix it, and homeowners who follow the process usually get a faster resolution than those who jump straight to threats. We strongly recommend you read the notice procedures carefully, or have an attorney review them once. It’s a modest cost that makes every subsequent conversation better.
The plain-English version: document thoroughly, send written notice, allow an inspection, and hold the warranty to its terms. That’s how warranty response actually gets triggered in California.
ADU-Specific Problems: Drainage, Utilities, and Occupancy
ADU-specific problems often look like general addition problems with a twist. The twist comes from three things: drainage on a smaller footprint, utility capacity on an existing service, and occupancy permitting.
Drainage. A detached ADU in a backyard changes how water moves across the lot. In Richmond, where many lots have clay-heavy soils that shed water slowly, this matters a lot. If you see pooling near the ADU foundation after a rain, or you notice the ADU slab is damp at the base, the site grading may not have been revised after the ADU was placed. Roof downspouts that used to drain into a garden bed may now dump straight onto the new foundation. Get a site drainage plan drawn up before you patch anything. That’s a real fix, not cosmetic.
Utility capacity. A common ADU issue: the electrical service from the street was already at or near the panel’s capacity, and adding the ADU didn’t increase the service, only added circuits to the shared panel. Result: breakers that trip when both houses run appliances at once. Same with water pressure; a long run from the main to a detached ADU can drop pressure noticeably. These are design-stage problems, and they don’t show up until occupancy.
Occupancy permitting. An ADU is a dwelling, which means it has its own permit trail: building, electrical, plumbing, mechanical. If any of these weren’t completed or signed off, the ADU may be listed as non-habitable, which can affect your ability to rent it, insure it, or sell the property. Richmond’s planning and building departments can confirm whether a given ADU has a complete occupancy record. If the answer is no, that’s a first-order problem worth resolving before anything else.
If you’re still in the planning stage, a proper home addition and ADU scope document – the kind we write for clients in Richmond – identifies drainage, utility, and occupancy issues before they become problems.
Prevention Playbook: What to Check Every 6 Months
Most problems in this guide would be caught in a routine inspection if one were actually done. It almost never is. Here’s what we do every six months on our own additions in Richmond and what you can do on your own walkthrough:
- Walk the exterior wall connection. Where the new addition meets the original house, look for paint bubbling, stucco cracking, or caulking that has separated. This is your highest-risk joint.
- Look at the roof transition. From the ground with binoculars is enough. Note lifted flashing, cracked sealant, or missing kickout flashing at the wall-to-roof run.
- Check interior corners near exterior walls. Small moisture stains, bubbling paint, and musty smells are early signals that the weather barrier wasn’t integrated correctly.
- Photograph and measure any crack. Even a hairline crack. Compare to the previous six-month photo. Growth is the signal, not presence.
- Test the HVAC balance. With the system on, hold your hand at every vent in the addition. You should feel similar airflow in every room. Any vent noticeably weaker is worth investigating.
- Run water at every fixture. Check for slow drains, gurgling, and hot water timing. Monthly, not just every six months, is fine and takes a minute.
- Look at grading around the addition and ADU. Water should flow away from the foundation. If it pools, that’s a drainage fix to make before the next wet season.
The whole walkthrough takes about 20 minutes and costs nothing. It’s the cheapest insurance you can buy on a six-figure project.
Common Mistakes to Avoid
- Patching the symptom. Re-taping drywall cracks without measuring them, or sealing a leak without finding the flashing failure. In Richmond, patch-first-thinking on stucco transitions is the number one repeat-cost mistake we see, because the second repair almost always costs more than the correct one would have.
- Assuming the HVAC problem is the equipment. Replacing a working condenser because the room is too warm. Check the supply and return duct design first, or you’ll spend money and still be hot.
- Skipping the return. Adding a new supply to a room without adding a return, or without considering a dedicated mini-split. The room can’t balance if air has nowhere to go.
- Not pulling the permit history for existing work. Buying a house with a permitted-looking addition and not confirming the inspection record at the city. That’s a call worth making before close, not after.
- Calling multiple contractors without written documentation. Without a log, photos, and measurements, you’ll get vague responses and lose track of who said what. Document first, call second.
- Waiting past the warranty window. Manufacturer defects and workmanship defects have coverage periods. Track them and make your report while coverage exists. Our 730-Day Done Right Promise exists for this exact reason – if it’s not done right, we make it right, well beyond the first year.
- Treating the ADU’s occupancy record as optional. An ADU without a complete occupancy permit can affect renting, insurance, and sale of the property. Confirm the permit trail before you count on the income.
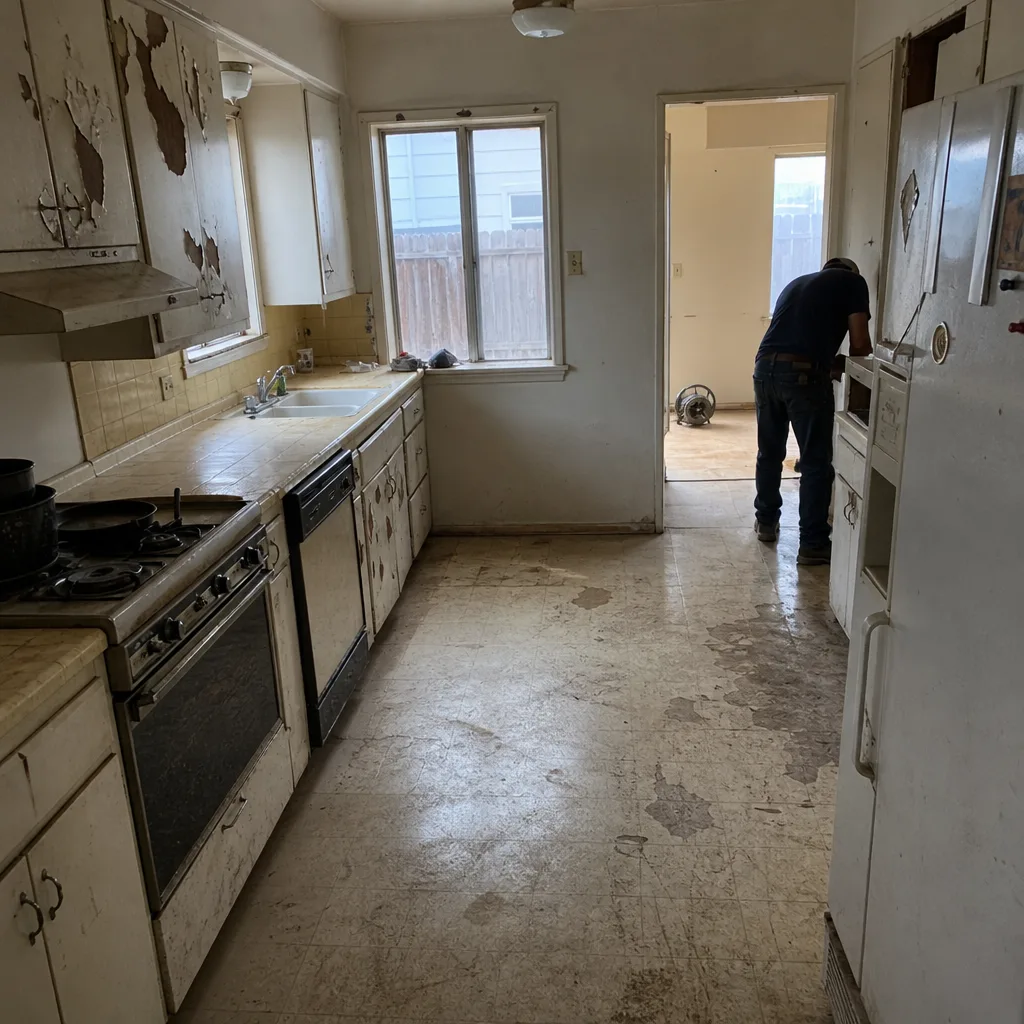
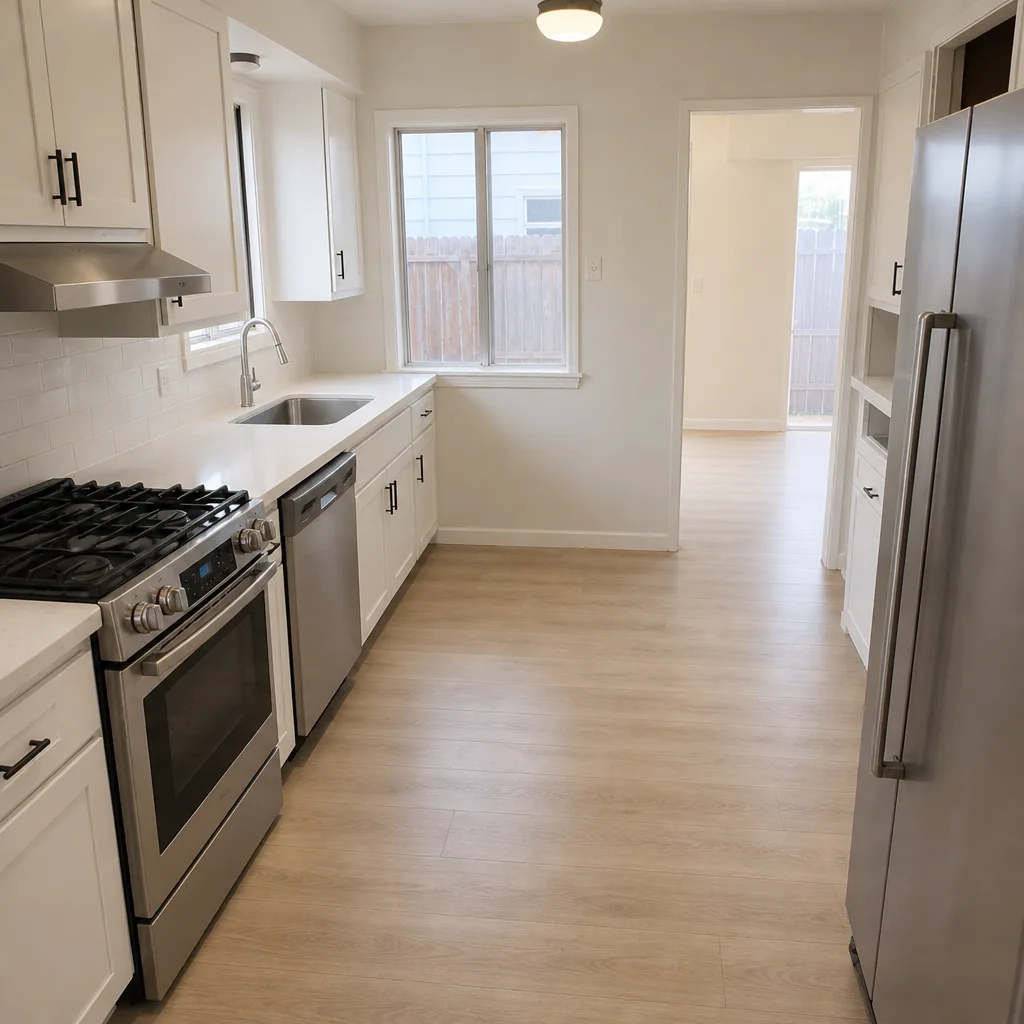
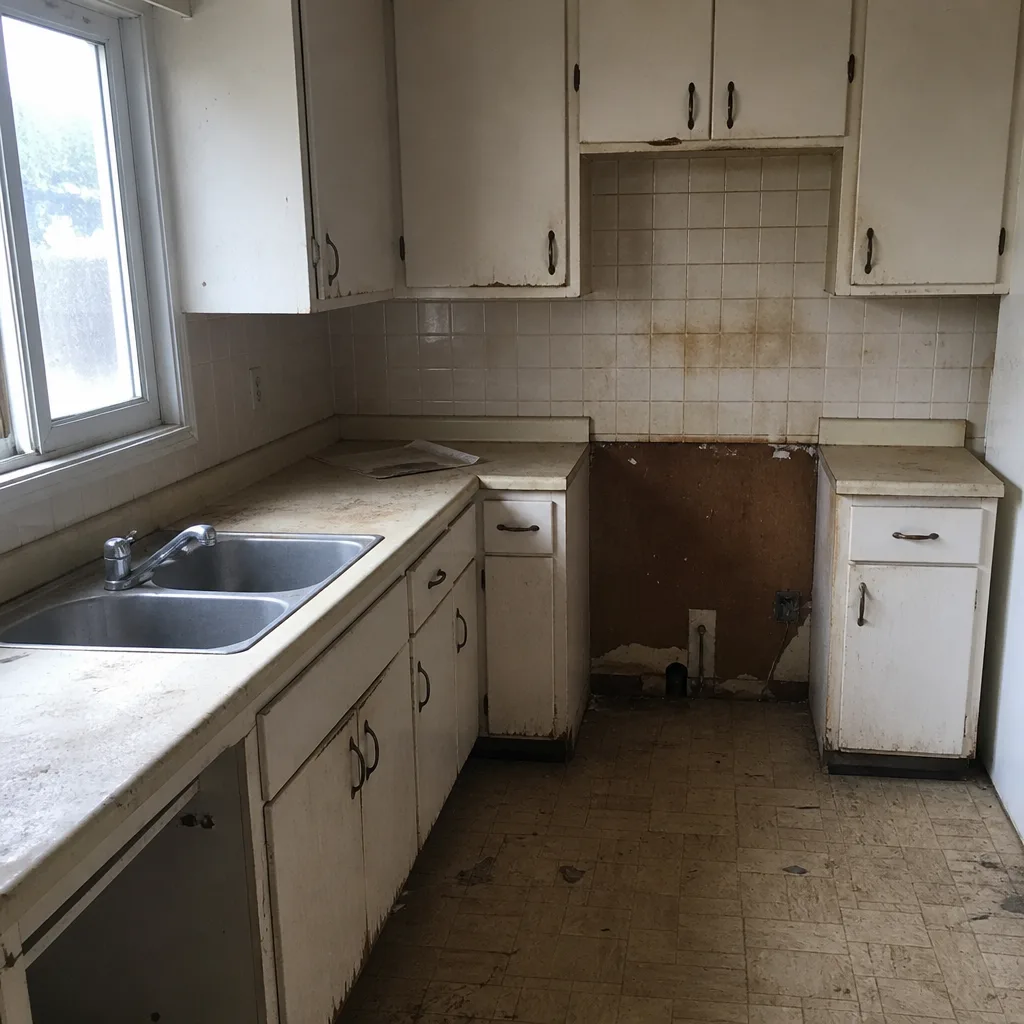
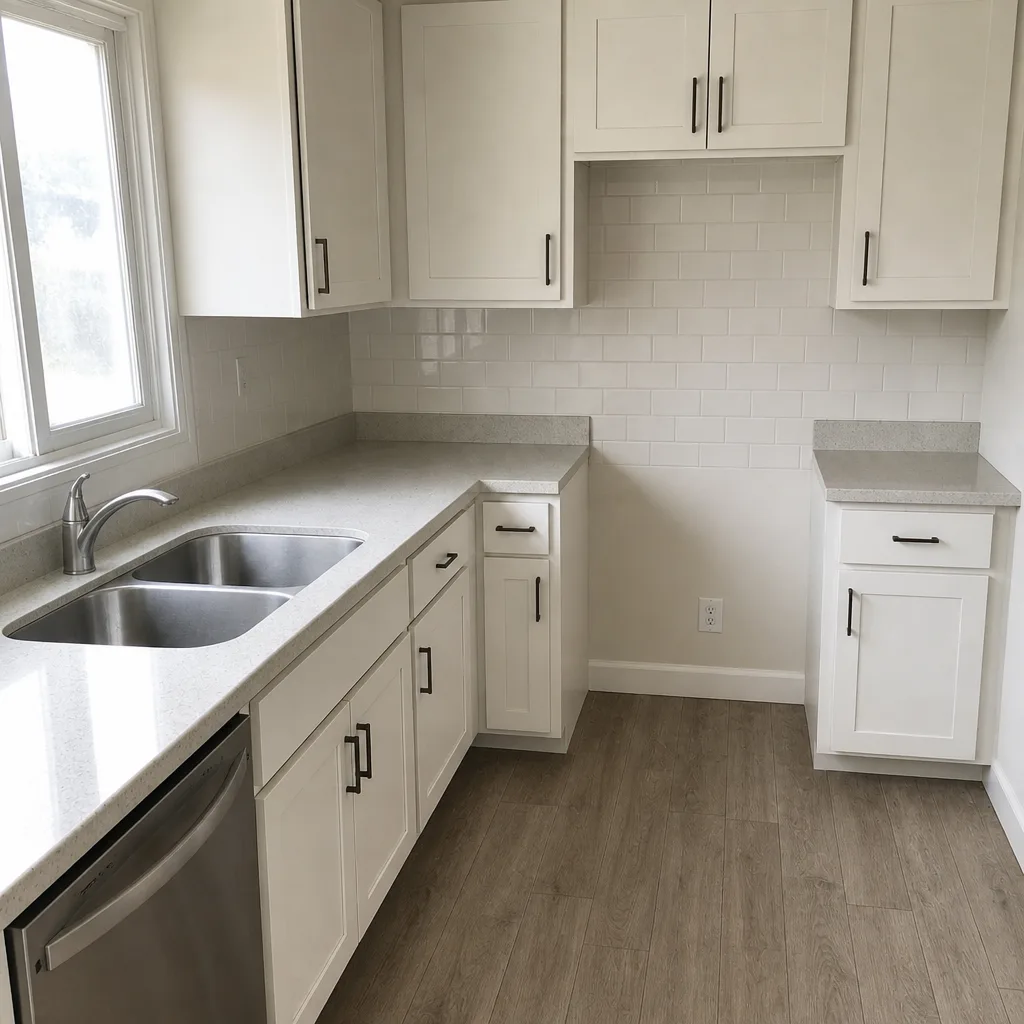
See the difference
 Before
 After
 Before
 After
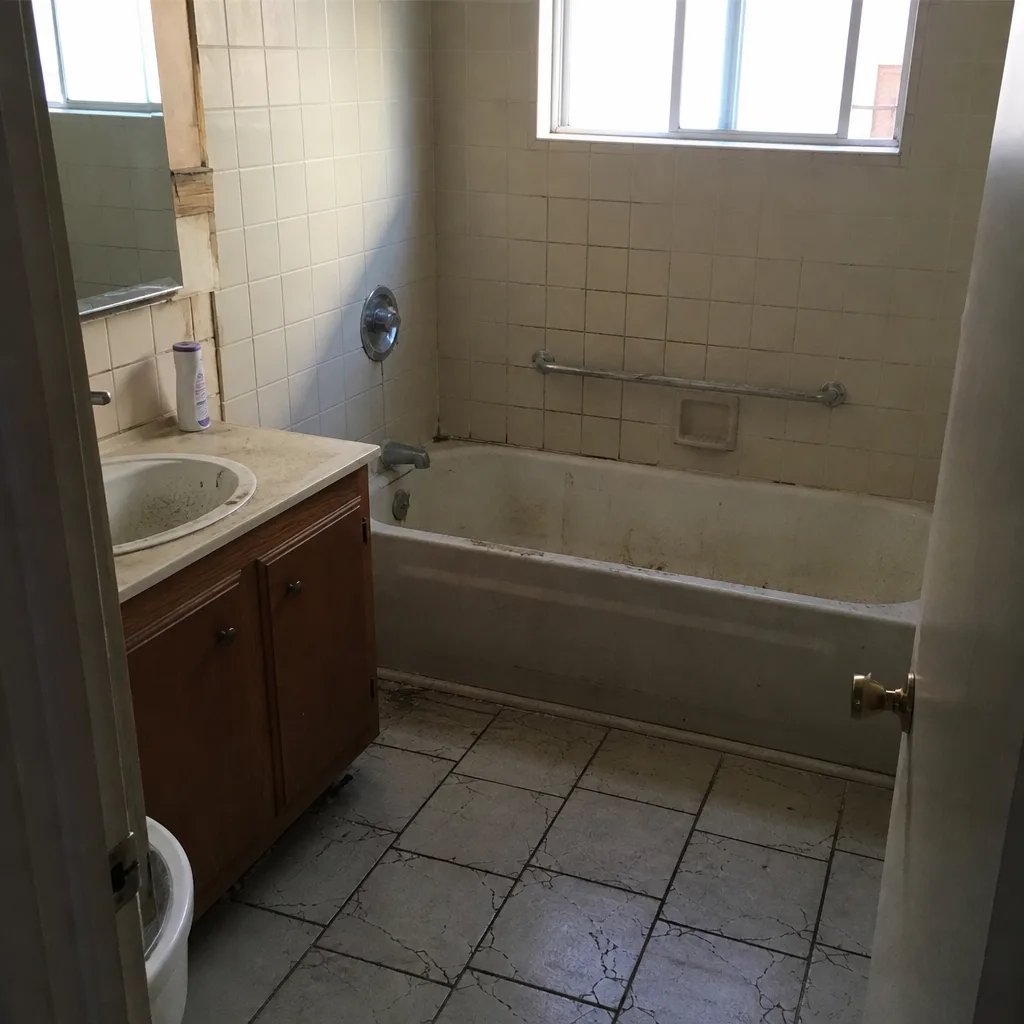 Before
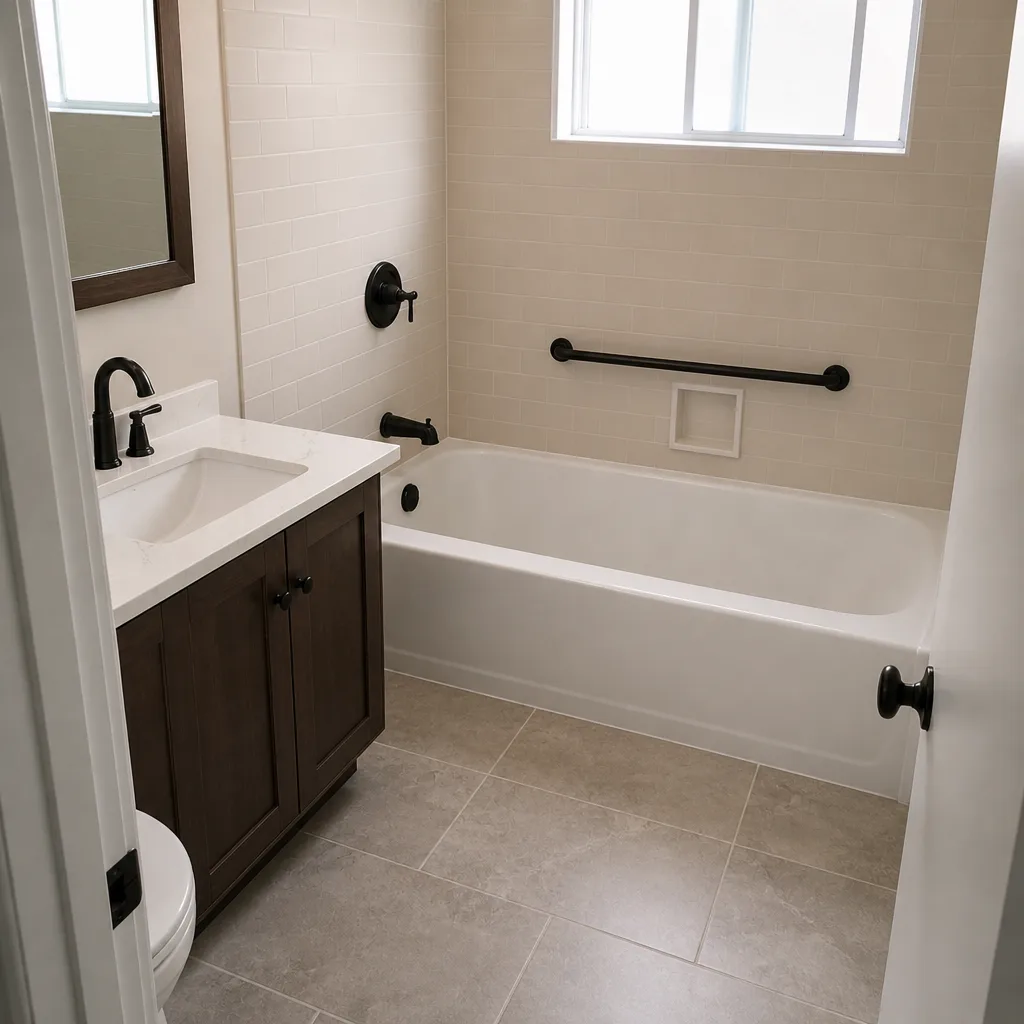 After
When to Call a Professional
Some things are worth checking yourself. Others shouldn’t be touched, and we’re direct about which is which. Call a professional if you see: a stair-step crack in brick, block, or stucco; a crack wider than 1/16 inch that has grown since your last measurement; water intrusion at the addition-to-existing-house connection; any mold visible on interior walls near exterior surfaces; a room that stays more than 5 degrees off from the rest of the house after HVAC has checked the equipment; a breaker that trips repeatedly; slow drains combined with gurgling; or any unresolved permit record. Do not attempt to inspect a roof connection, patch flashing on a new roof, or probe anything near exposed electrical without a licensed trade present.
Groundwork Construction Co. of Richmond offers free estimates in Richmond for additions and ADU remediation, and we answer the phone live, 24/7, with a real person – call (833) 700-4611. We’ll walk you through what you’re seeing and give you a written diagnosis, not a vague verbal one. If your original contractor is responding properly, great, we’ll tell you that too. If they aren’t, we’ll tell you what the fix really is, in writing.
For a wider look at the services behind this work, see our Home Additions & ADU in Richmond service page, our Driveway & Pavers in Richmond page for drainage-adjacent site work, and our Fence Installation in Richmond page. Our Groundwork Construction Co. of Richmond home page covers the full scope, from foundation to finish line, and every project is protected by the 730-Day Done Right Promise.
Frequently Asked Questions

Most flashing repairs at the addition-to-existing-house connection run in the low four figures, and the price depends on how much material has to come off to access the detail. Repairs that involve re-flashing a wall-to-roof run typically cost more than a simple shingle repair because the failure point is under multiple layers. Call (833) 700-4611 for a written, no-surprises estimate on your specific connection – the initial estimate and design consult are free.
Yes, and that’s the correct professional for the question. An engineer will measure crack width, check door and window operation, look for displacement at the connection, and may use a level or crack monitor. In older Richmond homes, especially in the flatland neighborhoods, soil movement and older framing complicate the picture, so this is one call you don’t want to skip. Call (833) 700-4611 and we can help you get the diagnosis going.
Almost certainly the ducts. If the supply vent delivers cold air in summer, the equipment is fine and the problem is duct design (often a missing return or an undersized supply line). Check the temperature at the vent before replacing equipment. Call (833) 700-4611 for a free estimate if you want a second opinion from a contractor who’s seen this hundreds of times.
Not fully, and that matters for renting, insurance, and sale. An ADU is a dwelling, so it needs a complete permit trail including building, electrical, plumbing, mechanical, and a signed-off occupancy. Richmond’s building department can confirm the record. Call (833) 700-4611 if you want help pulling and reading the permit history – we do this on every remediation project we estimate.
The Act (Civil Code sections 895-945.5) sets standards for what qualifies as a construction defect and establishes a pre-litigation process that gives the contractor a proper chance to inspect and repair. Homeowners who follow the notice procedure in writing usually get faster resolution than those who skip it. Read your contract, keep dated photos and a written log, and give notice in writing before any legal step. Call (833) 700-4611 if you want a contractor’s read on what you’re seeing.
Report it as soon as you can measure it and photograph it – not sooner, not later. Some movement and drying cracks appear in the first year and stabilize; a crack that’s actively widening or a leak in the connection is not wait-and-see. Measurable, documented problems should be reported immediately, ideally in writing within a few weeks of first observation. Call (833) 700-4611 for a free estimate if you’re not sure which category yours is in.
The Bottom Line
Addition and ADU problems are almost always structural or envelope problems wearing finish-level disguises. Cracks that widen, doors that stick, floors that slope, and junctions that weep all point to decisions made during foundation, framing, and envelope work. The most useful thing you can do is diagnose in the right order: measure the crack, check the connection, feel the vents, and pull the permit record. Then document everything and give the contractor a real chance to respond in writing, which is what California’s Right to Repair Act is built for. If the original builder can’t or won’t step up, call us. Groundwork Construction Co. of Richmond gives free estimates in Richmond, walks you through what you’re seeing, and backs the fix with the 730-Day Done Right Promise. No-hassle upfront pricing, live-person phone, every time.
Call (833) 700-4611 for a free estimate. We answer 24/7 with a real person, not voicemail. Ask about $1,000 off projects over $10,000 and 0% financing for 18 months when you’re ready to price the fix.
Written by the team at Groundwork Construction Co. of Richmond.