Last updated November 18, 2026






Free written scope consultation - allowances, timeline, and change-order rules on paper before a single trade is scheduled
Driveway & Pavers Maintenance Checklist for Richmond Homeowners
One wet season of standing water trapped in a sand-set base can undo a $12,000 paver installation, and the repair bill usually shows up long after the water has drained away. We’ve watched it happen across Richmond more times than we’d like: a driveway that looked flawless in August turns into a shifting, rutted mess by February because nobody re-sanded the joints in October. The truth most homeowners never hear is that pavers don’t fail from bad materials. They fail from skipped maintenance at predictable seasonal intervals. This checklist gives you the exact actions, timelines, and warning thresholds to stay ahead of that failure curve, written from Richmond’s wet winters, clay soils, and coastal sun rather than a generic national schedule.
Quick Answer
Richmond driveway pavers need four maintenance passes a year: a joint-sand inspection in early fall before the rains, a post-winter check in March for shifted or heaved pavers, a mid-summer cleaning and weed pass, and a sealant evaluation every two to three years. The single most important task is re-sanding the joints before the wet season. Skip it and the winter rain erodes the sand-set base, which is the root cause of most premature paver failure we see in Richmond.
Styles & brands we work with
- Kitchen remodeling
- Bathroom remodeling
- Home additions & ADU
- Roofing
- Windows & doors
- Driveway & pavers
- Fence
Table of Contents
- Why Richmond Driveways Fail on a Predictable Schedule
- The Richmond Paver Maintenance Calendar
- Inspecting and Re-Sanding Joints Before the Rainy Season
- Efflorescence vs. Base Failure in Richmond’s Clay Soils
- Which Sealants Actually Perform in Richmond
- The Three Maintenance Skips That Void Most Paver Warranties
- Drainage, Grading, and Standing Water
- What to Do After a Hard Richmond Winter
Why Richmond Driveways Fail on a Predictable Schedule
Richmond sits in a microclimate that punishes pavement harder than most of the Bay Area. The city gets a genuine wet season from roughly November through March, and the soil beneath most older neighborhoods is heavy clay that holds water instead of draining it. When water penetrates a paver field through gaps in the joint sand, it doesn’t disappear. It sits against the compacted aggregate base and softens it. Once that base loses density, the pavers above it begin to rock, settle, and pull apart. That’s the failure curve, and it’s entirely predictable.
The other half of the equation is summer. Richmond’s coastal exposure delivers strong UV through the dry months, which breaks down cheap sealants and finishes faster than inland homeowners expect. Add the temperature swings between foggy mornings and warm afternoons, and the pavers themselves expand and contract daily. The joint sand is what absorbs that movement. When the sand is gone, the pavers take the stress directly, and joints widen.
Here’s what we’ve learned standing on Richmond job sites: the driveways that last twenty years aren’t the ones with the fanciest pavers. They’re the ones where the homeowner spent an afternoon each fall doing the boring work. Belgard pavers and similar quality brands are built to last decades, but only when the maintenance layer around them is maintained. The material isn’t the variable. The upkeep is.
We also see grading problems compound the issue. Homes built on sloped lots in neighborhoods like Point Richmond and the Richmond Heights area often have driveways that pitch slightly toward the garage or the street. That grade was set correct on install, but the base settles over years. A driveway that once shed water perfectly can develop a low spot that ponds after every storm. Catch it early with a visual check and a hose test, and you avoid a base failure. Ignore it for three seasons and you’re looking at a partial rebuild.
The Richmond Paver Maintenance Calendar
Generic national maintenance calendars are useless here. They assume a uniform freeze-thaw winter and a moderate summer. Richmond gets a concentrated wet season, a long dry spell, and coastal UV that national guides rarely account for. Here’s the schedule we give homeowners in Richmond, tied to the actual wet and dry patterns of the East Bay.
Fall (October – November): The Critical Pass
- Inspect all joints for sand loss. Walk the full driveway and look for gaps where the sand has dropped below the paver bevel. Hairline joints are normal; joints you can fit a fingernail into are not.
- Re-sand with polymeric or proper joint sand. Fill joints to just below the bevel, sweep it in, and mist it lightly to settle. Do this before the first real rain.
- Clear debris from drainage paths. Leaf litter from the eucalyptus and oak trees common across Richmond will clog gaps and channel water into the base. Rake and blow clear.
- Check the grade with a hose test. Run water across the driveway and watch where it goes. Any spot that ponds for more than a few minutes is a problem to flag.
Winter (December – March): Monitoring Only
Don’t seal in the wet season. Sealant applied to damp pavers traps moisture and cloud. Your job in winter is to watch for standing water and clear debris so the surface drains. Avoid driving heavy loads over a saturated driveway; the base is most vulnerable when wet.
Spring (March – April): Post-Winter Inspection
This is when you find out what the winter did. Walk the driveway and feel for rocking or heaving pavers. Check for new weeds pushing up through joints (a sign of sand loss). Re-sand any joints that opened during the wet months. Spring is also the window to schedule professional inspection if you saw standing water over the winter.
Summer (June – August): Clean and Evaluate Sealant
Pressure-wash or hand-clean the surface to remove algae and dirt. Then evaluate your sealant. Water should bead on a sealed surface. If it soaks in, the sealant is done. Summer is the right window to reseal, since the pavers need to be fully dry and warm.
Inspecting and Re-Sanding Joints Before the Rainy Season
If you do one thing on this checklist, do this one. Joint sand is the load-bearing layer that keeps water out of your base. In Richmond, where the wet season delivers concentrated rain, sand loss turns into base erosion fast. The good news is that re-sanding takes about twenty minutes for an average driveway and costs very little.
How to Inspect
- Walk the entire surface in early October, before the first storm.
- Look for joints where the sand has settled visibly below the paver edge.
- Watch for any pavers that rock when you step on them. Rocking means the base under that paver is already compromised.
- Check the edges where the driveway meets the garage apron and the street. These are the highest-wear zones.
- Look for weed growth in joints. Weeds push through where sand is gone, so they’re a reliable indicator.
How to Re-Sand
- Clean the joints of debris, old sand, and weeds with a stiff broom or a small tool.
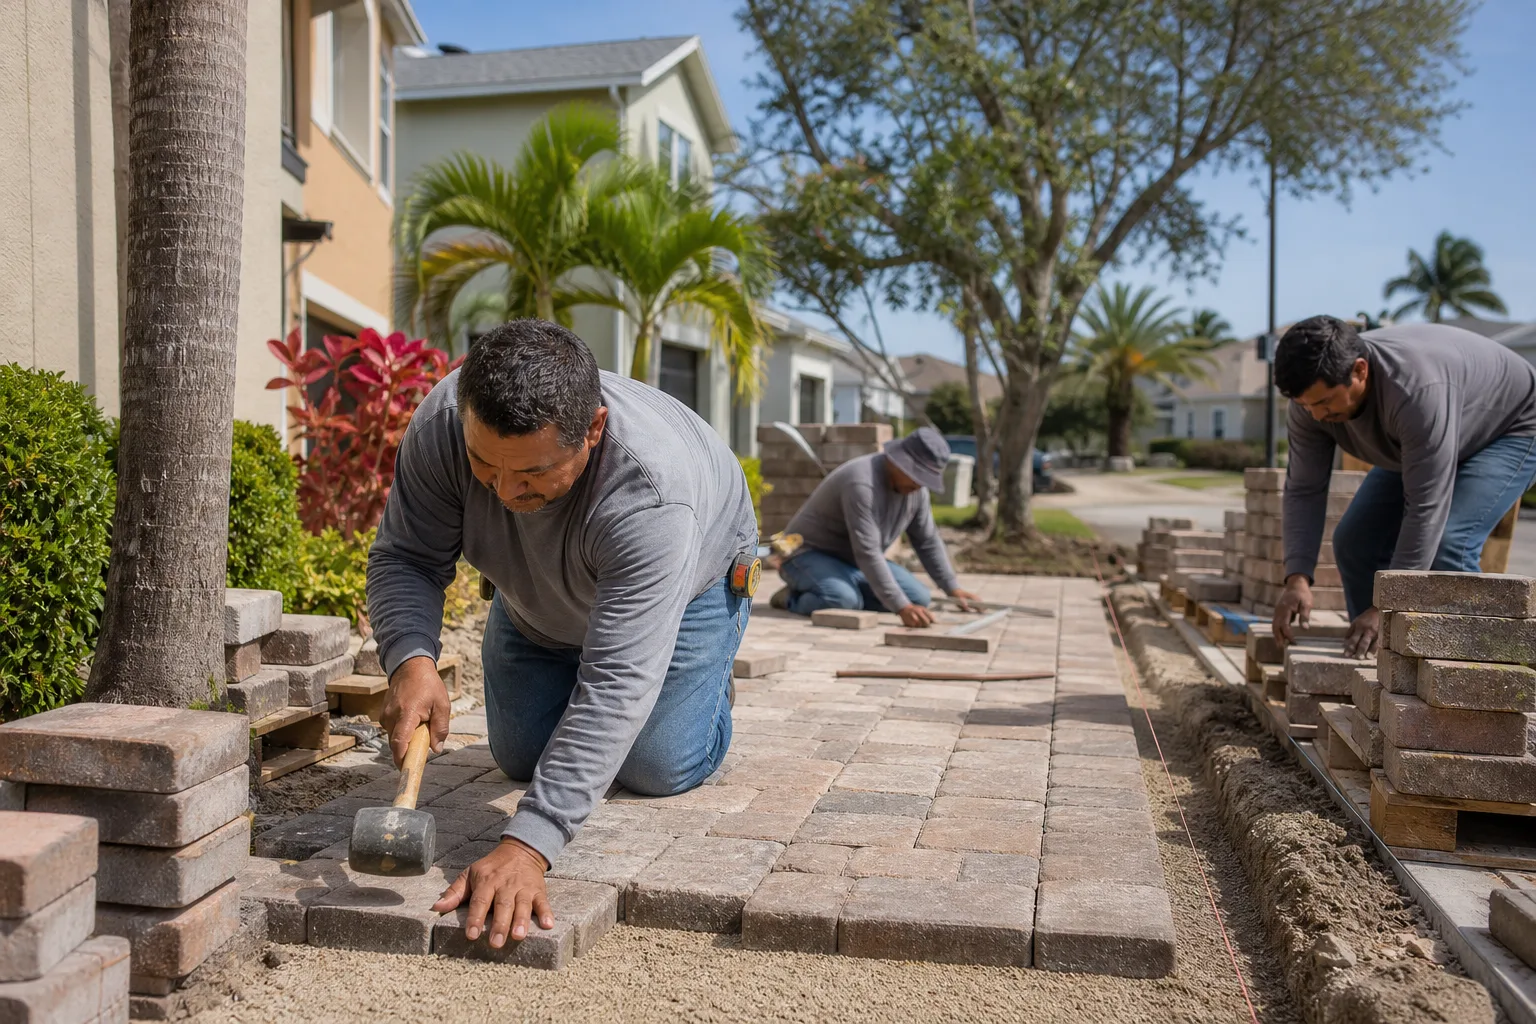
- Choose the right sand. Polymeric joint sand is the standard for most Richmond installations because it hardens slightly and resists washout. Standard silica sand is easier to apply but needs redoing more often.
- Pour sand over the surface and sweep it into the joints with a push broom.
- Repeat until the joints are filled to just below the paver bevel. Don’t overfill.
- Mist the surface lightly to settle the sand. For polymeric sand, follow the manufacturer’s wetting instructions exactly; too much water during curing causes haze.
- Let it cure fully before rain or vehicle traffic. That’s usually a day of dry weather, which is why October is the target window in Richmond.
If your pavers are old enough that sand is disappearing within a month of re-sanding, or you’re seeing persistent settling, the base may need attention beyond a top-up. That’s the point where a free estimate from a professional makes sense before the rainy season does more damage.
Efflorescence vs. Base Failure in Richmond’s Clay Soils
Efflorescence is the white, powdery haze that appears on paver surfaces. It’s the same mineral salt deposit you see on brick and concrete, and it’s the number one thing that scares Richmond homeowners into thinking their pavers are failing. Most of the time, it isn’t. But in Richmond’s clay-heavy soils, efflorescence can also be the first visible sign of a real moisture problem in the base. Knowing which is which saves you a lot of unnecessary worry, and a lot of wasted money on the wrong fix.
Cosmetic Efflorescence
- Appears as a white bloom on the surface, usually after a wet period.
- Wipes or scrubs away easily with a basic cleaner.
- Returns occasionally but doesn’t come with physical movement in the pavers.
- Root cause is mineral salts in the pavers or the base rising to the surface as moisture evaporates.
Structural Base Failure
- Pavers rock or heave when you step on them.
- Joints open up repeatedly, even after fresh sanding.
- Efflorescence reappears in the same spot within weeks of cleaning.
- You can see or feel a low spot that holds water. That’s the tell. Water sitting against the base means the base is losing density.
- Some pavers are visibly out of plane with their neighbors.
Here’s the Richmond-specific wrinkle. Because our clay soils retain water so well, moisture has to work harder to escape, so it finds the path of least resistance. That’s often upward through the paver joints. If you see efflorescence returning in the same joint lines season after season, that’s your signal that the base isn’t draining as it should, and the problem is no longer cosmetic. Cosmetic efflorescence fades. Base failure recurs in the same place.
For homeowners on sloped lots, especially in neighborhoods with clay soil and older drainage, this distinction matters even more. A single season of misread efflorescence can turn into a partial rebuild. When in doubt, a professional inspection during the dry season tells you exactly what you’re looking at, and it’s the difference between a cleaner bottle and a repair.
Which Sealants Actually Perform in Richmond
Sealer marketing is full of claims that don’t survive a Richmond winter. The right sealant here has to handle two opposite stressors: coastal sun that breaks down UV-sensitive films, and winter moisture that traps under a cheap seal and clouds the surface. Most failures we see are sealant chosen for the wrong climate.
What Works in Richmond
- Penetrating (impregnating) sealers. These soak into the paver and protect from within. They don’t form a film, so they don’t trap moisture, and they don’t peel or cloud. Best fit for Richmond’s wet winters because the surface stays breathable.
- Quality acrylic sealers rated for UV exposure. If you want a wet-look finish, choose an acrylic formulated for high UV and outdoor exposure. Cheap acrylics yellow and crack under Richmond’s summer sun within a season or two.
- Sealers designed for joint stabilization. Some products combine sealing with joint sand stabilization, which helps keep that critical sand layer intact. These are worth the extra cost in a wet-season climate.
What Fails Here
- Cheap solvent-based film sealers. They don’t flex with the temperature swings, and they break down under UV. You’ll see cracking and peeling within a year.
- Any sealer applied to damp pavers. Trapped moisture causes clouding that you can’t buff out. Never seal in the wet season or right after a storm.
- High-gloss film products marketed for “wet look.” The gloss reads as plastic under Richmond’s coastal light, and the film fails fast because it can’t breathe.
The Timing Rule
Sealers need a fully dry surface and a dry cure window. In Richmond, that means late spring or summer, never fall when the rains are coming. Most sealants last two to three years in our climate, but you should test annually: pour a little water on the surface. If it beads, the sealant is active. If it soaks in, it’s time. Don’t reseal over a sealed surface without proper preparation; that’s how you get a peeling layer instead of a protective one.
To Seal or Not to Seal
Sealing isn’t mandatory. A well-sanded, properly draining driveway does fine without it. But if you’ve invested in a nice paver pattern and want the color to stay saturated, a penetrating sealer is a smart, low-risk move. For the full scope of driveway and paver work beyond maintenance, including new installations and repairs, see our Driveway & Pavers in Richmond page.
The Three Maintenance Skips That Void Most Paver Warranties
Most paver manufacturers write a maintenance requirement into their warranty, and most homeowners never read it. When a failure happens, the manufacturer blames the homeowner for skipped maintenance, and the warranty claim doesn’t go anywhere. We’ve seen Richmond homeowners get blindsided by this after a base failure. Here are the three skips that bite most often, and how to document your upkeep to protect the investment.
The Three Skips
- Failing to maintain joint sand. The warranty on the full paver system usually requires joints to be kept filled. Let sand wash out for a few seasons and the manufacturer will say the base wasn’t protected, and they’ll be right.
- Ignoring standing water and drainage. A driveway that ponds water is a maintenance failure, not a material failure. If the manufacturer finds evidence you knew about ponding and did nothing, your claim for base repair likely gets denied.
- Improper or absent cleaning. Deferred cleaning lets algae and organic growth work into the joints, and it hides the early warning signs. The warranty language typically requires reasonable care and cleaning, and “reasonable” gets interpreted by the manufacturer, not you.
How to Document Your Upkeep
- Keep a maintenance log. Note the date of each re-sanding, cleaning, and sealing, with photos. A phone photo of a fresh re-sanded driveway is proof.
- Save receipts for joint sand and sealant. Minor, but it establishes a paper trail.
- Photograph problem areas as they develop. If you see efflorescence or a low spot, take a dated photo and note what you did about it.
- Hire a professional for any repair. Professional invoices strengthen a warranty claim if the failure was a real base issue rather than neglect. A written 730-Day Done Right Promise on that repair gives you a documented standard to hold to.
We’ve watched this play out. Homeowners who keep even a simple log have far better outcomes when something goes wrong, because they can show the driveway was cared for. A thirty-second monthly photo takes the ambiguity out of the conversation. The best time to start documenting is before anything fails, not after.
Drainage, Grading, and Standing Water
Every failure we’ve traced back far enough in a Richmond driveway comes down to water where it shouldn’t be. Drainage is the through-line for this entire checklist, and grading is the number that determines whether a driveway drains or holds. The minimum slope for a paver driveway is about one inch per four feet of run away from the house. On a typical Richmond driveway, that’s a few inches of fall over the length, and if it’s lost, water ponds.
How to Check Your Grade
- Hose test in the dry season. Run water across the driveway from the garage side and watch the flow. It should move steadily toward the street.
- Look for low spots after rain. The spots that hold water longest are the spots to watch. Photograph them with the date.
- Check the edges. Water that runs along the paver edge and down against the foundation or into the planted area is water that’s not leaving the base fast enough.
- Inspect the base at any visible edge. If you can see the aggregate base layer, check it for softness or washing. Compacted base should feel firm and dense, not spongy.
What Standing Water Costs
Standing water over a winter is the single fastest path to base failure. In Richmond’s wet season, a ponded area holds water against the base for weeks. The base loses compaction, the pavers above settle, and the failure spreads along the joint lines. That’s why we say the twenty-minute fix in October beats the repair in March. Most drainage issues are solvable: a slight regrade at the edge, a channel drain, or adding a base layer at a low spot. Get a professional assessment during the dry months if you’re seeing persistent ponding, because the fix is far cheaper in spring than after a collapse.
Drainage around the broader property matters too. If your driveway abuts a fence that holds soil and water against the pavement, consider how the two systems interact. Fencing and grading decisions affect driveway drainage more than most homeowners realize, and coordinating them avoids a problem. Our Fence Installation in Richmond team can assess that boundary when needed, and if you’re planning a larger site improvement, an addition or garage project changes drainage patterns too, which we plan for through our Home Additions & ADU in Richmond work.
What to Do After a Hard Richmond Winter
Richmond winters are usually mild, but the wet season can still deliver one or two intense storms that stress a driveway. A hard winter reveals weaknesses. The right response in the first dry window is a systematic inspection, not a panic repair. Here’s the sequence we recommend to homeowners once the rains stop.
- Walk the full driveway and feel for rocking pavers. Mark any that move with a piece of chalk. Rocking is the first sign of base compromise.
- Photograph the whole surface and any problem spots. Dated photos are your record if the issue turns out to be warranty-relevant.
- Check every joint for sand loss. Winter is when joints erode most, so expect to find gaps. Re-sand as soon as the surface is dry and the forecast holds.
- Look for new efflorescence. A new white bloom after one wet season is normal. A bloom that appears in the same joints every year is a drainage signal, not a cosmetic one.
- Check the edges and drains. Clear any debris or leaf litter from drainage paths so spring cleaning isn’t fighting a blockage.
- Test the sealant. Pour a little water. Beading means it’s still working; soaking means it’s done. Schedule resealing for summer.
If you find a paver that’s rocking or a spot that’s heaved, resist the temptation to pull it out and drop it back. A rocking paver usually means the base under it is lost. Bedding it back into place without addressing the base is a temporary fix that fails the next wet season. That’s the point to bring in a professional who can lift the field, repair the base, and reset it correctly. In Richmond, we see this pattern most often on driveways that face the bay and take the full force of winter storms, where the drainage and base are working overtime.
For the bigger picture of your home’s outdoor and indoor improvements, the Groundwork Construction Co. of Richmond home page lays out the full range of what we handle, from kitchens and baths to roofs, windows, fences, and additions. A driveway is one piece of a property that all drains, settles, and endures together.
Common Mistakes to Avoid
- Sealing in the fall. This is the single most common Richmond mistake. Sealant applied before the wet season traps moisture and clouds the pavers. Seal in dry summer weather only.
- Waiting until spring to re-sand. Re-sand before the rains, not after. Winter is when the sand is doing its job protecting the base; doing it in spring means you re-sand just before the dry season wastes it.
- Assuming a rocking paver is a one-paver problem. It’s almost always a base issue that spreads. A quick reset without addressing the base guarantees the same failure next season.
- Using the cheapest joint sand. Polymeric sand costs a little more and holds up far better in Richmond’s wet winters. Cheap silica sand washes out by spring and leaves the base exposed.
- Ignoring efflorescence that keeps returning. One-time blooms are cosmetic. Recurring blooms in the same joints point to a moisture problem in the base that needs a real fix.
- Skipping the hose test. Most grading problems are invisible until they pond. A dry-season hose test catches them before winter does damage.
- Leaving leaf litter on the driveway. Richmond’s tree cover drops plenty of debris, and it clogs joints and drainage paths. Clear it in fall, not spring.
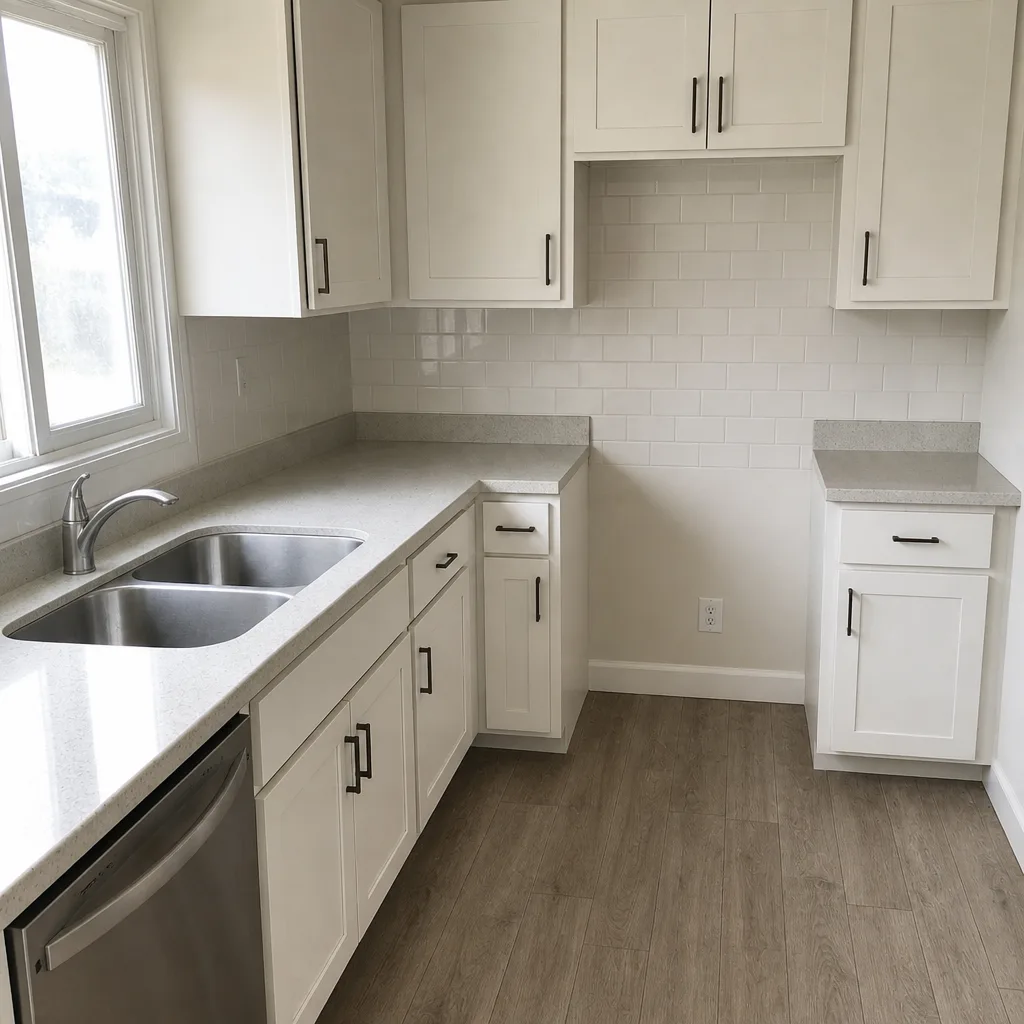
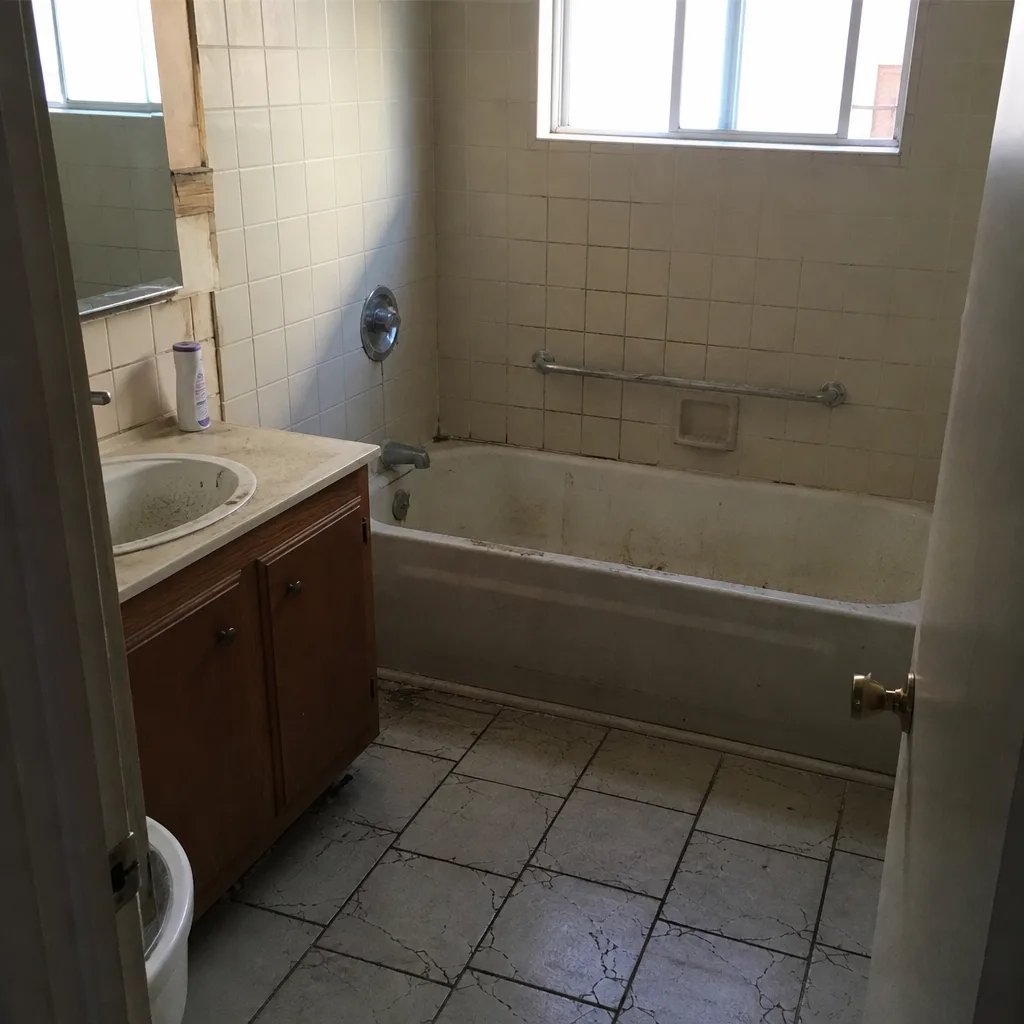
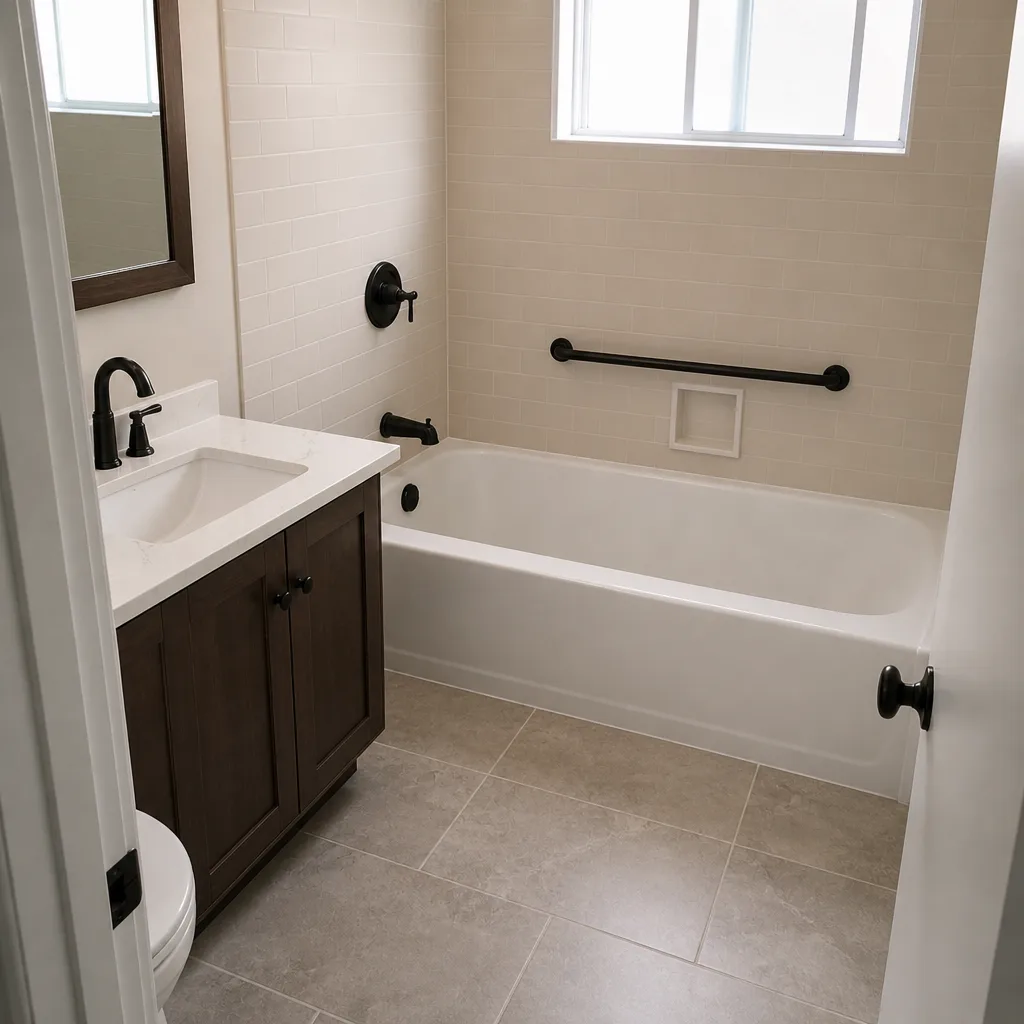
See the difference
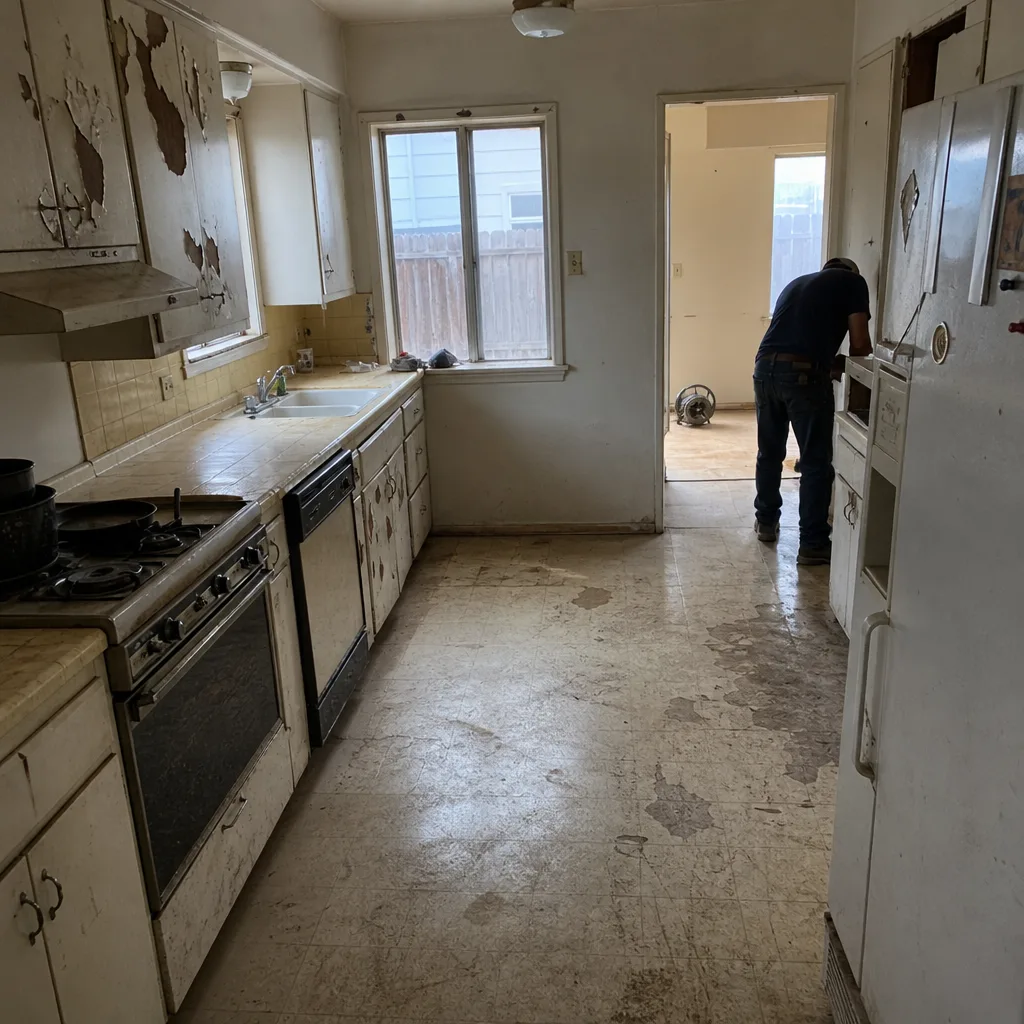 Before
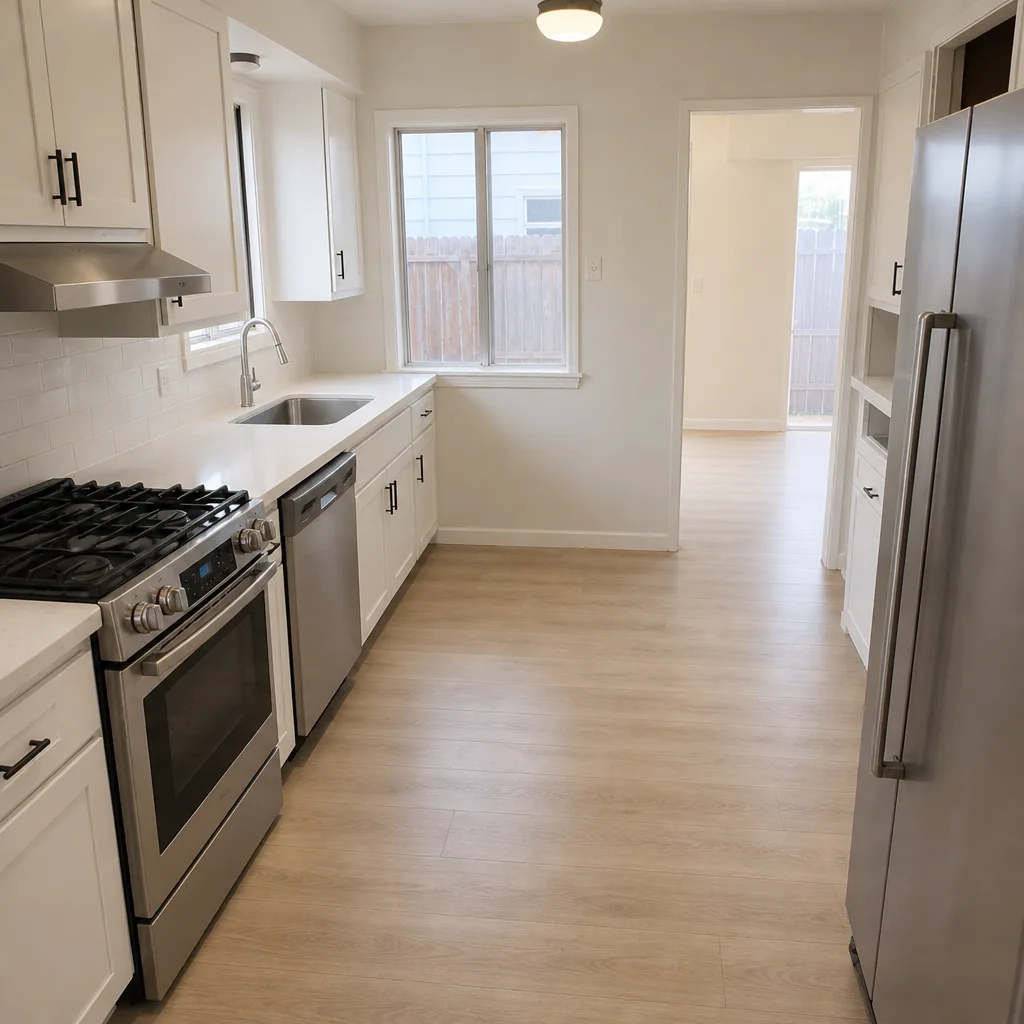 After
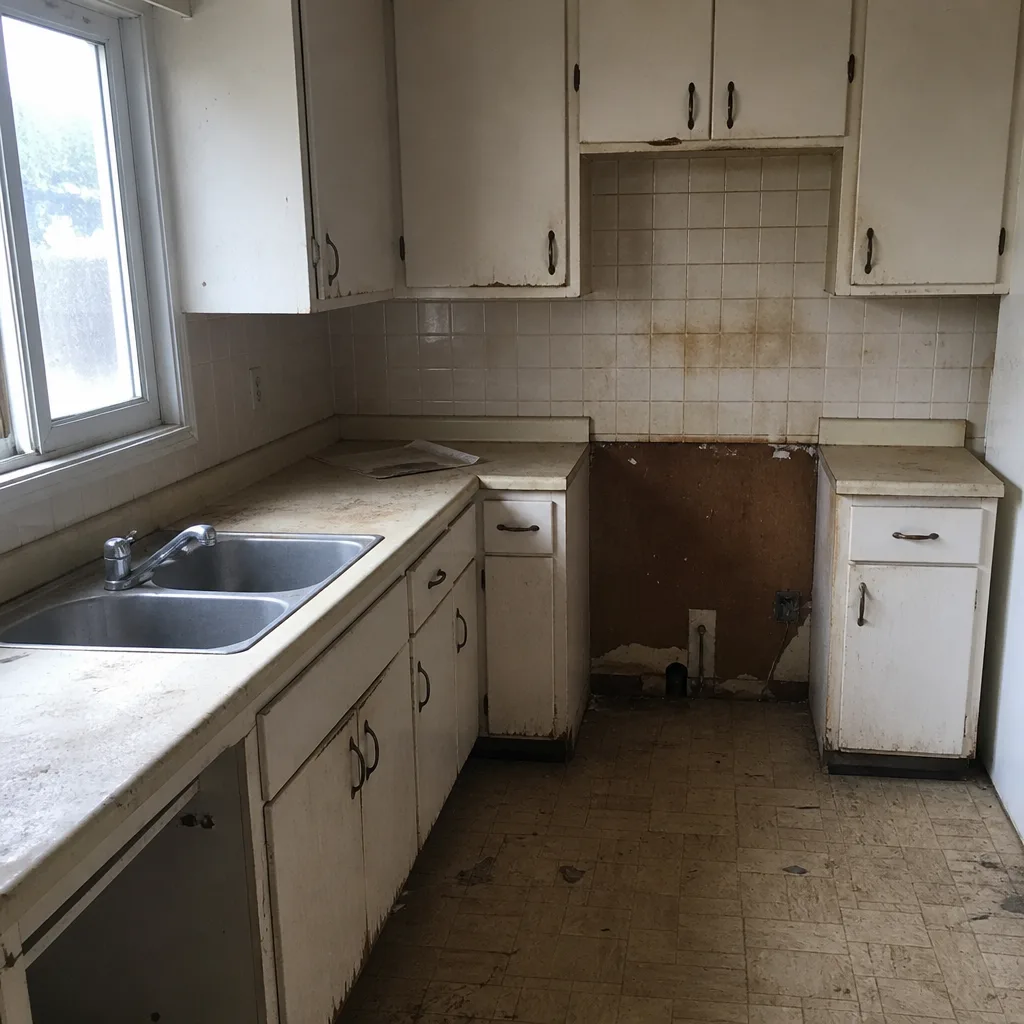 Before
 After
 Before
 After
When to Call a Professional
Call a professional when a paver rocks, a joint opens repeatedly within a month of re-sanding, or water ponds in the same spot season after season. Those three symptoms point to base and drainage problems that annual maintenance won’t solve. Also call if you see recurring efflorescence in the same lines, if the driveway has heaved as a unit, or if you’re planning a reseal and aren’t sure your surface is ready. These are the same calls we get across Richmond every spring, and they’re almost always fixable before they become a rebuild. Groundwork Construction Co. of Richmond offers free estimates in Richmond, with upfront pricing and a 730-Day Done Right Promise on the work. Call (833) 700-4611 when you’re ready to have it looked at.
Frequently Asked Questions
Re-sand once a year in early fall, before the wet season, and touch up any joints that open during winter or after heavy traffic. Polymeric sand holds up longer than standard silica sand and usually needs a full top-up less often. If you’re seeing sand disappear within a month of re-sanding, the base needs professional attention. Call (833) 700-4611 for a free evaluation.
Sealing is optional but worthwhile for color retention and joint protection. Choose a penetrating sealer or a UV-rated acrylic formulated for coastal sun and winter moisture, and apply it in dry summer weather only. Cheap film sealers fail within a season in Richmond’s climate. If you’re unsure what’s on your surface now, a free estimate can identify the right product before you apply the wrong one.
White haze is efflorescence, a mineral salt deposit that’s usually cosmetic and wipes away. It becomes a real problem when it returns repeatedly in the same joint lines, because that points to moisture in the base. Compare the pattern across two wet seasons before assuming it’s structural. When in doubt, call (833) 700-4611 for a free inspection.
A properly maintained paver driveway can last decades. The material isn’t the limiting factor; the base and joint maintenance are. Homeowners who re-sand annually, manage drainage, and seal correctly routinely get twenty years or more. The pavers that fail early are almost always the ones where maintenance was skipped before the rainy season.
Yes, with care and the right pressure. Too much pressure strips joint sand and can pit older pavers, so use a wide fan tip and moderate setting. Pressure-wash before resealing and never in the wet season, since the surface has to dry fully before any sealer goes on. If your pavers are damaged or heavily soiled, a professional cleaning and reseal is safer than a DIY attempt.
Re-sanding the joints in early fall, before the rains arrive. That one step protects the sand-set base from winter erosion, which is the root cause of most premature paver failure in Richmond. Everything else in this checklist supports that core task. Call (833) 700-4611 to schedule a free estimate if you’d rather have a professional handle the pre-winter pass.
The Bottom Line
Richmond driveways fail on a schedule, and the schedule is written by water and clay soil. The homeowners who spend twenty minutes re-sanding in October and a few hours each summer cleaning and checking sealant are the ones whose installations outlast their neighbors’ by a decade or more. The materials matter, but the maintenance is what decides. Keep a log, watch your joints, test your grade, and call a professional at the first sign of base failure rather than the second season of it. Done right, backed in writing, a paver driveway is one of the most durable surfaces a Richmond home can own. From foundation to finish line, whether it’s pavers, fencing, additions, or a full remodel, Groundwork Construction Co. of Richmond stands behind the work with upfront pricing and our 730-Day Done Right Promise. If you’re ready for a free estimate, call (833) 700-4611 today.
Written by the team at Groundwork Construction Co. of Richmond.