Last updated November 18, 2026




Free written scope consultation - allowances, timeline, and change-order rules on paper before a single trade is scheduled
Fence Installation Troubleshooting: Common Problems and How to Fix Them
A leaning fence post is never just a leaning post. In almost every case it’s one of three things: a footing that was set too shallow, a drainage problem that’s been soaking the base for years, or wood rot that started at the soil line and quietly worked its way down. Each one has a different fix, and treating the wrong one is why so many Richmond fences get “repaired” twice before they finally get replaced. This guide walks you through the diagnosis first, then the repair. You’ll learn how to read a sagging gate, tell a repairable post from a dead one, spot moisture damage that paint won’t hide, and recognize the failure patterns that quietly void a manufacturer warranty.
Quick Answer
Most fence installation problems trace back to three decisions made on day one: footing depth and concrete, drainage and grading around the posts, and material selection for the local climate. A leaning post means diagnosis before repair – check for footing failure, soil movement, or rot at the soil line. Warped boards and sagging gates are usually moisture and frame issues, not hinge problems. Fix the root cause, not the symptom, or the fence will fail again within a season or two.
Styles & brands we work with
- Kitchen remodeling
- Bathroom remodeling
- Home additions & ADU
- Roofing
- Windows & doors
- Driveway & pavers
- Fence
Table of Contents
- How to Diagnose a Leaning Fence Post
- Footing Depth and Concrete: The Root of Most Failures
- Drainage and Grading Around Fence Lines
- Wood Rot at the Soil Line: Identification and Repair
- What a Sagging Gate Tells You About the Frame
- Sister Post vs. Full Extraction: Which Repair Fits
- Warped and Cupped Boards: Why Paint Won’t Fix It
- Failure Patterns That Void Manufacturer Warranties
How to Diagnose a Leaning Fence Post
Before you touch a shovel, figure out which of the three failure types you’re dealing with. The repair cost and lifespan of the fix depend entirely on getting this right. In our experience across Richmond neighborhoods like the El Sobrante hills and the flat lots near Point Richmond, the diagnosis usually reveals itself within five minutes of inspection.
Here’s the sequence we use:
- The push test. Grab the post at chest height and push it firmly in all four directions. Movement at the base means footing failure or rot. Movement only at the top means a panel wind-load or frame issue.
- The soil-line inspection. Dig 2 to 3 inches of soil away from the post base. If the wood is soft, crumbly, or darkened, you have rot. If the wood is solid but the post is loose, you have a footing problem.
- The concrete check. Probe down along the post with a screwdriver. If you hit solid concrete within 12 to 18 inches, the footing exists but may be undersized or cracked. If you hit nothing but loose soil, the footing was never adequate.
- The soil moisture test. If the ground around the post is consistently soggy days after rain, drainage is the root cause, and any post repair will fail without fixing the water first.
Richmond’s clay-heavy soils and winter rain cycles make this diagnosis especially important. Clay holds water against the post base for days after a storm, and that standing moisture accelerates rot and soil expansion that shifts footings. A post that looks fine in August often reveals its problems by February.
Footing Depth and Concrete: The Root of Most Failures
Fence post footings fail for one of two reasons: they’re too shallow for the frost line and soil conditions, or they weren’t set in enough concrete. In Richmond, frost depth isn’t the concern – our winters rarely freeze deep enough to matter – but soil expansion from clay content and rainwater saturation absolutely is. A post set 18 inches deep in a 12-inch auger hole with two bags of concrete will hold up. A post set 12 inches deep in loose backfill will lean within two seasons.
What proper footing looks like:
- Hole depth: One-third of the post’s above-ground height, minimum. A 6-foot post needs a 2-foot hole.
- Hole width: Three times the post diameter, so a 4×4 post gets a 12-inch hole.
- Concrete: Two 50-pound bags per post minimum, poured dry or mixed, with the post crowned so water sheds away from the wood.
- Gravel base: 4 to 6 inches of gravel at the bottom for drainage before the concrete goes in.
The most common shortcut we see in Richmond fence installations is a post driven straight into the ground without concrete, or a “post spike” anchor driven into soft soil. Those work for temporary fencing. They don’t hold a privacy fence through a windy spring, and they don’t hold gates at all. If you’re replacing posts anyway, do the footing right the first time – it’s a $15 difference per post in materials and saves hundreds later.
Drainage and Grading Around Fence Lines
Richmond’s rainy season runs roughly November through March, and that’s when most fence failures show themselves. The single biggest contributor to premature fence decay in this area isn’t bad wood – it’s water pooling at the base of posts because the ground around the fence line doesn’t drain.
Three signs that drainage is your problem:
- Water standing near the posts for 24 hours or more after rain.
- Green algae, moss, or dark staining on the lower 12 inches of the fence.
- Soil that stays wet and spongy underfoot along the fence line, even in dry weather.
The fix depends on the source. If the water is coming off a roof downspout, reroute the downspout so it discharges at least 6 feet from the fence. If the ground is graded toward the fence, regrade to slope away at roughly a 2% pitch. If the yard is flat and drains poorly by nature, a French drain or gravel trench along the fence line can handle the runoff without redoing the whole yard.
We’ve also seen fence lines installed directly against concrete patios or driveways where the panel sits in the “splash zone” for every rainstorm. In those situations the lower rail and bottom of the pickets rot first, even on pressure-treated lumber. Building the fence higher off the ground – 2 inches of clearance minimum – usually solves it. A properly installed fence on our Driveway & Pavers in Richmond projects gets the same attention, because hardscape and fencing live or die together on grading.
Wood Rot at the Soil Line: Identification and Repair
Wood rot starts where water sits, and it almost always starts at the soil line. Not the top of the post, not the rails, the soil line. The first sign is usually a soft spot you can press a screwdriver into an inch deep. The second sign is a hollow sound when you tap the post with a hammer.
How to identify rot versus staining:
- Color: Grey or black staining can be surface mold. Soft, spongy, or crumbly wood is rot.
- Texture: Healthy pressure-treated lumber is hard with tight grain. Rotted wood separates into fibers or crumbles.
- Odor: Rot has an earthy, mushroom-like smell. Mold is sharper and more surface-level.
- Depth: Surface rot within 1/8 inch can sometimes be treated. Rot deeper than 1/4 inch compromises the post.
If the rot is confined to the top 6 to 8 inches of the post base and the post is otherwise sound, you can sometimes repair it by cutting out the rotted section and splicing in a new treated post section with a metal splice plate. That’s a real repair, not a hack, and it works for non-structural fence lines. For anything holding a gate, or any rot that runs deeper than the soil line, the post needs to come out and get replaced. The 730-Day Done Right Promise exists exactly because half-measure post repairs don’t hold, and we’d rather replace the post than come back to fix it.
What a Sagging Gate Tells You About the Frame
A gate that drags on the ground or catches on the latch is usually diagnosed as a hinge problem. That’s almost always wrong. A gate sags because the frame it’s attached to has lost its square, or because the gate itself has lost its own frame rigidity when the corners didn’t meet at true 90 degrees.
Diagnostic sequence for a sagging gate:
- Check the hinge post. If the post leans, even slightly, the gate will always sag. Push test it like any other post.
- Measure the diagonals. From top-left corner to bottom-right, then top-right to bottom-left. A square gate has equal diagonals. If they differ by more than 1/4 inch, the gate has racked.
- Look for hinge pullout. Screws backing out of the wood, or a hinge plate visibly separating from the post, means the fasteners, not the frame, are the issue.
- Check the latch-side post. If it’s a gate between two posts, the latch post can shift too, throwing off alignment even if the gate itself is square.
A racked gate can be re-squared with a diagonal brace – a metal cable turnbuckle or a wood cross-piece – that pulls the frame back into tension. But if the gate is sagging because the hinge post is failing, no amount of bracing will fix it. The post has to be addressed first. When we quote a gate repair, the first line item is always the post inspection, because that’s where nine out of ten gate problems actually live.
Sister Post vs. Full Extraction: Which Repair Fits
Not every failed post needs to come out. A “sister post” – a new post bolted alongside the compromised one – can save time and money when the failure is localized or when extracting the original post would damage the fence panel or disrupt a concrete footer. But it only works in specific conditions.
Where a sister post works:
- The original post is fractured above ground but its footing is sound.
- A vehicle or impact damaged the post without disturbing the concrete.
- The post needs reinforcement because a gate was hung on a post that was undersized for the job.
- Full extraction risks pulling adjacent footings or cracking a shared concrete run.
Where full extraction and reset is the only fix:
- The post is rotted below the soil line.
- The footing is undersized, cracked, or missing entirely.
- The soil around the post has settled and the post is loose in the hole.
- Water is actively pooling at the base, which means the new post will fail the same way unless it’s reset with proper drainage.
In Richmond, we see the full-extraction case more often on older fences in neighborhoods with clay soil and mature landscaping, where the original install was done before modern footing standards were common. A sister post on a rotten post just extends the failure timeline. Save the sister post for frame reinforcement and impact damage – replace anything actively rotting.
Warped and Cupped Boards: Why Paint Won’t Fix It
Wood fence boards that cup, bow, or warp aren’t failing because they weren’t painted. They’re failing because they absorbed moisture on one side and dried out on the other, and the wood fibers moved unevenly. Painting over a warped board makes it look better for a season. The warp continues.
Warping causes:
- Single-side moisture exposure. The back of the fence stays wet after rain; the front dries. The wet side expands, the dry side doesn’t, and the board cups toward the dry side.
- Green or wet lumber. Wood installed before it’s dried to local equilibrium moisture content will move as it cures.
- Insufficient back-rail support. Boards that only attach at top, middle, and bottom rails with nothing else have more room to move.
- Wrong species for the climate. Cedar and cypress resist warp well. Lower-grade pine and some imported softwoods cup after one wet season in Richmond.
The fix is replacement of the affected boards, plus stain or seal on both sides before install. If you’re replacing a couple of boards and the rest are fine, just match the species and grade of the original so the new boards move at the same rate. When we spec fencing on Richmond jobs, we choose materials the same way we spec pavers through Tremron or Techo-Bloc – for the climate, not just for the price.
Failure Patterns That Void Manufacturer Warranties
Most fencing product warranties – for the wood, vinyl, composite, or hardware – get voided by installation errors, not by manufacturing defects. If you file a claim, the manufacturer will ask for the installation record. If the installer can’t produce it, the claim is dead on arrival.
Failure patterns that void warranties:
- Concrete poured directly around the post without a gravel base. Most manufacturers require drainage; encasing the post in solid concrete traps water against the wood.
- No clearance between the fence bottom and grade. Boards or pickets touching the ground void the warranty on most composite and vinyl products.
- Improper fastener selection. Untreated steel screws in treated wood fail in 2 to 3 years. Most warranties require hot-dipped galvanized or stainless.
- Missing or undersized rails. Many composite systems specify rail dimensions and spacing; deviating from them voids the warranty.
- Paint or stain applied to a “no-paint” product. Coating vinyl or capped composite will void the finish warranty instantly.
What documentation you need for a claim:
- Original purchase receipt showing product, grade, and batch.
- Installation photos or a written record showing footing depth, concrete volume, and clearances.
- Fastener specification and brand.
- Date of installation and any post-install treatments (stain, seal).
If a contractor can’t provide that record, you don’t have a claimable warranty. Ask for the installation documentation before the work begins, not after the fence fails. When you hire through our Fence Installation in Richmond services, the installation record is part of the deliverable – because a warranty without documentation is just a promise on paper.
Common Mistakes to Avoid
- Skipping the soil test. Those DIY soil test kits from the hardware store take ten minutes and cost $15. Skipping one on a clay-heavy Richmond lot means you’re setting footings into conditions you didn’t plan for.
- Burying an Amazon post spike and calling it a footing. Spike anchors are for temporary fencing only. On a Richmond hillside lot the anchor tilts within one rainy season.
- Painting to hide rot. Paint is a moisture barrier, not a structural repair. Painting over a rotting post actually accelerates the failure by trapping moisture inside.
- Installing wet or green lumber. In Richmond’s wet-season window, most lumber yards sell material at 19%+ moisture content. Let green lumber acclimate for 2 to 4 weeks before install or buy kiln-dried.
- Hanging a gate on a 4×4 post. A 4×4 is fine for fence panels. A 6-foot-wide gate needs a 6×6 hinge post with a minimum 3-foot footing depth.
- Planting right against the fence. Ivy, hedges, and irrigation lines against the fence trap moisture. Keep 18 to 24 inches of clearance.
- Not pulling a permit when one is required. In Richmond, fences over 6 feet tall or on property lines in some zones do require permit approval. Skip the permit and you may be forced to remove the fence later.
See the difference
 Before
 After
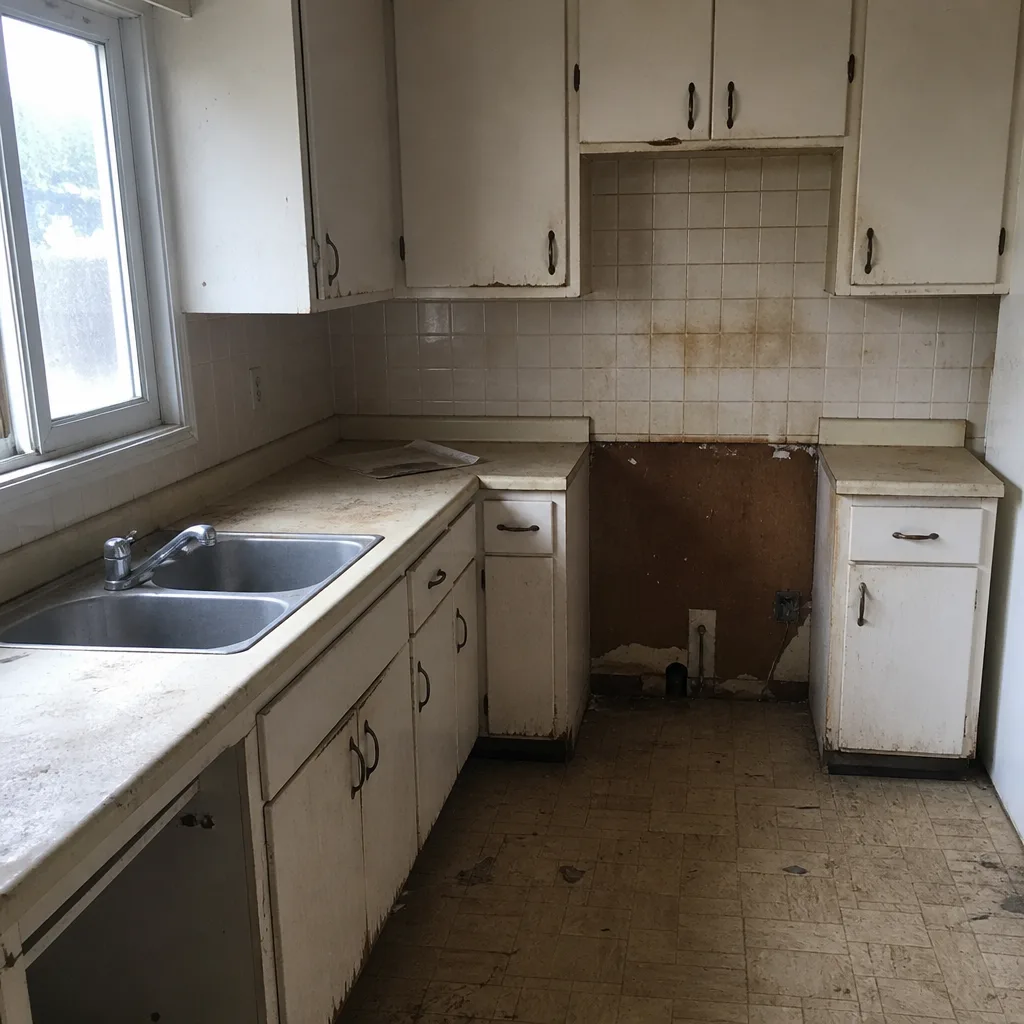 Before
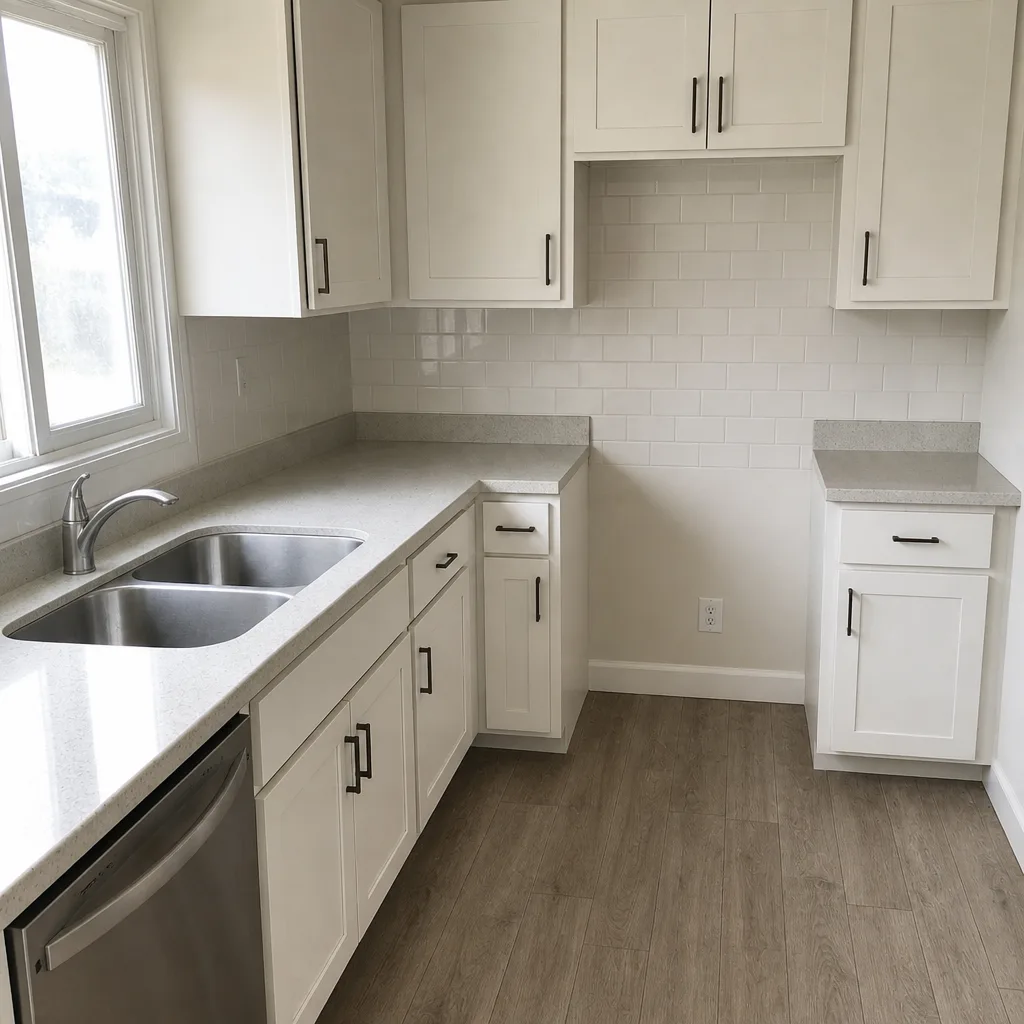 After
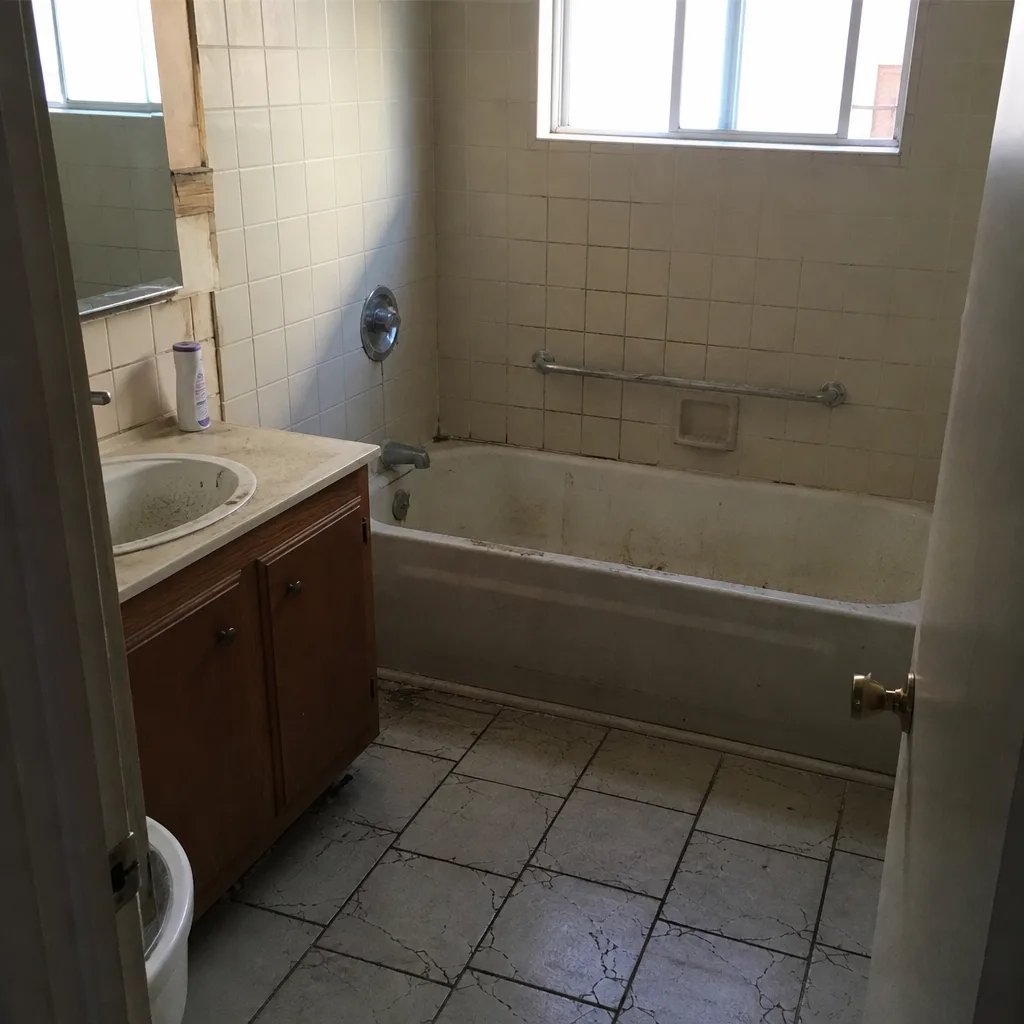 Before
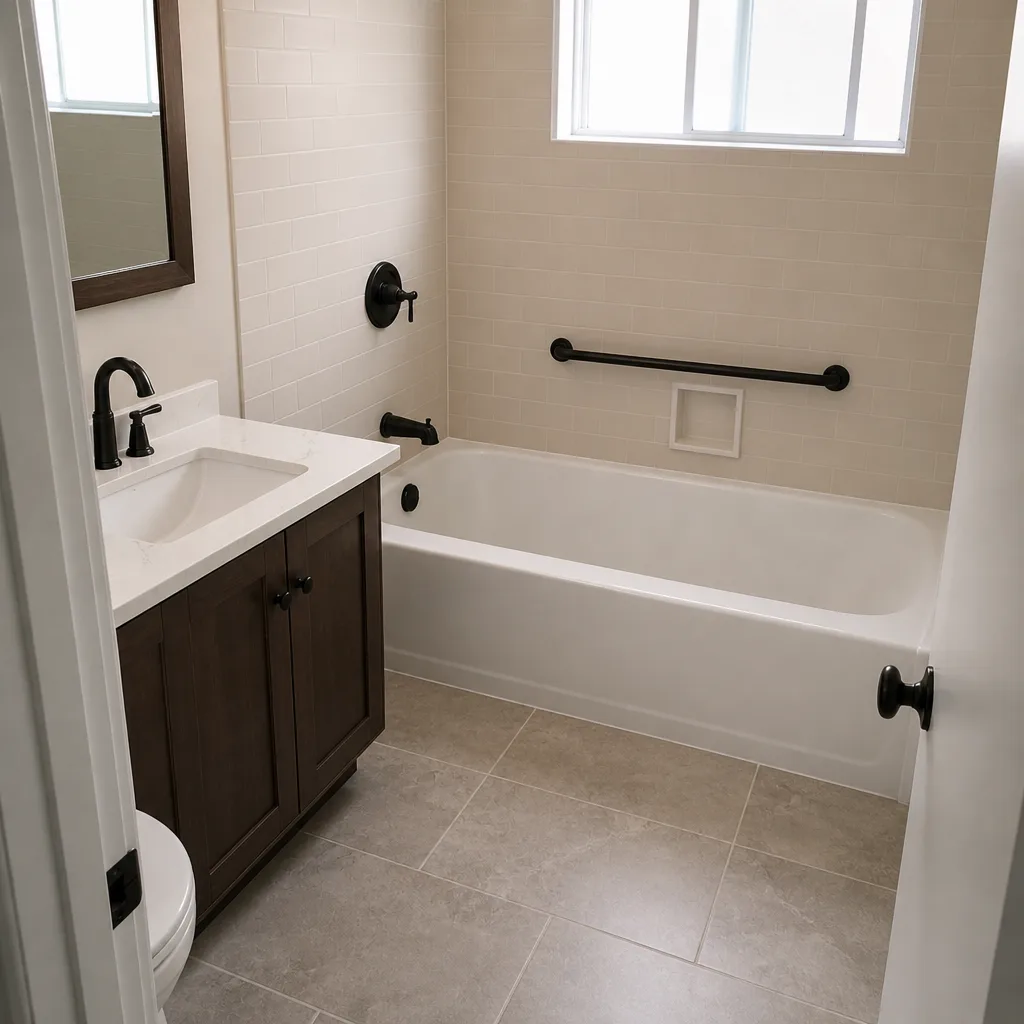 After
When to Call a Professional
Some fence problems are true DIY repairs: replacing a broken picket, tightening a hinge, re-staining a weathered panel. Everything else should go to a pro. If the failure involves a footing, a rotted post, a sagging gate on a post that’s showing any movement, or a drainage issue that’s clearly ongoing, patching the symptom makes the eventual fix more expensive. Fencing taller than 6 feet, gates wider than 4 feet, and any fence line on a slope or in a permitted zone all benefit from a professional install, because those are exactly the jobs where the footing geometry and permit work matter most.
Groundwork Construction Co. of Richmond offers free estimates in Richmond. We schedule an on-site visit before quoting, so the repair recommendation is based on the actual condition of the posts and footings, not a phone guess. Call (833) 700-4611 and a live person answers, day or night – no voicemail, no waiting until Monday. Every install and repair is covered by the 730-Day Done Right Promise, and the pricing is upfront before the first shovel hits the ground.
Frequently Asked Questions
Push the post and watch the base. If the post moves but the wood is solid, it’s a footing issue. If the post is soft or spongy at the soil line, it’s rot. Dig 2 to 3 inches of soil away from the post and probe it with a screwdriver. Soft wood means rot; solid wood that moves means the footing or soil is the problem. In Richmond, footing issues are more common on sloped lots, and rot is more common on flat lots with poor drainage. Call (833) 700-4611 for a free inspection if you’re not sure which one you’re looking at.
Sometimes. If the post is solid wood and the footing is intact, a post that’s tilted from soil movement can be re-plumbed using a hydraulic post puller or by digging alongside and resetting it. If the wood is rotted below the soil line, no repair works – the post needs to come out. Sister-posting a rotted post only delays the failure by a season or two.
Because the hinges usually aren’t the problem. A sagging gate that resists hinge tightening almost always has a racked frame or a hinge post that’s moved. Measure the diagonal corners of the gate. If they differ by more than 1/4 inch, the gate itself has lost square and needs a diagonal brace. If the hinge post moves when you push it, the post is the culprit and the gate needs to be rehung after the post is fixed or replaced.
Moisture exposure on one side of the board is the cause. The wet side expands, the dry side doesn’t, and the board cups toward the dry side. Repainting doesn’t stop it because paint doesn’t change the moisture gradient inside the wood. Replacement with properly dried lumber and stain on both sides before install is the real fix. Richmond’s wet-season cycles make this especially common on fences that face east, where morning sun dries the front while the back stays wet.
Fences up to 6 feet tall in most Richmond residential zones don’t require a permit, but anything taller, or any fence within a required front-yard setback, does. Corner lots and hill-area properties sometimes have additional height restrictions. Check with Richmond’s planning department before you build, and be aware that repairs – not replacements – usually don’t require a permit as long as you’re matching the existing footprint. If you want the paperwork handled for you, we pull the permit and pass the inspection as part of the project.
Almost never. Fence warranties cover manufacturing defects in the material, not installation failures. Rot and leaning posts are classified as installation or maintenance issues, and the claim gets denied unless you can prove the failure was a product defect. That’s why installation records (footing depth, concrete volume, clearances, fastener specs) matter so much. If you can’t document those, the warranty is effectively void. Fixing the root cause now costs less than the warranty fight later.
The Bottom Line
Almost every fence failure you’ll ever see started on day one – bad footing depth, poor drainage, or wrong material for the climate. A leaning post, a sagging gate, warped boards, and rotting bases are all symptoms, and treating the symptom is why so many fences get repaired twice. Diagnose first: push test, dig at the soil line, measure the gate diagonals, check the drainage. Then fix the cause. If the failure involves a footing, a rotted post, or a structural gate issue, get it evaluated by a professional before the cost goes up. In Richmond, the soil, the wet season, and the permit rules all make this a job worth doing right the first time.
If you’re ready to plan a new fence or repair an existing one, we offer a free project estimate and design consult. We carry curated materials from brands like Tremron and Techo-Bloc alongside our fencing lines, and every job is backed by the 730-Day Done Right Promise. Financing at 0% for 18 months is available, and projects over $10,000 qualify for $1,000 off. Call (833) 700-4611 – a live person answers 24/7. Explore our Groundwork Construction Co. of Richmond home for the full scope, see how outdoor projects come together through Home Additions & ADU in Richmond and our Driveway & Pavers in Richmond work, and pair either with Fence Installation in Richmond when you’re ready to build.
Written by the team at Groundwork Construction Co. of Richmond.