Last updated November 18, 2026







Free written scope consultation - allowances, timeline, and change-order rules on paper before a single trade is scheduled
Home Additions & ADU Maintenance Schedule: What to Do and When
The seam where your new addition meets your original house is the most maintenance-sensitive square footage on the entire property, and almost nobody tells homeowners to look at it. We’re talking about the tie-in: the roof-to-roof intersection, the wall-to-wall joint, the foundation transition. It moves differently than everything around it because it’s two structures behaving independently, and in Richmond’s wet-season Mediterranean swing, that joint gets worked hard. This guide lays out a full maintenance calendar for additions and accessory dwelling units, including the year-one focus that differs from everything after, how to maintain separate utility systems on their own schedule, and how to document all of it so your warranty stays intact. Builders don’t hand you this schedule at the final walkthrough, so we’re writing it down.
Quick Answer
Inspect your home addition or ADU on a four-season cycle, but weight year one heavily toward foundation settling checks and caulk-joint monitoring at the tie-in. After the first 12 months, shift to an annual tie-in inspection, semi-annual wet-season prep, and separate maintenance intervals for any dedicated subpanel, mini-split, or water heater serving the new space. Document every inspection with dated photos and notes; that record is what protects your workmanship warranty and any implied-warranty claim under California law.
Styles & brands we work with
- Kitchen remodeling
- Bathroom remodeling
- Home additions & ADU
- Roofing
- Windows & doors
- Driveway & pavers
- Fence
Table of Contents
- Why an Addition Has a Different Maintenance Profile Than Your Original Home
- Year One: The 12-Month Inspection Focus
- The Tie-In Protocol: Roof, Wall, and Foundation
- Separate Utility Systems and Their Own Schedules
- The Richmond Seasonal Calendar: Wet Season vs. Dry Season
- Protecting Your Warranty With Documented Maintenance
- How to Keep Maintenance Records That Actually Hold Up
- Common Mistakes to Avoid
Why an Addition Has a Different Maintenance Profile Than Your Original Home
Your original house has had decades to settle, and its systems have synchronized with the soil, the weather, and each other. A new addition hasn’t. It’s a newer structure with a newer envelope, newer waterproofing, and newer mechanical equipment, all bolted onto a structure that has already found its resting position. Three things make it different, and each one drives a maintenance task your original house doesn’t need.
First, more connection points. A standalone house has a continuous roof plane and four continuous walls. An addition has all of that plus a roof-to-roof intersection, a wall-to-wall joint, and a foundation transition where the new slab or stem wall meets the old one. Each of those is a place where two materials with different movement rates meet, and where water finds a way in if the sealant between them fails.
Second, systems on a different replacement cycle. If your ADU has its own subpanel, mini-split heat pump, or water heater, those components are on a timeline that has nothing to do with the 15-year-old furnace in the main house. They need their own service intervals, their own filter changes, and their own records.
Third, separate utility infrastructure. A detached ADU in Richmond typically has its own electrical service, its own water line, and its own drain connection. That means more shutoff valves, more meters, and more places where a small leak becomes a big repair. Treating these systems like extensions of the main house is how a $300 service call becomes a $3,000 water-damage repair.
Year One: The 12-Month Inspection Focus
The first twelve months after construction completion are not a maintenance period in the ordinary sense. They are a settling period, and the checklist is different because the building is telling you how it’s going to behave for the next several decades. If you catch a problem in month four, you call the builder under warranty. If you catch it in month twenty, you pay for it.
Here’s the year-one protocol we recommend on every addition and ADU we touch:
- Month 1: Walk the entire tie-in with a flashlight and a notebook. Photograph every caulk joint, every roof intersection, every visible foundation transition. You are capturing a baseline, not looking for problems yet.
- Months 3 and 6: Re-photograph the same joints from the same angles. Caulk should not be pulling away, cracking, or separating. Hairline cracks in drywall at the tie-in are normal settling. Cracks wider than a credit card are not.
- Months 6 and 12: Look at the foundation transition for new cracks, separation from grade, or soil erosion around the new footing. In Richmond’s clay-heavy soils, especially in the El Sobrante and Hilltop-adjacent slopes, some settling is expected; movement means the site drainage needs attention.
- Month 12: Have a professional do a full tie-in inspection. This is the last easy window to file a warranty claim on anything the builder got wrong.
What you should not do in year one is seal anything permanently. If a joint is misbehaving, you want to see it misbehaving so the cause can be fixed. Painting over a caulk failure in month three means you’ll be dealing with the water damage in month thirty.
The Tie-In Protocol: Roof, Wall, and Foundation
If we had one piece of advice to give every homeowner of a recent addition, it’s this: learn your tie-in. The place where new meets old is where water gets in, and it’s almost never where a policy of “check the roof once a year” sends you. Here’s how to inspect the three zones.
The Roof Tie-In
Where the new roof plane meets the existing one, you’re looking for flashing that’s intact and sealant that’s flexible. From the ground with binoculars, or from a window at rafter height, check the following:
- Step flashing integrity: The stepped metal pieces should sit flat against the siding and interleave with the shingle courses. Any piece that’s lifted, missing, or bent opens a leak path.
- Counter-flashing and kick-out flashing: Where a wall meets a lower roof, kick-out flashing should divert water into the gutter rather than down the siding.
- Sealant flexibility: Roof sealant should still dent under a fingernail. If it’s brittle or cracking, it needs replacement before the next wet season.
- Debris buildup: Richmond’s eucalyptus and pine litter fills valleys fast. Clean the roof-to-roof valley in October before the rains arrive.
Roof work on a two-story tie-in involves real fall risk. Step flashing repair is a job for a trained roofing professional, not a homeowner with a ladder.
The Wall Tie-In
Where the new siding meets the old, the joint is typically filled with a backer rod and sealant. Check it with a hand and a camera. Press gently; sealant should feel slightly compressible, not hard. Look for paint cracking in a straight line along the joint, which is a tell that the sealant underneath is failing. Any stain or wicking on the interior drywall at the same elevation means water is already finding the joint.
The Foundation Tie-In
At the foundation transition, look for step cracks, gaps at the joint, and any soil settling that has pulled away from the new footing. Good site drainage is the main defense here. Keep downspouts extended away from the addition, and make sure the finished grade slopes away from the new footing at roughly six inches of drop over the first ten feet.
If you’re planning an addition or ADU and want to understand the build side before you ever reach the maintenance side, our guide to Home Additions & ADU in Richmond covers scope, permits, and what a realistic build looks like.
Separate Utility Systems and Their Own Schedules
One of the easiest ways to lose money on an ADU is to maintain its systems on the main house’s schedule. A mini-split installed in 2024 and a furnace installed in 2008 have different filters, different refrigerants, and different failure modes. Here’s how we’d run them.
Mini-Split Heat Pump
Clean the indoor filter every 30 to 60 days in heavy-use months, and monthly during the summer window when the ADU is cooling at full load. Have a professional clean the outdoor coil and check refrigerant charge every 12 months. In Richmond’s mild coastal-influenced climate, a mini-split runs many short cycles during the shoulder-season months of April and October; that’s normal, but it’s also when a dirty coil shows up first as a loss of efficiency.
Dedicated Subpanel
If the ADU has its own electrical subpanel, do an annual walkthrough: look for scorching around breakers, tripped breakers that reset repeatedly, or any warm-to-the-touch faceplate. Have a licensed electrician perform an infrared scan and torque check every three years. Panel work is not a do-it-yourself item; electrical faults are a genuine fire hazard, and the cost of a scan is trivial compared to the alternative.
ADU Water Heater
Flush a tank water heater annually to remove sediment; Richmond’s water is moderately hard and sediment builds up quickly, driving up energy bills and shortening tank life. For a tankless unit, descale every 12 to 18 months. Test the pressure relief valve annually. Know where the ADU’s main water shutoff is and exercise it once a year so it doesn’t seize.
Dedicated Water and Sewer Lines
If the ADU has its own water service line and drain, keep a simple maintenance log of any slow drains, low pressure, or discolored water. Those are early signs of a line issue that’s cheapest to fix when caught early.
The Richmond Seasonal Calendar: Wet Season vs. Dry Season
Richmond runs on a Mediterranean pattern: wet winters, dry summers, and a long shoulder season in between. That drives a maintenance calendar that’s meaningfully different from most of the country. Here’s what we’d put on the fridge.
October: Wet-Season Prep
- Clear roof valleys and gutters of eucalyptus and pine debris. This is the single highest-value task on the calendar.
- Inspect every caulk joint at the tie-in and re-seal any joint that’s brittle or cracked.
- Walk the perimeter and confirm grade slopes away from the addition. Add soil where it’s settled.
- Test the ADU’s sump pump if it has one, and check the crawlspace or slab edge for moisture.
- Service the mini-split before the heating season begins.
January and February: Peak Wet-Season Watch
This is when tie-in leaks show up. After any storm bringing more than an inch of rain, do a five-minute interior walk of the addition, looking at ceilings, wall base, and window frames. Any new stain is a call to a professional. Richmond’s wet-season storms are also when you’ll find out whether your drainage is working; if you see standing water within ten feet of the addition footing for more than 24 hours, that needs to be addressed before the next storm.
April and May: Dry-Season Transition
- Re-inspect the tie-in after the wet season. Look for any soft spots or paint blistering that appeared over the winter.
- Clean the mini-split outdoor unit and schedule the annual service.
- Check exterior paint at the wall tie-in; touch up any chalking or peeling before the dry heat exacerbates it.
- Inspect the fence and pavement surrounding the addition; our guide to Fence Installation in Richmond covers the seasonal checks on those elements.
July through September: Dry-Season Watch
Richmond’s dry summers open up soil at the foundation transition. Watch for new hairline cracks at the tie-in, and don’t panic at small ones. Also watch the ADU’s landscaping: dry soil pulls away from the footing, and a heavy winter rain will fill that gap. Keep mulch or soil topped up around the addition through the summer. For surface water issues around the addition slab or a new driveway, see our team’s work on Driveway & Pavers in Richmond; good hardscape grading is often the best drainage solution on the property.
Protecting Your Warranty With Documented Maintenance
Warranties on new construction are not a rubber stamp. They are conditional documents, and the condition is almost always that the homeowner performs ordinary maintenance and can prove it. If your tie-in leaks in year three and you can’t show a single inspection note, you’re arguing from a weak position. If you have dated photos from every season, you’re arguing from strength.
Groundwork Construction Co. backs every addition and ADU we build with our Groundwork Construction Co. of Richmond home-based 730-Day Done Right Promise: if it’s not done right, we make it right. That’s one of the longest workmanship guarantees in the residential construction space, and it’s backed in writing. But the promise applies to our work, not to deferred maintenance. A documented inspection log is what tells the difference.
Beyond any contractor warranty, California’s implied warranty of quality applies to new residential construction and requires that the home be built in a workmanlike manner and be habitable; the practical window to enforce it runs for years, so long as the defect is documented. Practical protection comes down to four things:
- Keep a binder (or folder in the cloud) for the addition or ADU only.
- Log every inspection with a date, a short note, and photographs.
- Keep all receipts for professional service and repairs.
- Report any leak or material failure to your builder as soon as you find it. Delay weakens every claim.
How to Keep Maintenance Records That Actually Hold Up
Records that hold up are boring, dated, and consistent. Here’s the system we recommend.
- One folder, one label. Separate from the main house. If you ever sell, a clean ADU maintenance file is a selling point.
- Monthly photo rule. On the first of each month, walk the addition with your phone and photograph the tie-in from four fixed angles. Spending 90 seconds per month builds a visual timeline that’s worth more than any written record.
- Seasonal task log. Print the seasonal calendar above and write the completion date next to each task. Keep it in the folder.
- Contractor receipts in one place. Every service call, every invoice, every professional inspection. No exceptions.
- Warranty documents front and center. Keep your 730-Day Done Right Promise paperwork and any manufacturer warranties (roofing, mini-split, water heater) in the front of the file, with expiration dates noted.
Common Mistakes to Avoid
- Skipping the tie-in on the annual inspection. Most homeowners check the roof and the gutters and never look at the intersection. The tie-in is exactly where you need to be looking.
- Caulking over an active leak to hide it at sale. Cosmetic sealing of a joint that’s already taken on water means the water finds a different path. Fix the cause first.
- Maintaining the ADU on the main-house schedule. Different equipment, different intervals. A mini-split serviced once every three years is a mini-split that’s failing at year four.
- Skipping year-one inspections because nothing is wrong yet. Year one is the settling period. It’s the easiest time to file a warranty claim and the cheapest time to fix a problem.
- Ignoring small foundation-movement cracks. In Richmond’s expansive clay soils, a credit-card-width crack that keeps growing is telling you something about drainage.
- Letting winter storm water pool near the addition. Standing water within ten feet of the new footing for 24 hours is a foundation risk. Address it before the spring.
- Using the ADU’s main shutoff for the first time during an emergency. Exercise it once a year so you know it works and know exactly where it is.
When to Call a Professional
Most home additions and ADU maintenance can happen with a flashlight and 30 minutes a month. A few can’t, and knowing which is which is how you protect the investment.
Call a professional for: any sign of water intrusion at the tie-in (staining on interior drywall or ceilings, wicking on the siding joint, soft spots inside the wall), roof repairs of any kind where step flashing or counter-flashing is involved, foundation cracks wider than a credit card or any new separation at the transition, electrical work on the ADU subpanel, refrigerant work on the mini-split, and the year-12-month tie-in inspection itself. Those are the points where an experienced eye pays for itself many times over.
Groundwork Construction Co. of Richmond offers free estimates for Richmond homeowners; call (833) 700-4611 and we’ll walk the addition with you. No-hassle upfront pricing, the number you see is the number you pay, and a live person answers the phone 24/7 so you don’t wait until Monday morning to report a leak that’s been running all weekend.
See the difference
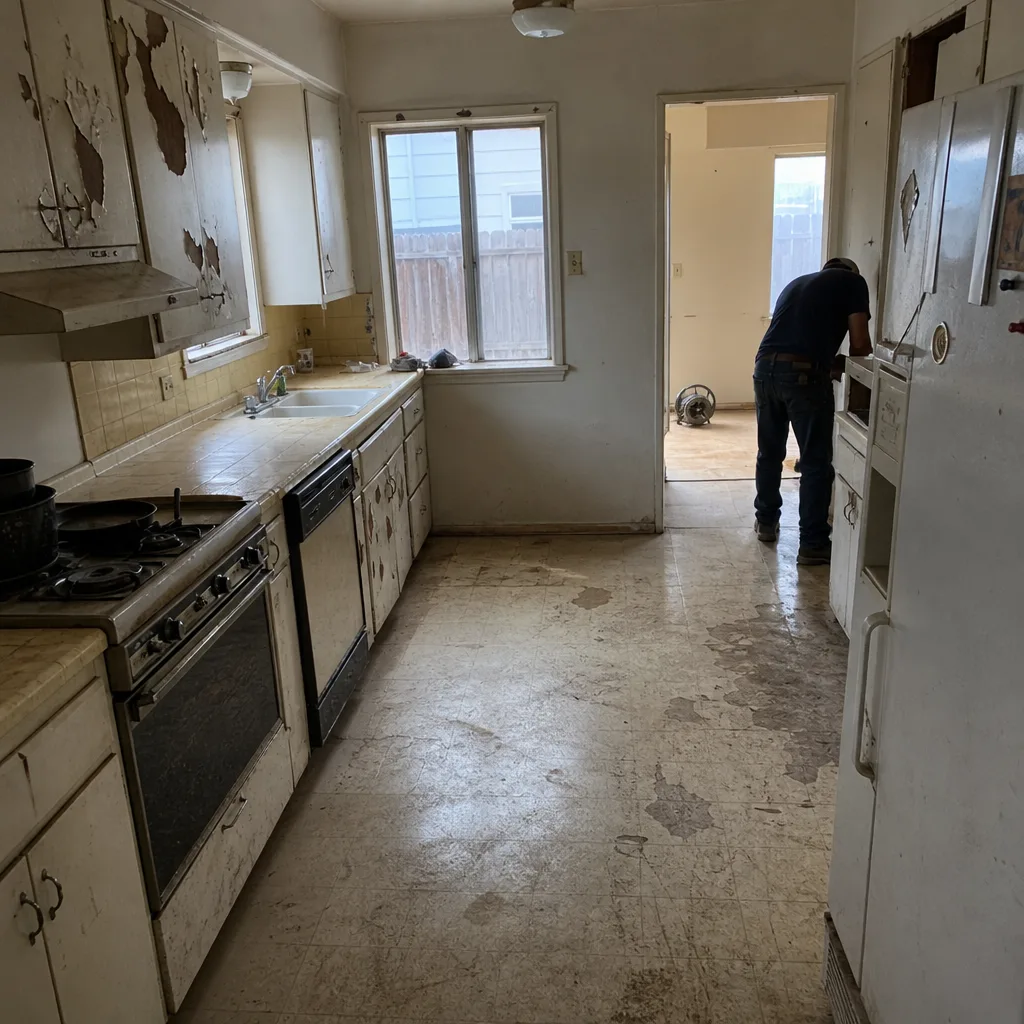 Before
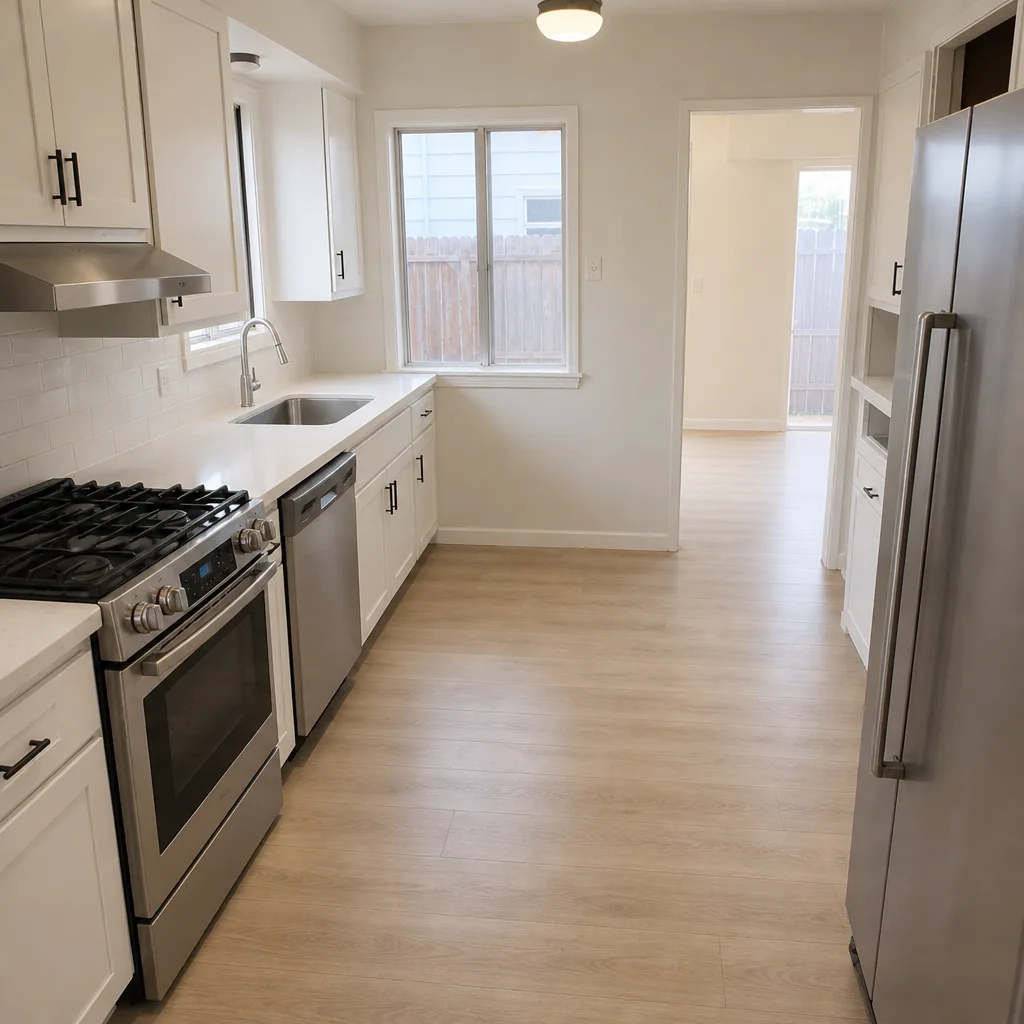 After
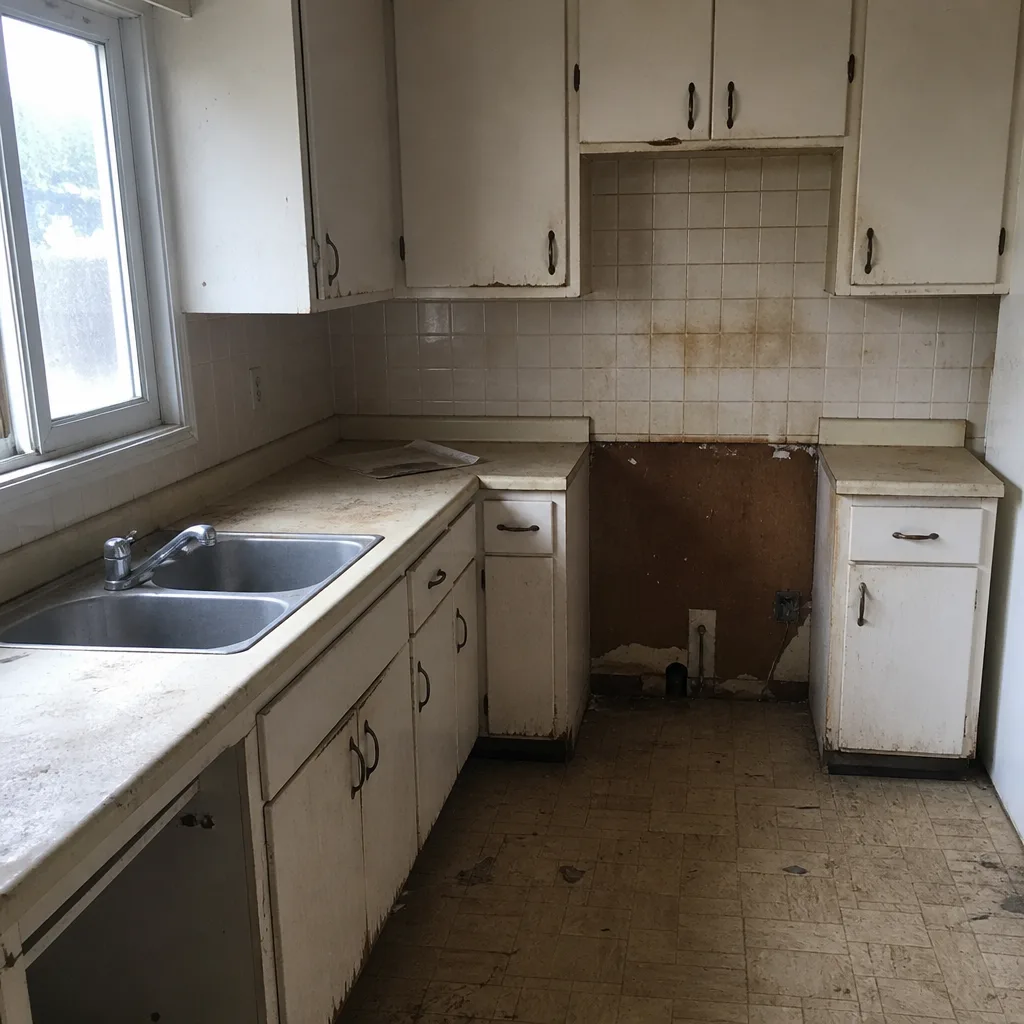 Before
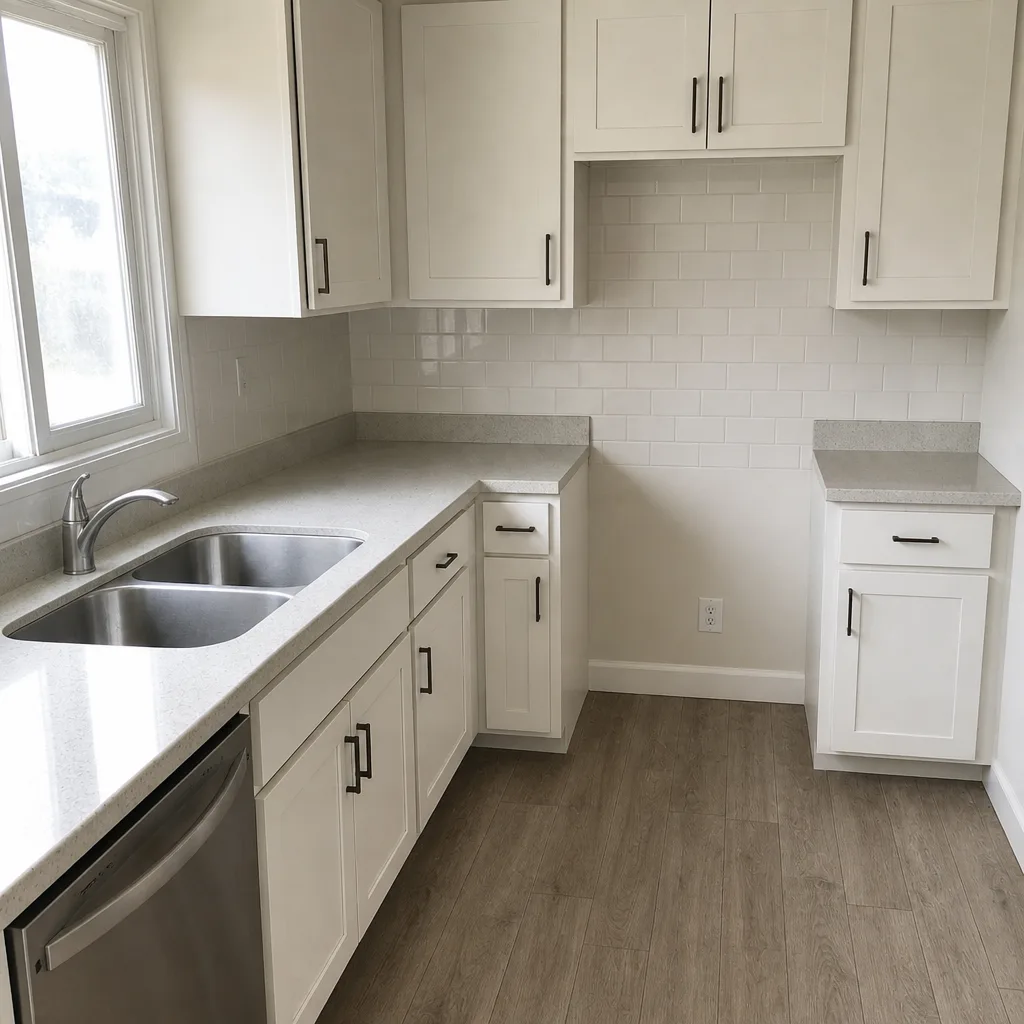 After
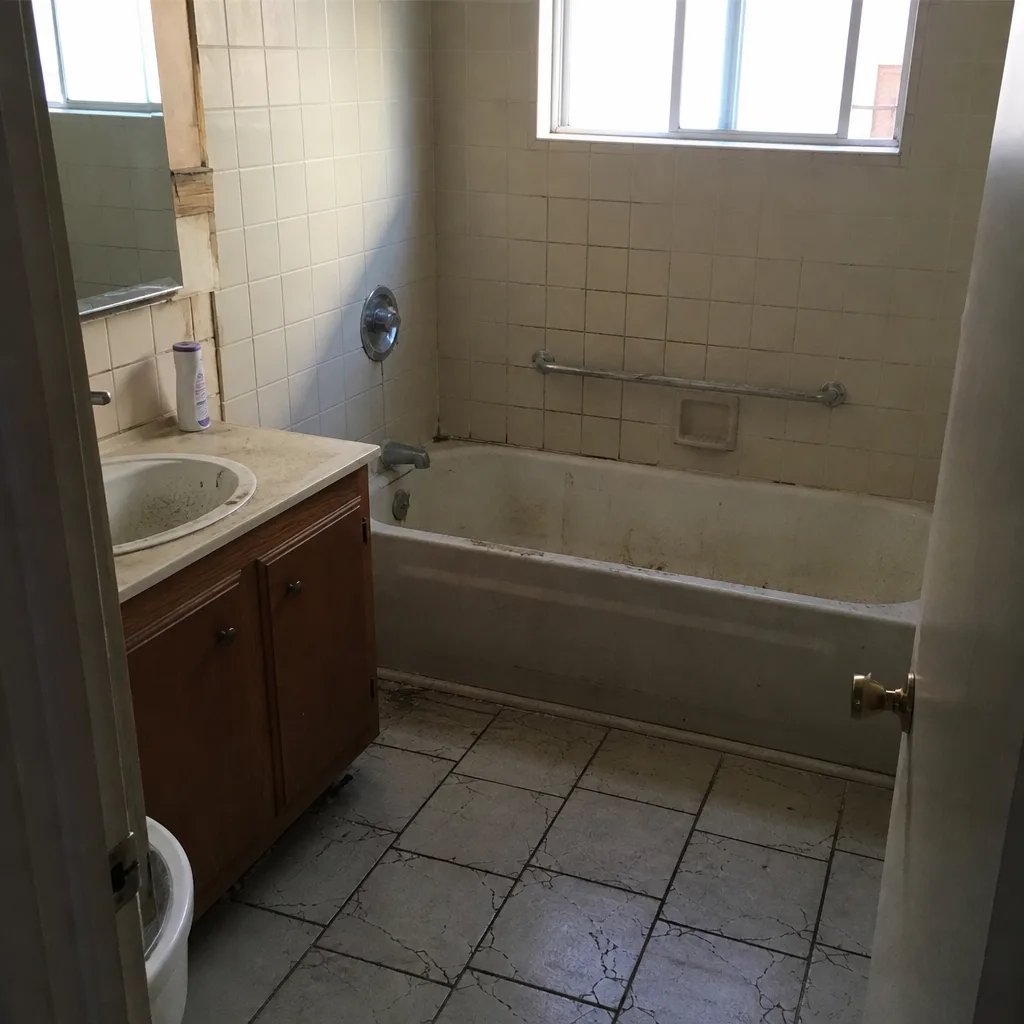 Before
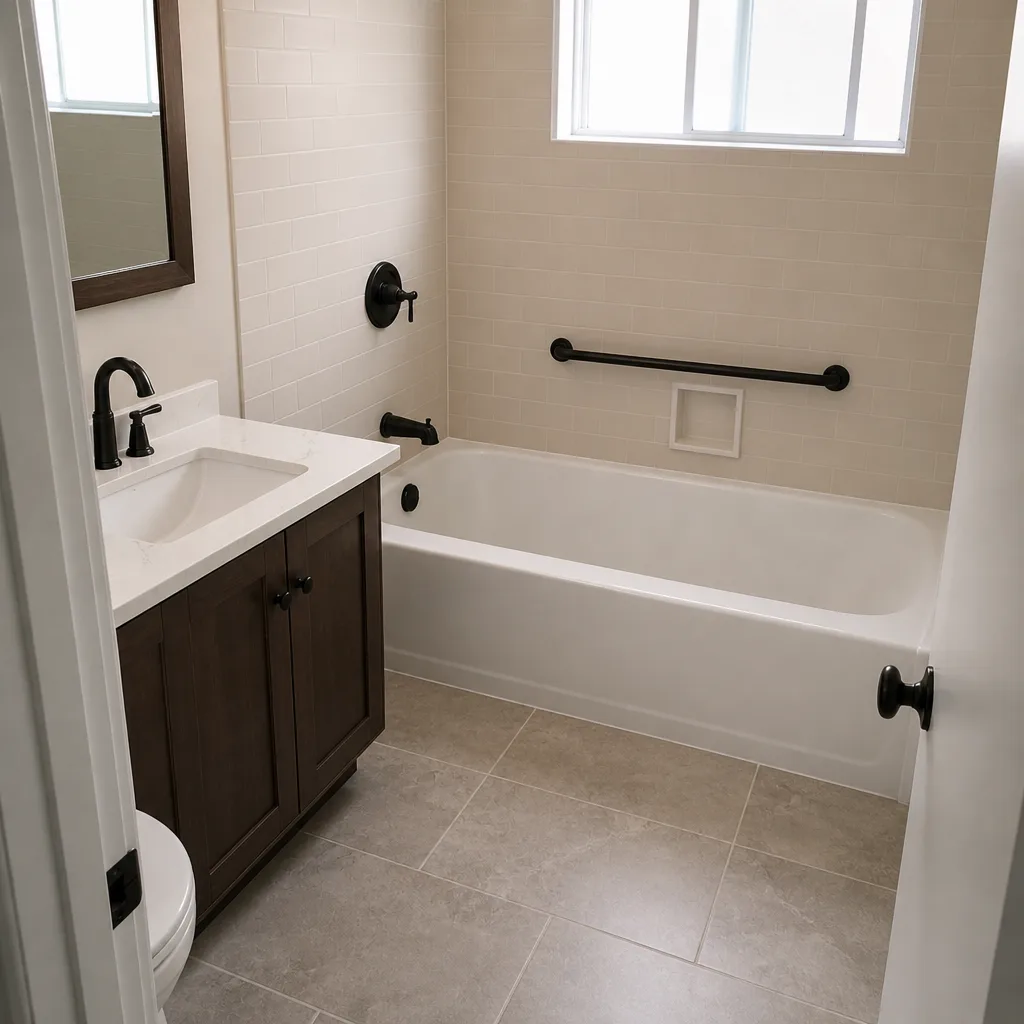 After
Frequently Asked Questions

Walk the tie-in monthly with your phone camera, do a deeper tie-in inspection once a year, and schedule the full checklist seasonally (wet-season prep in October, dry-season transition in April). Year one should include a professional tie-in inspection at month 12 to catch any warranty items while they’re still covered.
The tie-in is where the new structure meets the original house: at the roof, the wall, and the foundation. It’s the most maintenance-sensitive part of the entire addition because two structures with different movement rates meet there, and any failure of the joint opens a path for water into both. It’s also the spot most homeowners never inspect, which is why minor issues there become expensive ones.
Yes. An ADU with its own subpanel, mini-split, or water heater has equipment on a different replacement cycle than the main house, and those systems need their own service intervals. Filter changes every 30 to 60 days on a mini-split, an annual water heater flush, and an electrical scan every three years are typical.
Watch it closely for the first 12 months, and keep an eye on the tie-in for the next five. Some settling is normal, particularly in Richmond’s clay soils. Hairline drywall cracks that appear once and stop are typical. New cracks after month 18 or any crack wider than a credit card points to a drainage issue that needs attention.
Yes. Warranties on new construction are conditional on ordinary maintenance, and documentation is how you establish that. Keep a dedicated folder for the addition with dated photos, service receipts, and inspection notes. If a claim ever runs into a dispute, that file is what moves the conversation from opinion to evidence.
Clearing roof valleys and gutters of eucalyptus and pine debris, re-sealing any caulk joint at the tie-in that’s brittle or cracked, confirming site grade slopes away from the addition, and servicing the ADU’s mini-split before heating season. Those four tasks in October prevent the vast majority of wet-season surprises.
The Bottom Line
Your addition or ADU is a different building than the house it’s attached to, and the maintenance calendar should reflect that. Year one is for settling checks and caulk-joint monitoring. Year two onward is for a disciplined annual tie-in inspection and a Richmond-shaped seasonal calendar that leans on October wet-season prep. Separate utility systems get separate intervals. Every inspection gets logged. Done this way, an addition stays a value-add rather than a slow-repair project. And if you’d rather not do any of it alone, we built the Groundwork Construction Co. of Richmond home page around the fact that we pick up the phone.
Planning a project or dealing with an issue on an existing one? Call (833) 700-4611 for a free estimate. Live person, 24/7. Upfront pricing, no surprises. From foundation to finish line.
Written by the team at Groundwork Construction Co. of Richmond.